
Happiness is when the son of a quilter visits another city, checks out the local quilt shop and takes a picture of his favorite quilt for his mom. The quilt is Spirit Fish and the shop is Bayside Quilting in Olympia, WA. Great quilt!

Happiness is when the son of a quilter visits another city, checks out the local quilt shop and takes a picture of his favorite quilt for his mom. The quilt is Spirit Fish and the shop is Bayside Quilting in Olympia, WA. Great quilt!
This weekend was our small community’s annual Fall Fair.
The fair kicked off Friday afternoon with midway rides, some entertainment on the stage, and fireworks. We are lucky that we are able to enjoy the fireworks from our back yard.

View of the Midway from our backyard.

Saturday morning was the annual parade. As you can tell by a lot of the parade entries, the theme of this year’s fair was. “the Year of the HoneyBee”.
After the parade, it is tradition to head to the hall to look at the exhibits and see what prizes our family members have won. This year, our daughter entered 5 items in the baking and craft sections and took home 4 first places and 1 second place which gave her $24 in prize money and a $20 gift certificate from Bernardin. I entered 6 quilts and took home 6 first places, earning $27 in prize money. There was quite the debate in our house over who took top honors and whether the $20 gift certificate should be included in the total tally.

DH having a look at the exhibits.
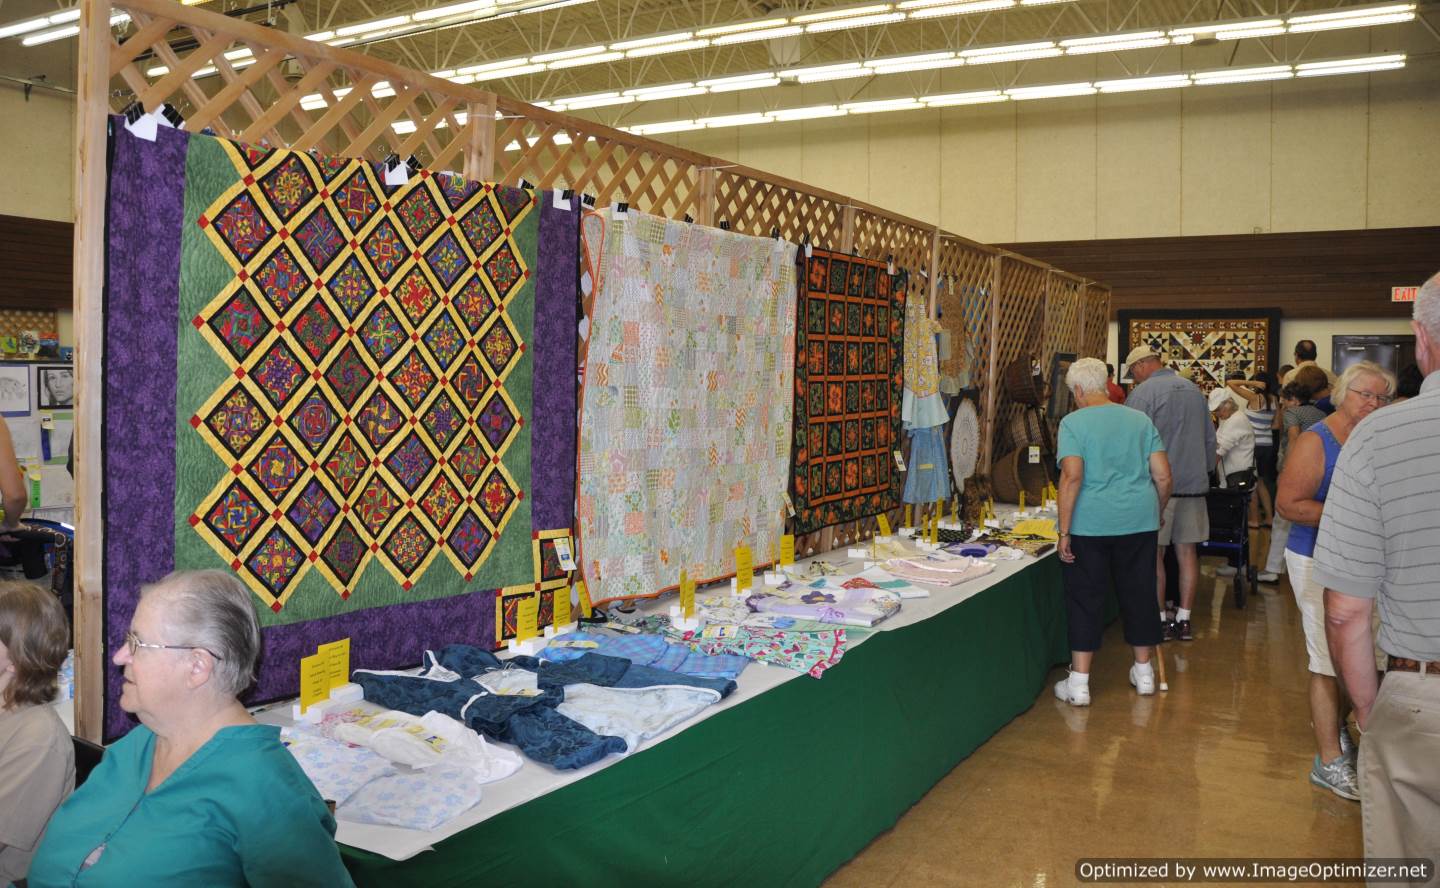
The Quilt and Sewing Section.
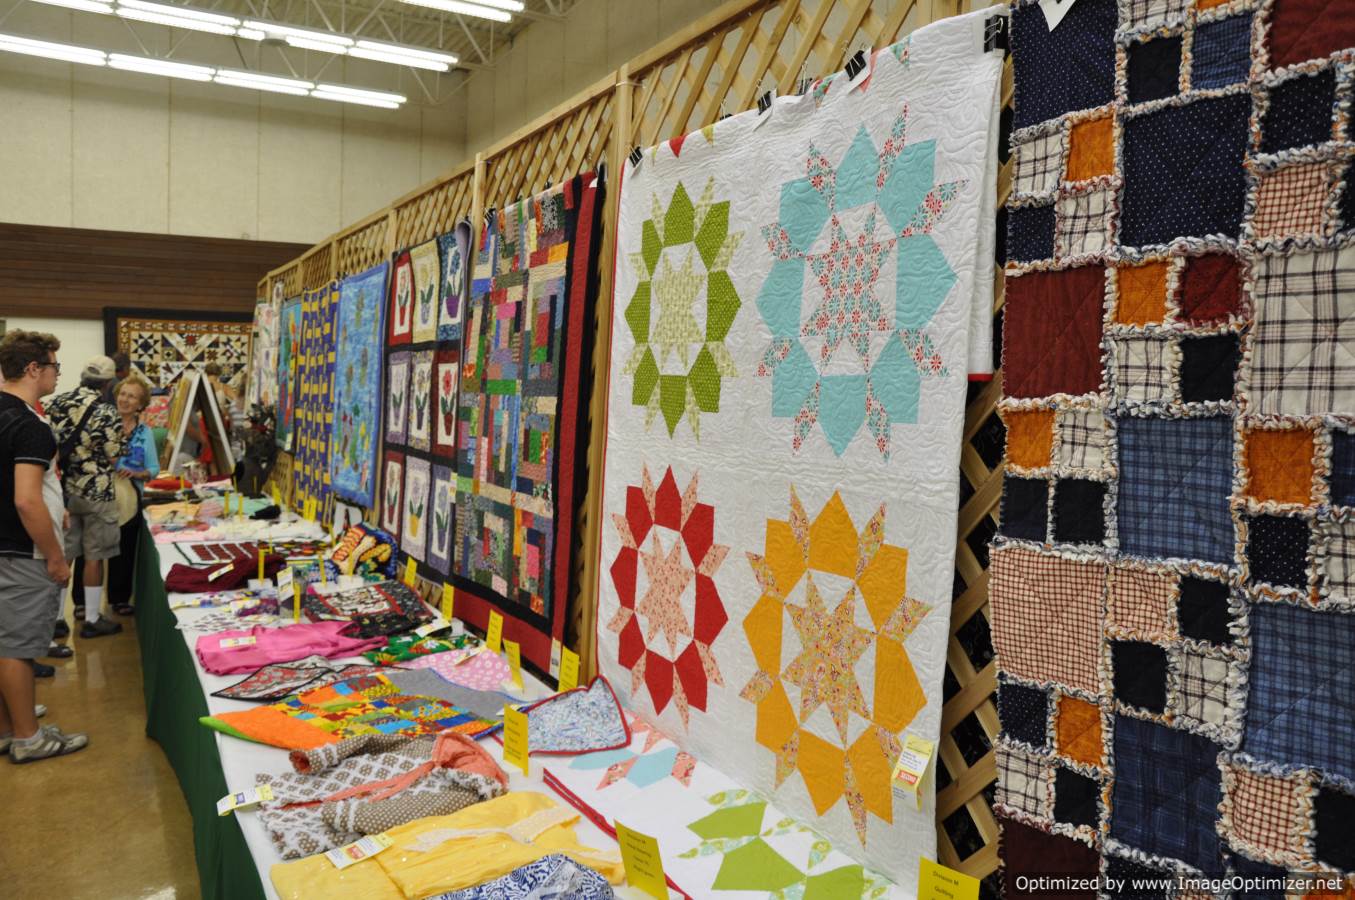
More exhibits.

DD with her gift basket entry.

DD’s HoneyBee themed cookies.

DD’s HoneyBee themed muffins.

DD’s cake.

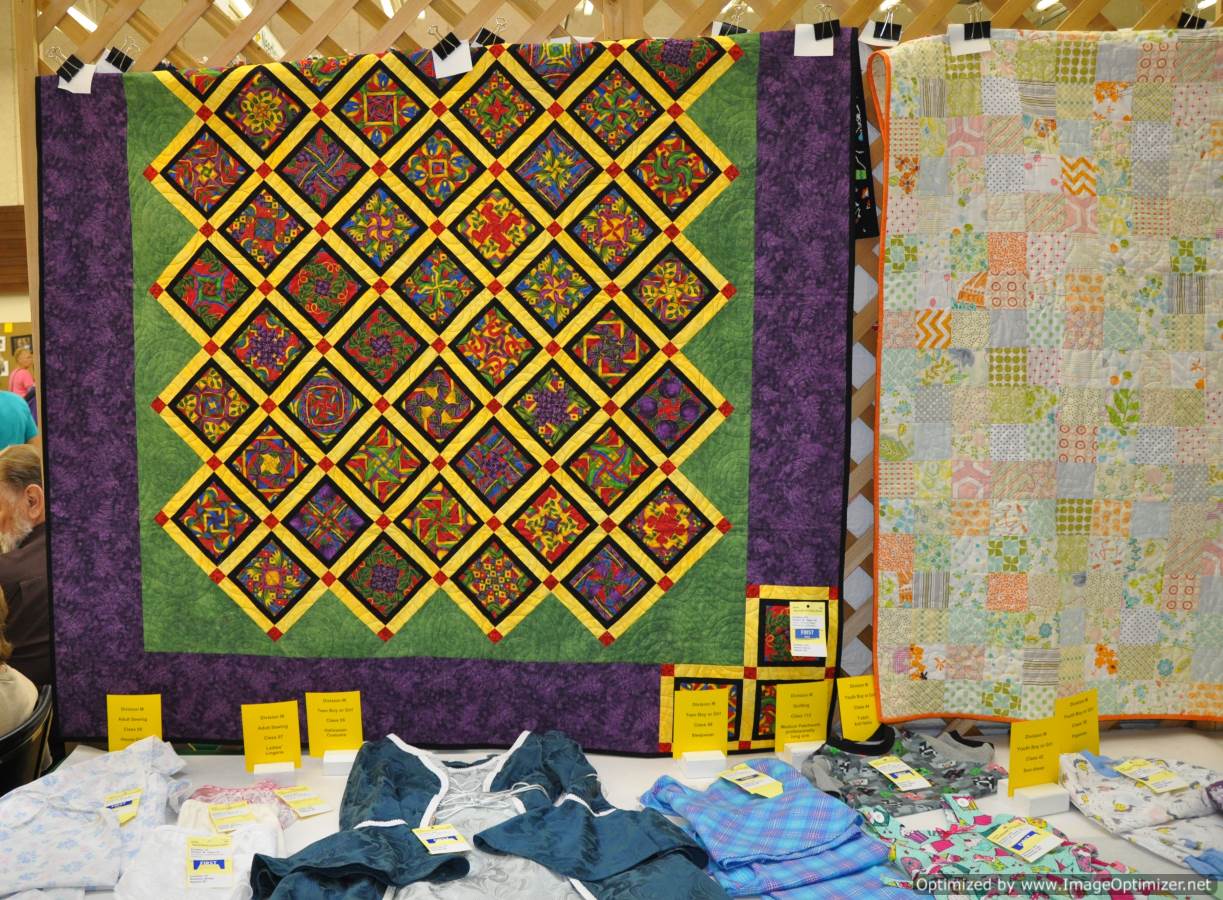
My quilt on the left – Mexican Tiles.

My quilt on the left – Pumpkin Patch.
The quilt blocks for both Mexican Tiles and Pumpkin Patch are made using the technique in HD Design’s quilt pattern, 4-Patch Stacked Posies. The setting of the blocks is my own design. Mexican Tiles was quilted on my long arm using the Loricircles’ Swirls pattern board and Pumpkin Patch was quilted on my Bernina using vertical lines spaced about every 1/2″ or so.

My Snowman Table Runner.
My Snowman Table Runner is made from the Designs to Share With You pattern, It’s Fast, It’s Easy.

My Miniature Quilt – Chickens in the Farm Yard.
My Chickens in the Farm Yard quilt is made from a paper piecing pattern that was in a Miniature Quilts magazine years ago.

My quilt – Crayon Box.
My Crayon Box quilt is one of Bonnie Hunter’s free quilt patterns by the same name.

HoneyBee Themed Challenge.

My quilt – HoneyBee Themed Challenge – Home is the Best Place to Bee!
My HoneyBee challenge quilt was made from an out of print pattern that I picked up at a quilt show garage sale table for 25 cents earlier this Spring. The pattern is called, “Bee Home Pillow – 105” from Bird Brain Designs. My quilt measures 17.5 inches square.

Sarge – DD and DSIL’s dog.
My husband and I were able to puppy sit for the evening on Saturday night while our daughter and son-in-law attended a wedding.

A Deere family.
Our son-in-law is a John Deere fan so I couldn’t resist taking a “family” picture with the tractor.
By Sunday morning when we got up, almost all evidence of the fair was gone. The Midway had packed up and moved on and all the tents and exhibits were removed from the field behind our house. This year’s fair is now only a memory. …looking forward to next year!
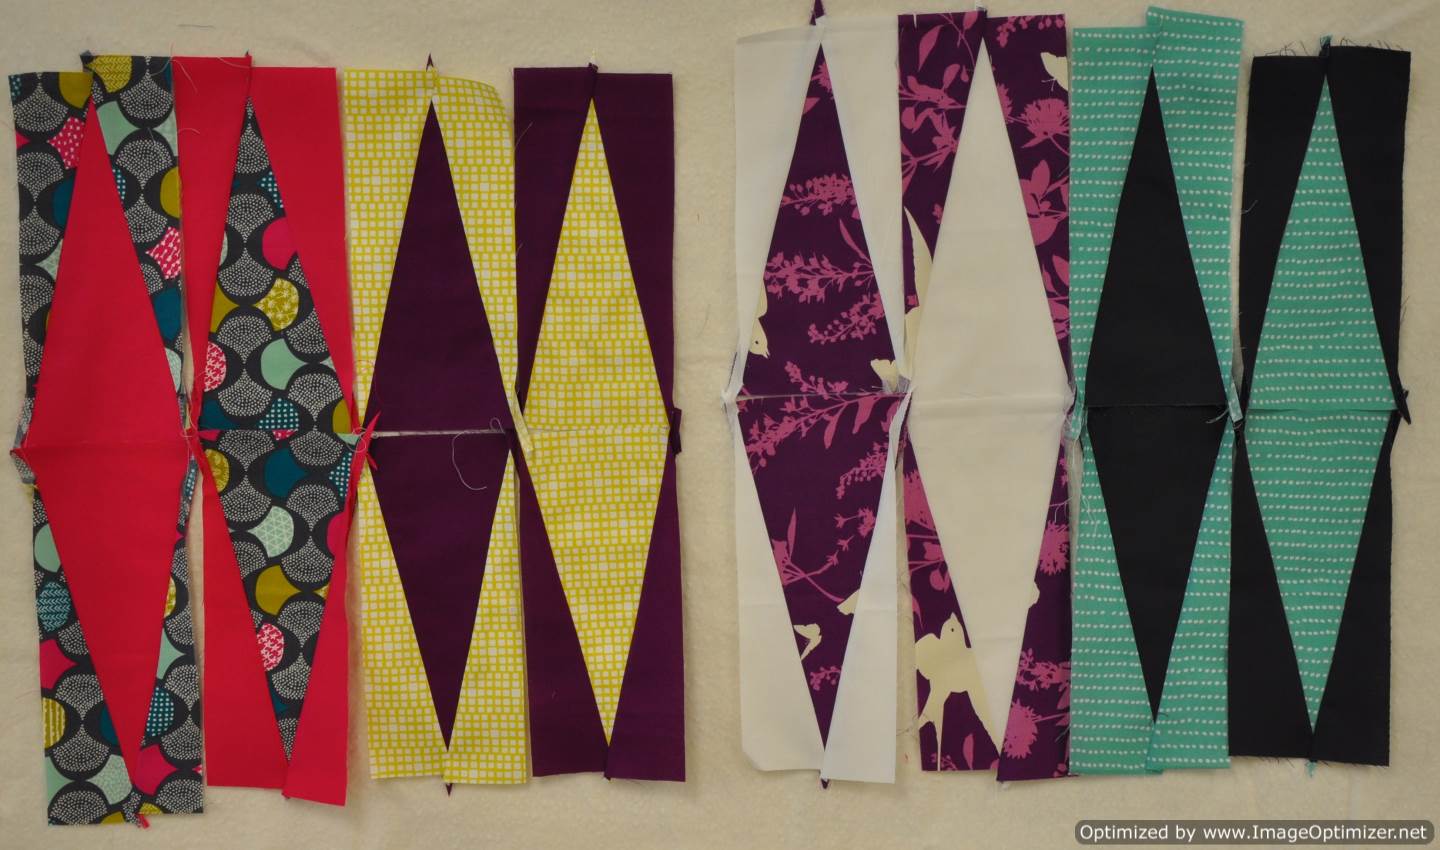
This weekend, I attended a two day workshop (August 8 and 9) with textile artist, Barb Mortell of Denman Island. Description of the first class from Barb: Day 1 : Triangles, Diamonds, Value and Colour (Rulers rule!) Description: This workshop is a composition workshop, and a place to make experiments in colour and value. Each person will make their own unique patchwork, and perhaps work out a system that sustains the artist for many months or longer. I know I could work on triangles for a long, long time without becoming bored of them, there are so many variations….We’ll be learning a variety of traditional and speedy techniques for making triangles one at a time and in bulk, and there will be instruction in cutting and sewing different types of triangles and diamonds. Once we have decided on a technique, we’ll move into colour and value studies with the idea that the studies, perhaps with some bending and twisting and stretching, will all fit together to create a small quilt top. The point is, with trials and experimentation, we will come away with a better understanding of Colour and Value, with the added benefit of trying out some new techniques. We started the day with an inspirational show and tell of some of Barb’s work. 


 This was my little creative space for the two day workshop. I shared my design wall with three other talented and inspirational quilters. My HST’s are on the left of the design wall in this picture. Do you recognize my signature green? 🙂 My squares were not sewn into blocks at this point. I now have the HST’s arranged in an entirely different setting on my design wall at home. I am trying to figure out what setting I like best before I commit to sewing my HST’s into blocks and my blocks into a small quilt top. The next four pictures are of other students’ work in the class.

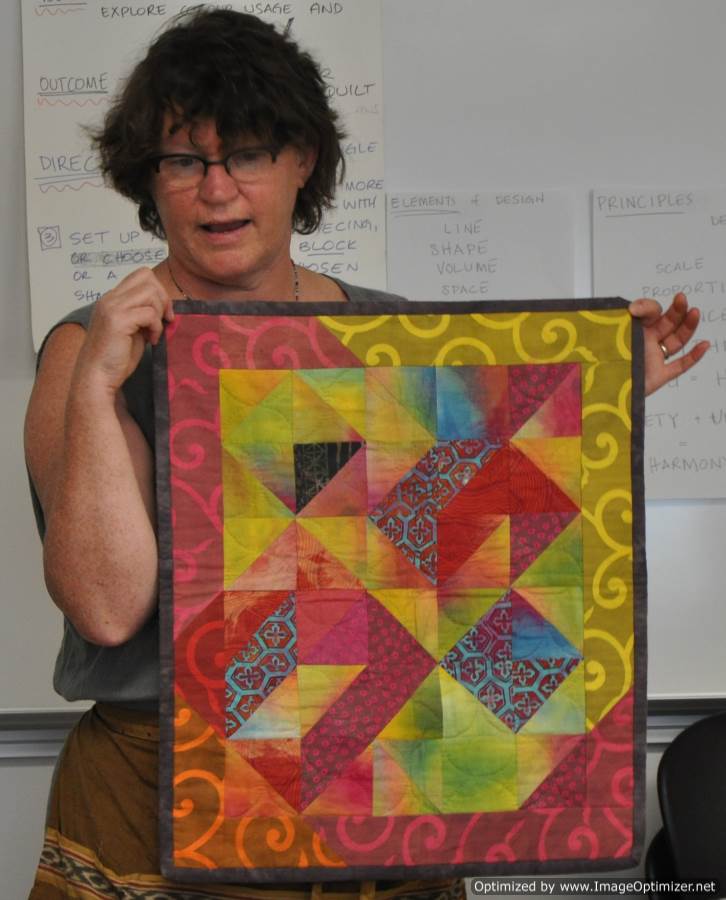
 I loved this piece. This person plans on making her quilt top into a pillow. She focused mainly on white, black, and grey with just a pop of the turquoise and purple. Stunning!
 Description of the second class from Barb: Day 2 (Saturday, Aug 9th, 2014) Improvising with a Simple Shape, with Focus on Colour and Value (Shake off the ruler) Description: We will decide on a simple shape, such as a triangle or diamond or ??? and play with scale as well as colour and value, with the aim of making a small composition. No real techniques taught here – just permission to free cut and lots of design help along the way. If you were in Day 1, this is a great forum for carrying on with those experiments, or feel free to start fresh. We started the second day with some more inspirational samples of Barb’s.


 I think I enjoyed working on the wonky triangles during the second day more than working with the ruler on the first day. Barb told us all you had to remember when working in this format was if you want to make your piece smaller, cut it off and if you want to make your piece bigger, add something to it.
  These were my blocks after the second day. I was thinking that I should be naming my piece, “Pine Beetle Forest” since the Pine Beetle is the only thing I know of that will change a green pine tree orange/red with blue wood. 🙂 As you can see, I earned an “A” for my work from Barb! The following six pictures were taken around the room at the end of Day 2. What an explosion of colour!


 This was a great two days. As always, I am recharged and inspired.
“It is value that does all the work, but colour gets the credit” ~ Barb Mortell

Yesterday, I took the last stitches in the four table toppers/runners that I quilted last weekend. These projects have been on the UFO pile for years. I set out this year to quilt as many of the tops that have been sitting on the flimsy pile as I could. I had some incentive from the guild’s UFO challenge this year which I won in June. I am on a roll and don’t plan on stopping soon!
This group shot photo of the four finished projects was taken from the deck directly above the grass where i placed the quilts. This may be my new favorite way to take pictures of quilts. 🙂
 This sunflower table runner is from the pattern, Easy Striped Table Runner by Karen Montgomery of The Quilt Company. Years ago, this was a free pattern on the Timeless Treasures website. They have taken it down now, but the pattern is for sale on several on-line quilting sites. The following is taken from the pattern jacket.
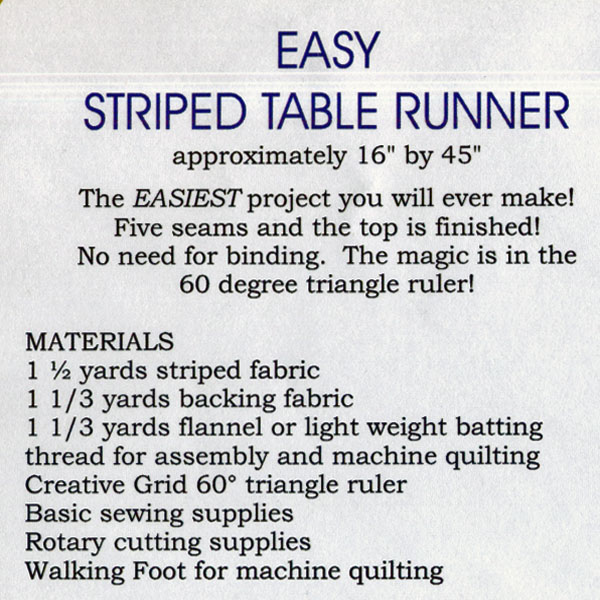
Although the pattern jacket says that this is the easiest project you will ever make, this project has been sitting on my “to be quilted pile” for years! I made one of these table runners for my Mom years ago and I started one for myself right after finishing my Mom’s. Like so often happens, the project that is destined as a gift gets finished and my project sits in the flimsy pile waiting for me to have some spare time to quilt it. The pattern says that the runner finishes at 45″ long, but my version is only 35″ long. Once you understand how the construction works, you can vary the size of the finished runner easily.

This lilac table topper is from the Spirals pattern by Ursula Riegel of Designs to Share with You. I have made this topper many times over the years. It is a great pattern to showcase a novelty fabric.
While in Oregon on a trip with my Mother and Aunt in May 2008, I picked up this cute lilac print fabric. I made table toppers for my Mother and my Aunt. In 2009, I made a topper for myself. It has sat in the flimsy pile waiting to be quilted until now.

This is another table topper made from Ursula Riegel’s pattern. Did you know that Ursula Riegel is a Canadian designer? She is located on Vancouver Island in Victoria, BC. I love to promote Canadian quilt designers. 🙂
 This table runner is from another of Ursula Riegel’s patterns called, It’s Fast, It’s Easy. This is another pattern that I like to go to for seasonal projects as it showcases the novelty fabrics so well.
Pam sent me the St. Patrick’s Day fabric back in 2006. Back then, it was nearly impossible to get any novelty fabrics for Valentine’s Day, St. Patrick’s Day, and Easter in Canada. Now because the Canadians are demanding these fabrics they are a little easier to find in Canada. Believe it or not, I have one more table runner made from this same batch of fabrics that is still on the “flimsy pile” waiting to be quilted. 🙂
Today was Lindsay’s wedding. Lindsay has been part of our family for what seems like forever. Lindsay is the same age as our son and has been a best friend to our daughter over the years.
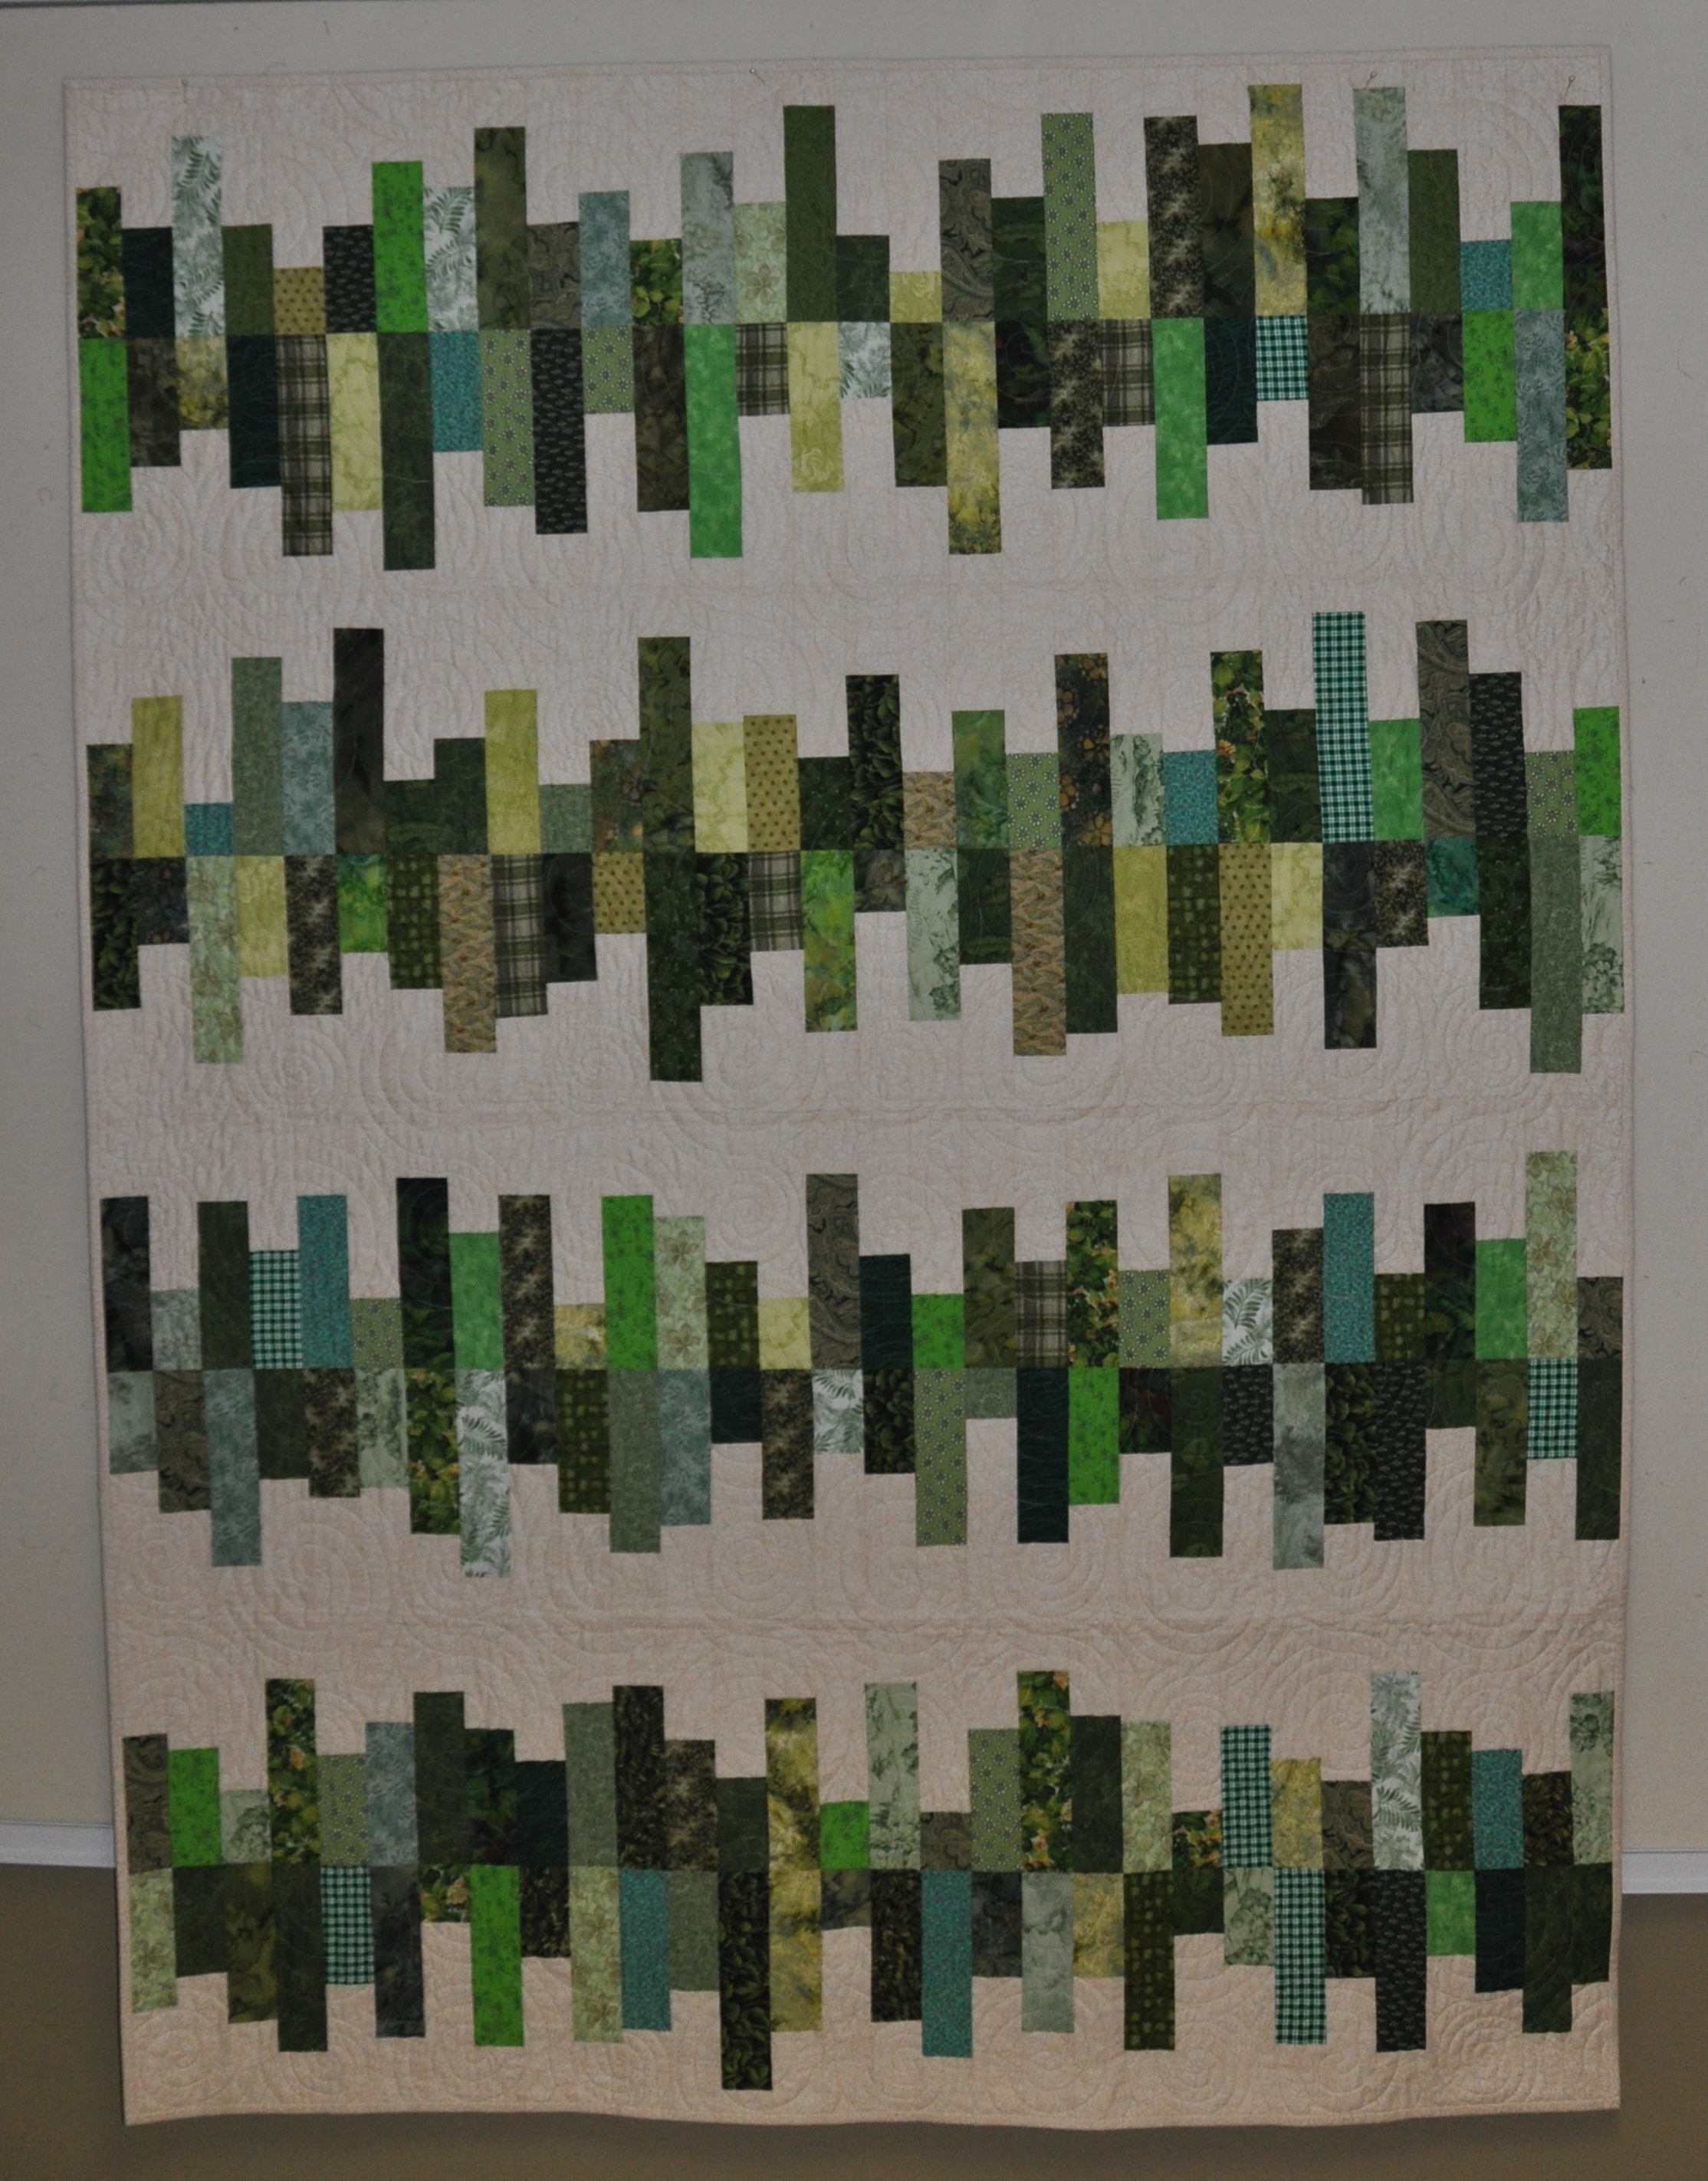
I made this quilt as a wedding gift for Eduardo and Lindsay. The pattern is Random Reflections by Karrie Lyne from Freckled Whimsy and can be found on the Moda Bake Shop site. The quilt is 60″ x 80″ which is larger than the pattern. I wanted this to be a quilt that could be used to wrap in on cool winter nights while watching TV. When I asked our daughter what Lindsay’s favorite colour was, she replied, “You know how I like purple and green? Well, Lindsay likes green and purple.” That comment made me chuckle. Since my favorite colour is also green, there is no shortage of green fabrics in my stash. And so, this quilt was made from strips of the many green fabrics that line the shelves of my studio.

This is the backing fabric that I used on this quilt. It is called, “The Bee’s Knees” by Terrie Mangat for Free Spirit Westminster Fibers. I wanted something that was a bit modern looking since I was told that the groom prefers the “modern” look. This fabric had a touch of purple for the bride and the large design made it very modern looking which was perfect for this quilt.

This is Lindsay and her Dad walking down the aisle.

Lindsay was Maid of Honour for our daughter two years ago. And today our daughter was Matron of Honour for Lindsay.

The happy couple with our DD.
 My husband and I with the happy couple.