I was asked to give a presentation to my quilt guild about how I came to love quilting and the following is my presentation.
- Thank you to Leah who asked me to share my story of how I came to love quilting and to show a few of my quilts with the objective to have you get to know me a bit better.
- So, I will have completed the assignment if you learn something about me that you may not have known before.
And so begins my quilt story….
- Both my maternal and fraternal grandmothers were quilters.
- My fraternal grandmother quilted out of necessity – living on a farm in southeast Saskatchewan in a house that had no heat upstairs where the bedrooms were.
- My maternal grandmother quilted out of necessity as well, but if she were alive today we would have called her a modern quilter. She worked a lot with solid fabrics and the quilt I most fondly remember was a pixelated image of a horse.
- Unfortunately, my grandmothers both passed away before they could teach me to quilt.
- My mother-in-law was also a quilter. She taught many women to quilt in the Agassiz/Harrison Mills area.
- So, I have been surrounded by quilts and quilters my whole life.
- I started learning to quilt by watching PBS – from quilt shows hosted by Fons and Porter, Kay England, Georgia Bonesteel, Kaye Wood, and Eleanor Burns.
- While watching those shows, I started a Jacob’s ladder quilt that was both my first quilt project and my first UFO. That Jacob’s ladder quilt remains unfinished and I added the few completed blocks and remaining fabrics to my scrap bin. Bits of the fabrics from that project continue to show up in my scrap quilts today.
- In 1997, a co-worker invited me to her quilt group. This group was comprised of 5 women who would get together annually before Christmas to work on a quilt project in common. They would first meet to discuss what pattern they wanted to work on and then they would spend a couple of months collecting and organizing their fabrics. On a weekend in November they would get together for a weekend of quilting to make their quilt tops. Now we would refer to this as a quilt retreat, although, I didn’t know anything about quilt retreats then. Teresa was a member of the group and she was our unofficial leader and teacher as she regularly taught quilt classes at the Cloth Shop in Vancouver.
- One of the first lessons that Teresa taught us was how to pick fabrics for your quilt. She taught us to start by picking a print that we really, really liked. Then we pulled the rest of the fabrics to go in the quilt by matching them with the colours in that print, being sure to vary the scale of the prints.
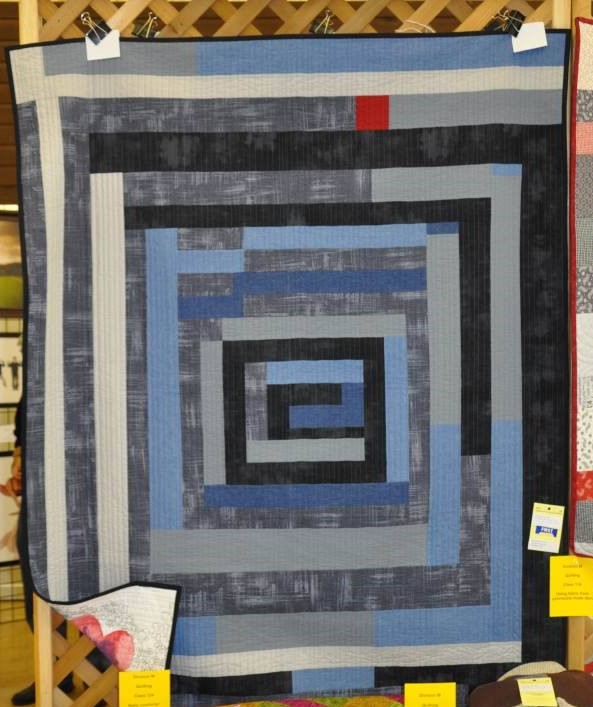
- First Quilt – Log Cabin

- This was my first completed quilt.
- Top pieced together during that “retreat” weekend in 1997.
- The print was a fabric on sale at Walmart.
Modern Quilting Influences
- My quilting roots are traditional, but today, I would consider myself a modern quilter. I still have a large stash of traditional quilt fabrics and a stack of quilt tops made from more traditional fabrics using traditional quilt patterns. However, I try to introduce elements of modern quilting into my quilts, even if I am using traditional fabrics – things like mixing solid fabrics with my traditional fabrics and utilizing more improv techniques and not utilizing patterns as much.
- I prefer to make utilitarian quilts, simple in design – quilts that will be used and loved by those who receive them.
- My two modern quilt influences were Gwen Marston and the Quilters of Gee’s Bend.
Influence #1 – Gwen Marston
- In March of 2015, I was introduced to Gwen Marston by a good friend in Portland who was a modern quilter. She also belonged to the Portland Modern Quilt Guild and she would often encourage me to try making modern quilts. I just didn’t get that modern quilt thing at that time. It wasn’t until seeing Gwen’s quilts that the modern quilt guild bug bit me.
- Gwen was born in 1936 and began making quilts in the early 1970s.
- Gwen said she always took her clues for her quilt making from studying antique quilts. Gwen’s quilt teachers were the Mennonite women who lived in the Oregon community she lived in at the time. When Gwen met Mary Schafer she said it was then that her quilt education began in earnest. Mary Schafer was born in 1910 and was inducted into the Quilters Hall of Fame in 2006. Mary was known for her study and dedication to the reproduction of historic quilts.
- So Gwen’s roots were very traditional, but she noticed from looking at very traditional quilts that they seemed to break all the rules and the quilters seemed to have a lot more freedom. It was through her study of antique quilts that Gwen noticed that early quilt makers were not following arbitrary rules nor were they using patterns. It was these antique quilts that helped Gwen develop the quilt style that she is most famous for – Liberated Quiltmaking.
Gwen said that she liked to mostly work with solids.
“Solids do a lot of things that prints can’t do.”
“Line and form are more clearly defined by solid fabrics.”
“Solids always seem more painterly.”
“Paint itself comes in solids, it doesn’t come in prints.”
“Solids emphasize the delineation between shapes while prints blur the edges of adjoining shapes.”
“Solids never appear dated and prints definitely do.”
“Hand quilting shows up more on solids – quilting is a secondary design element – and can be used to create patterns where none exists.”
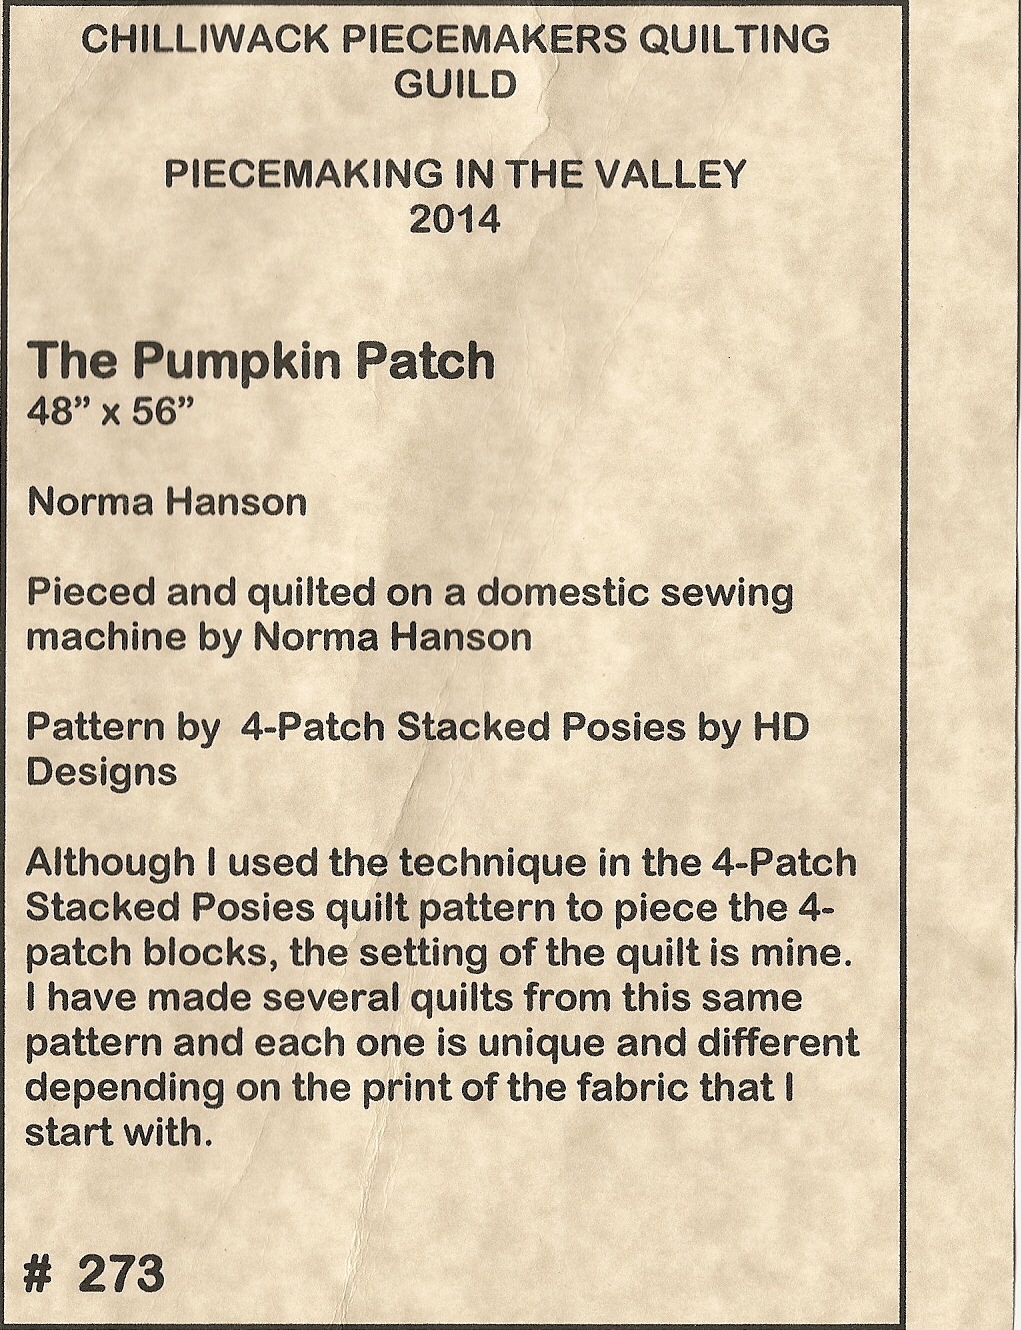
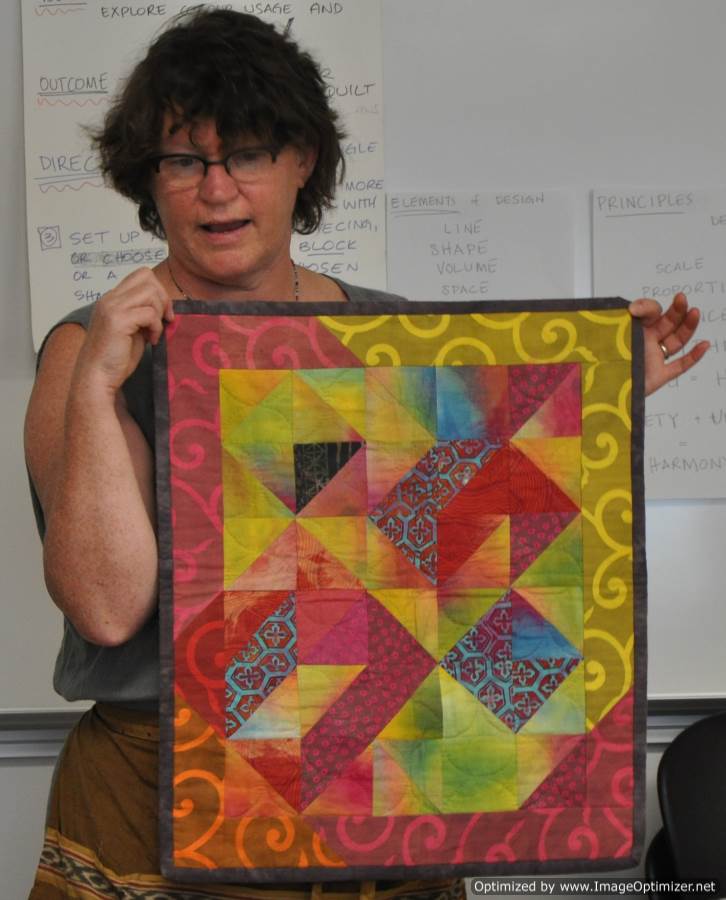
2. Two Mini Quilts

- These two mini quilts were made during the first Gwen Marston workshop I attended in Bellingham in March 2015 called “Small Studies”. At the time, Gwen was living on a remote island on Lake Michigan and she didn’t get to the Pacific Northwest to teach very often.
Gwen said that when working small:
“You can experiment with many more ideas in a shorter period of time.”
“You can be more adventuresome because there was less risk both in terms of time and expense.”
“You can explore different construction techniques and design possibilities.”
Gwen’s advice:
“sew little things together to make bigger things”
“piece a larger piece and then cut it off”
“save stuff, it will come in handy”
- In March 2017, the Quilt museum in LaConner, Washington was having a showing of Gwen’s work. The museum sponsored a workshop with Gwen. This was to be Gwen’s last workshop before she retired and I was lucky to be a student in this workshop.
3. Leftovers

- Gwen had shown us a quilt during the workshop that was made from leftover bits from her students’ fabrics in a workshop. I was inspired by her work and went home and made my version from leftover bits that I had accumulated from previous projects and workshops.
Influence #2 – The Quilters of Gee’s Bend
- Just southwest of Selma, Alabama is Gee’s Bend (officially called Boykin). Today this community remains an isolated rural community surrounded by the Alabama River on three sides. To get to Gee’s bend you have to take a ferry or travel the one road into town.
- The area is named after Joseph Gee, a landowner who came from North Carolina and established a cotton plantation in 1816 in Gee’s Bend with his seventeen slaves.
- After emancipation many freed slaves and family members stayed on the plantation as sharecroppers.
- In the 1960’s the residents of Gee’s Bend lost the ferry that connected them to Camden and a direct route to the outside world. “We didn’t close the ferry because they were black,” Sheriff Lummie Jenkins reportedly said at the time. “We closed it because they forgot they were black.” Ferry service was not restored until 2006.
- The Quilters of Gee’s Bend were descended from generations of slaves who worked the plantation at Gee’s Bend. The ancestors of the original slaves were so firmly rooted in that place that they stayed put on that peninsula in Alabama after the Civil War and they established a tightly knit community that during the Depression was declared one of the poorest places in the United States.
- The style of quilts made by the Quilters of Gee’s Bend has remained constant over the years – utilitarian in purpose – the aesthetic being passed down through at least six generations to the present. The geographical isolation is attributed to the quilters being able to keep that constant aesthetic.
- Gee’s Bend quilts are distinguished by improvisation. They are often made from reused denim over-alls, trousers, cotton and flannel work shirts, and other assorted materials. Their quilts are often described as no-nonsense, made to be used – slept under, wrapped in when sick, covered with while sitting on the porch for a cold day, or sat upon in the grass during an outdoor barbeque. In other words, “Piece it together and move on”.
- In 2002, the Museum of Fine Arts in Houston, presented an exhibition of seventy quilts from Gee’s Bend.
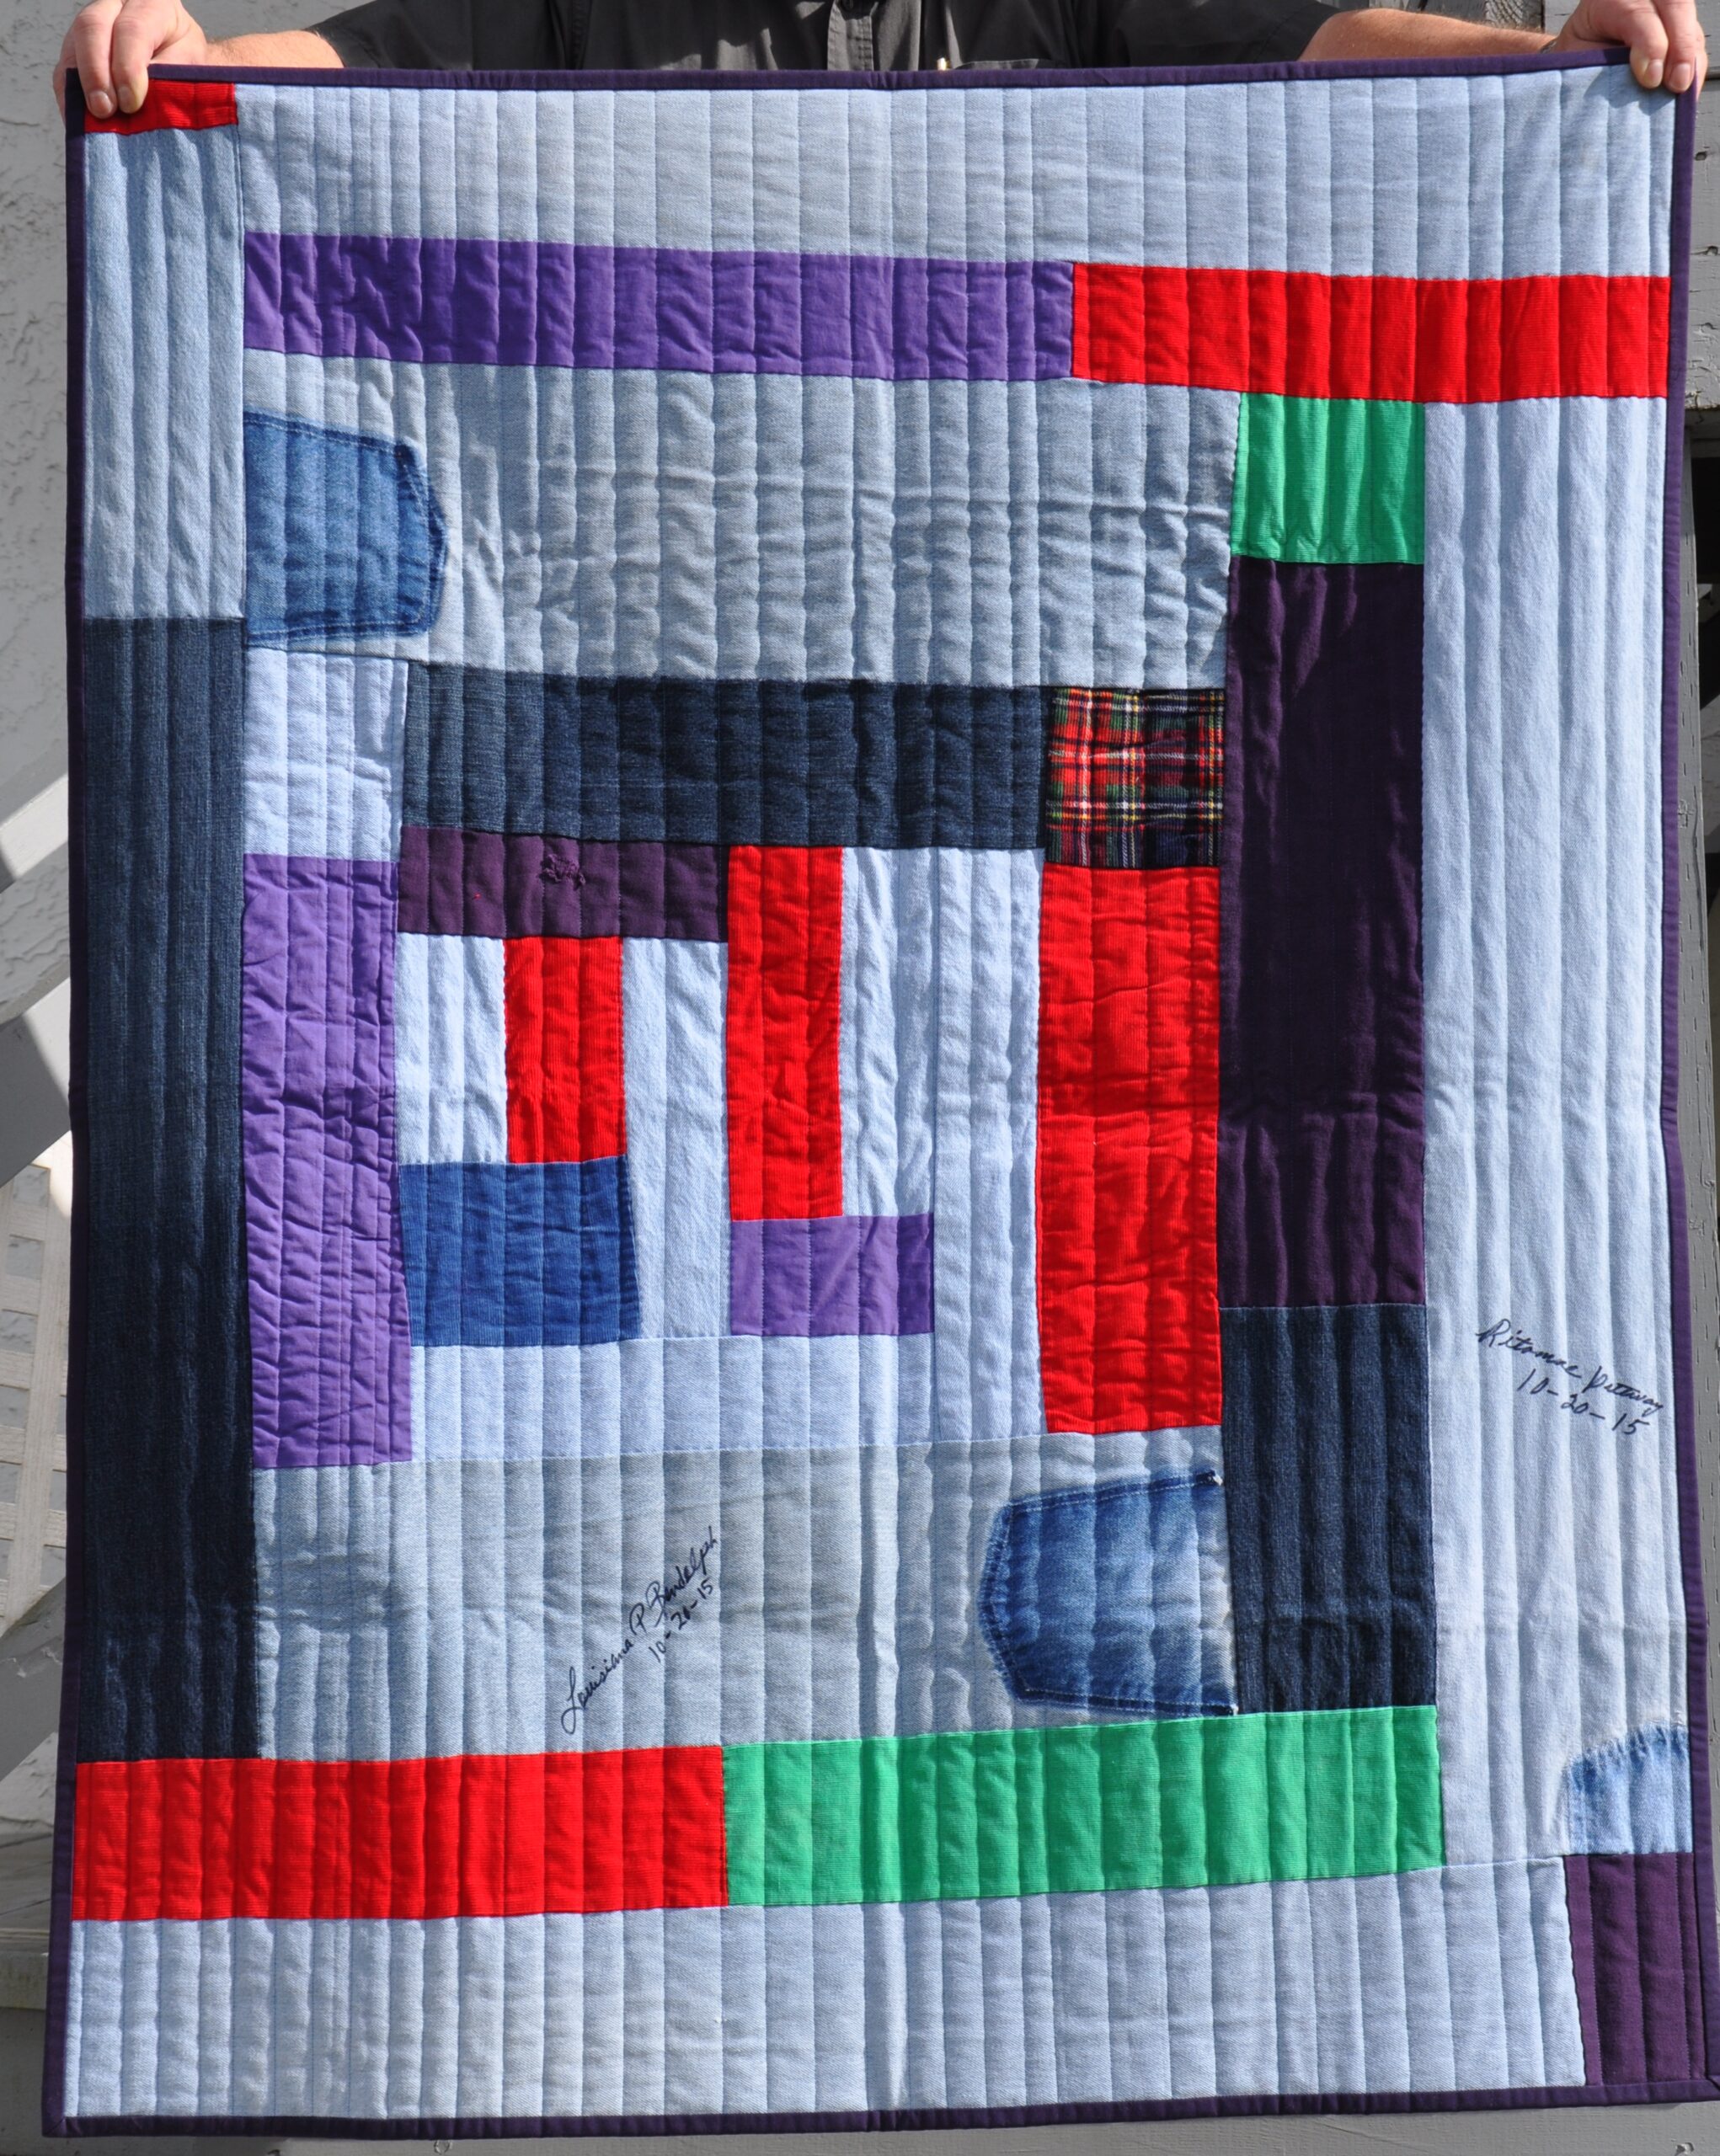
4. Gee’s Bend Workshop Quilt
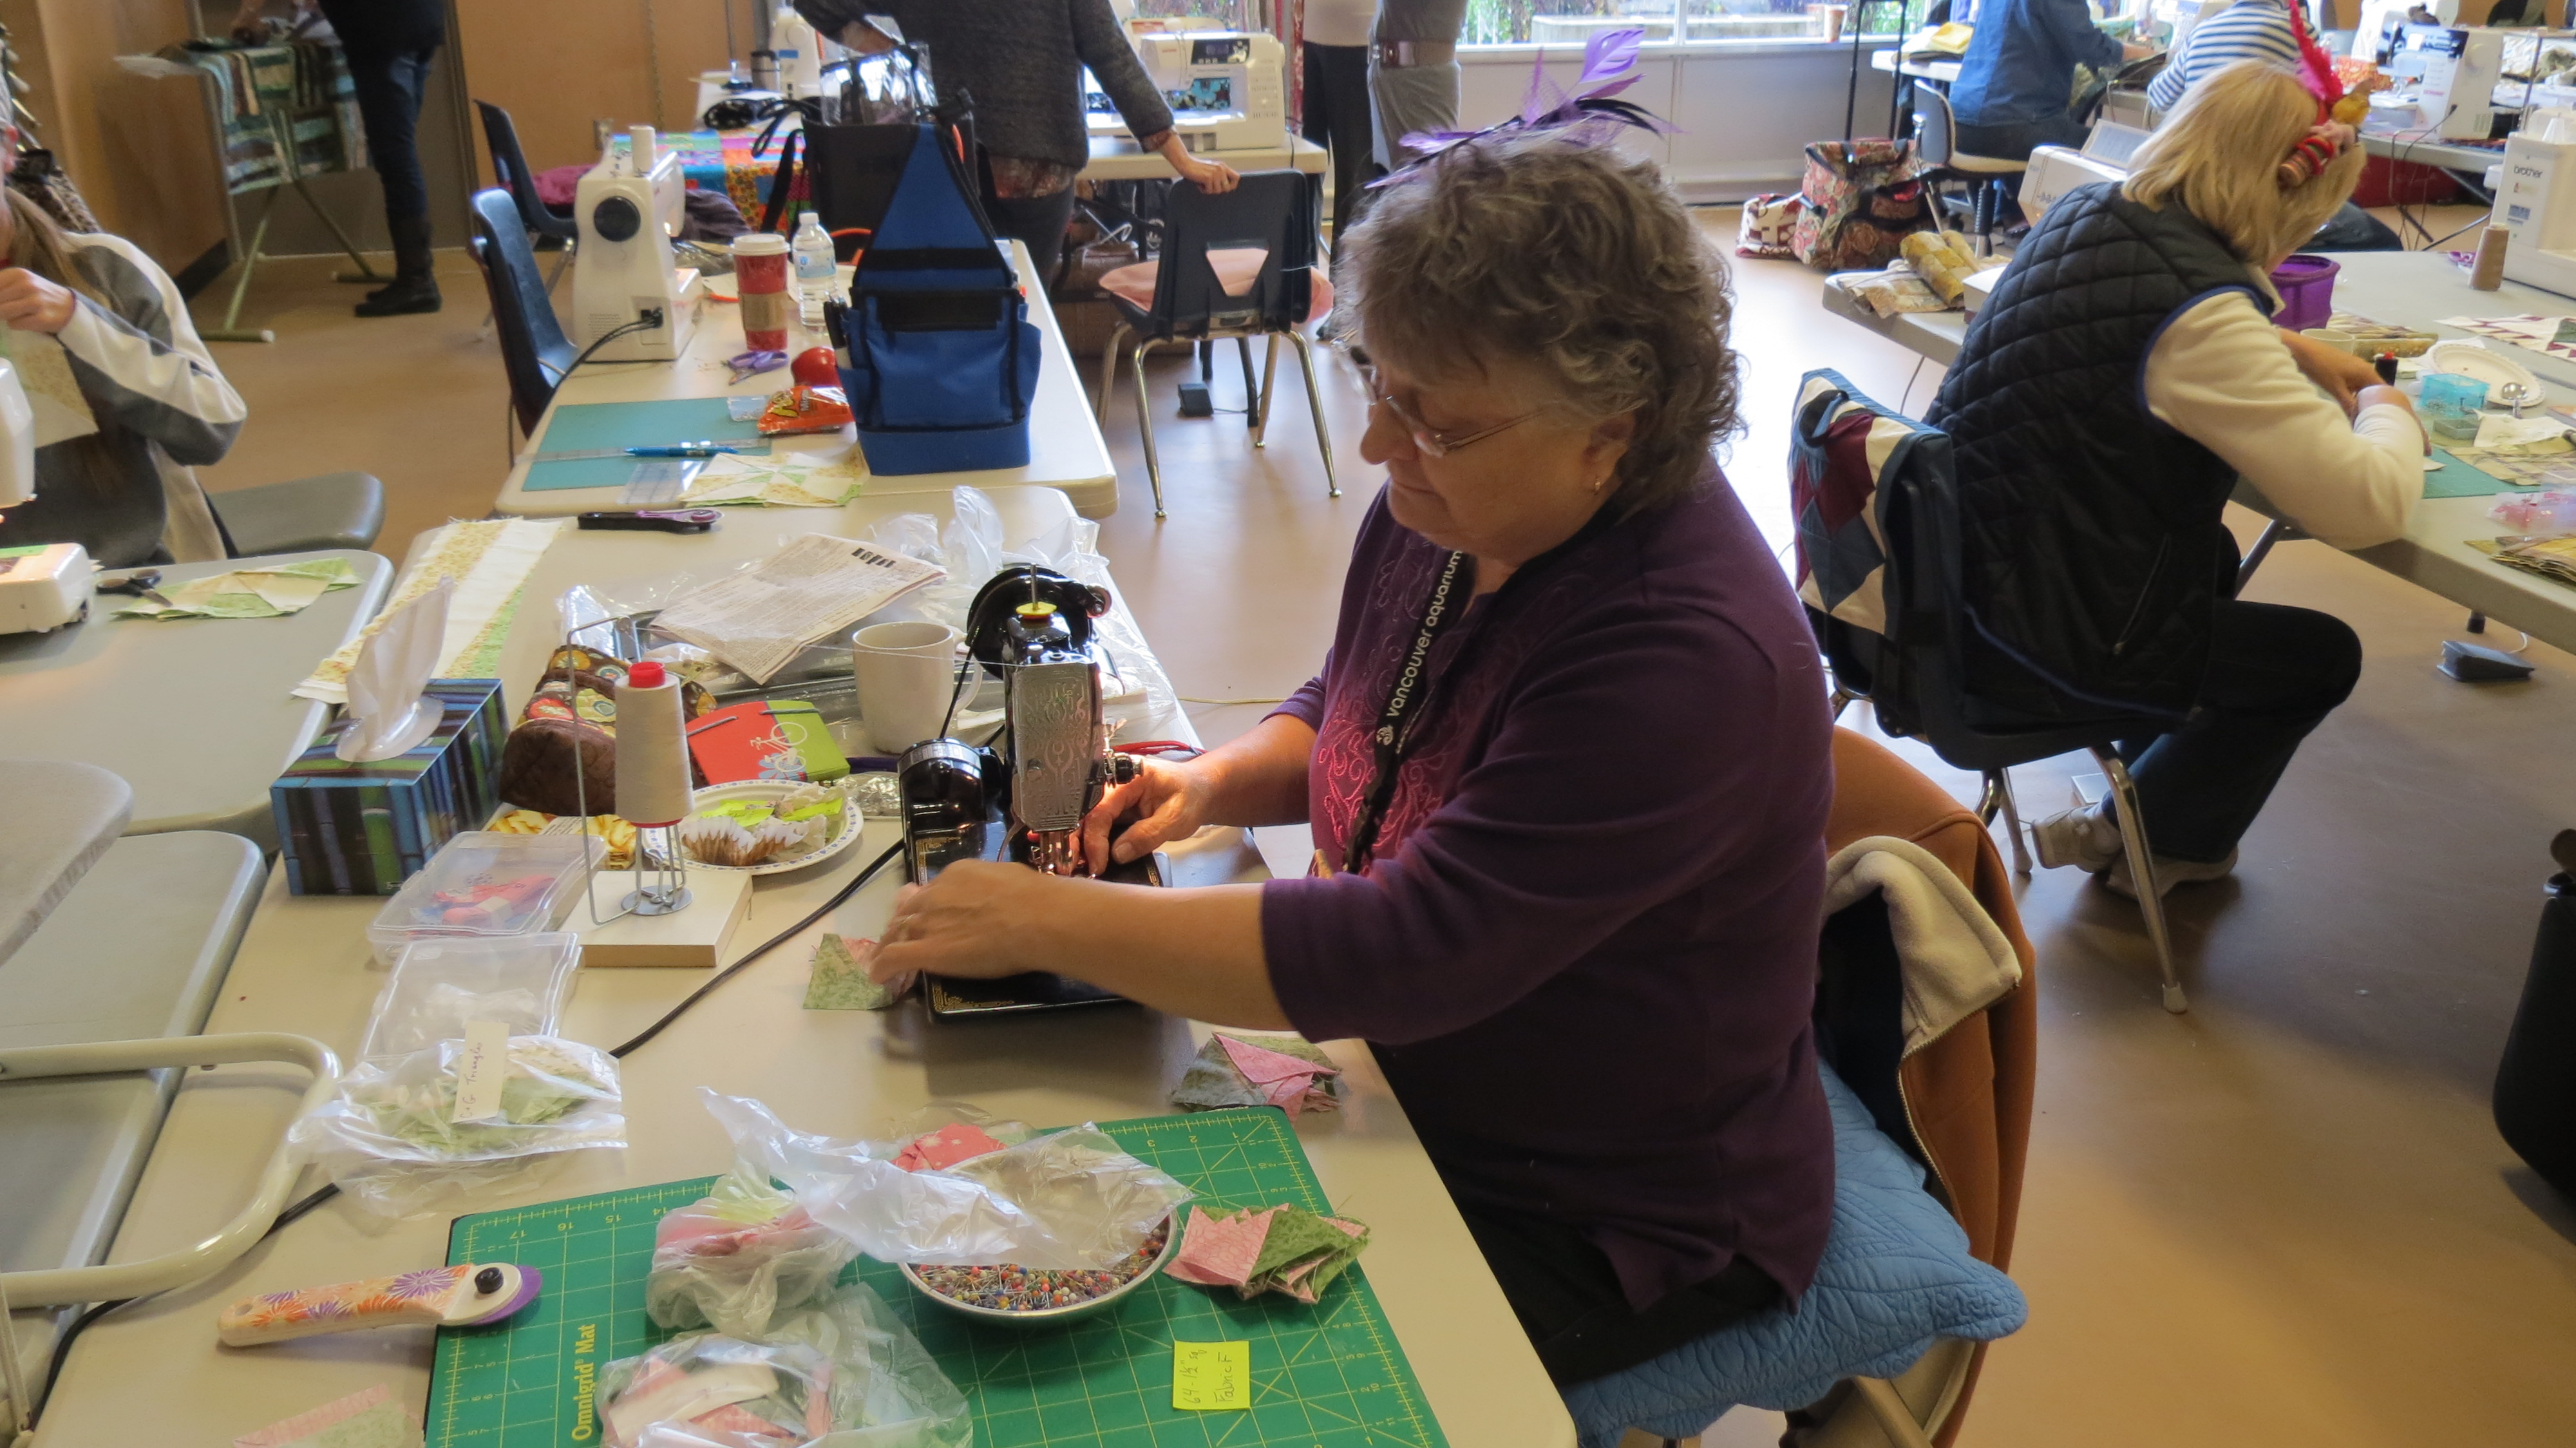
- In Oct 2015 I attended a Gee’s Bend workshop on Granville Island at Maiwa in Vancouver.
- The workshop was led by two of the Gee’s Bend Quilters: Louisiana P Bendolph (called Lou) (born in 1960) and her mother, Ritamae Petway (called Rabbit) (born in 1941). Lou was 1 month older than me and Rabbit was one year older than my own mother.
We peppered Lou and Rabbit with questions for the 3-day workshop and they told us stories of what it was like to grow up and live in Gee’s Bend.
– They went to school only if it rained. If the sun shined, they were in the fields.
– Lou started working in the fields at the age of six.
– They grew cotton and picked it by hand every day as it opened from the end of September until the middle of November.
– Lou talked about not being allowed to go to parties or anything else besides church and May Day because her grandmother was killed on Christmas Eve on her way home from a party. She said she was sheltered from the world because of what happened to her.
- In the workshop, we constructed our quilt tops in the traditional Gee’s Bend style.
– There was no instruction, no pattern.
– We worked by piecing by hand – no machines.
– We tore our fabric – no use of scissors or rotary cutters. - The quilt is signed on the front by Lou and Ritamae using a sharpie marker.
5. Gee’s Bend – Mini
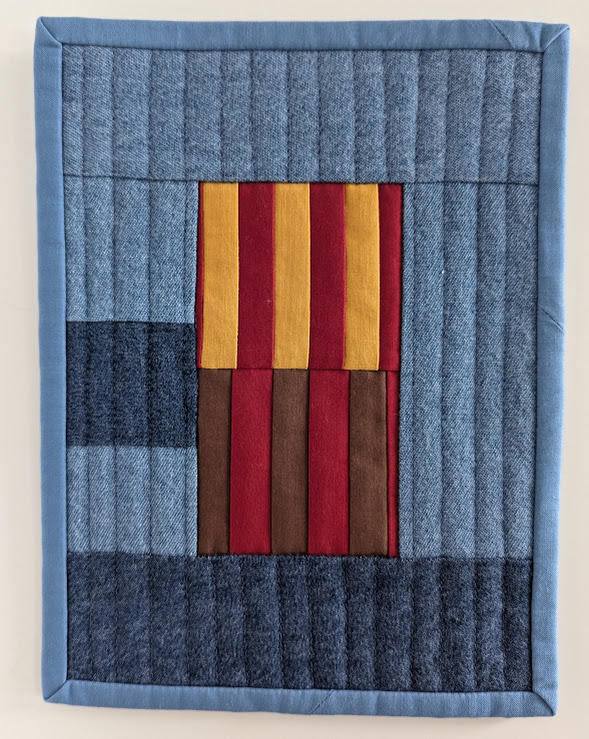
- In 2016, I attended the Pacific Northwest Meetup in Portland for Modern quilters. We were invited to participate in a mini swap. I made a miniature version of a Gee’s Bend quilt for the swap and then made a second one for myself.
- The original quilt was on the cover of the book, “The Quilts of Gee’s Bend”.

- The original quilt was made by Annie Mae Young – born in 1928 – from work clothes – denim, corduroy, and synthetic blend (britches legs with pockets) – and was 108 x 77 inches.
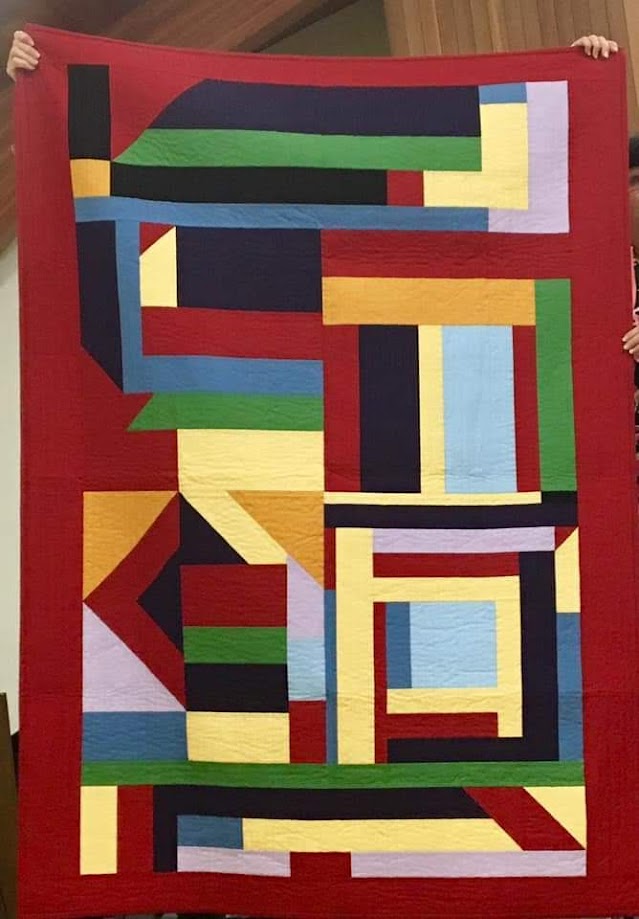
6. Gee’s Bend – Housetop
- This quilt was made from a pattern adapted by Debby Kratovil. Debbie adapted the original version of the quilt into a pattern for Windham Fabrics.
- The original quilt was made by Rita Mae Pettway (Rabbit) – a work-clothes quilt made from denim and cotton – 84 x 70 inches.
7. Gee’s Bend – Medallion Variation
- This quilt was made from a pattern by Debby Kratovil which was adapted from the original quilt made in 2003 by Louisiana Pettway Bendolph (Lou).
- The original quilt was a small medallion surrounded by white borders equally as wide as the center medallion.
8. Solid String
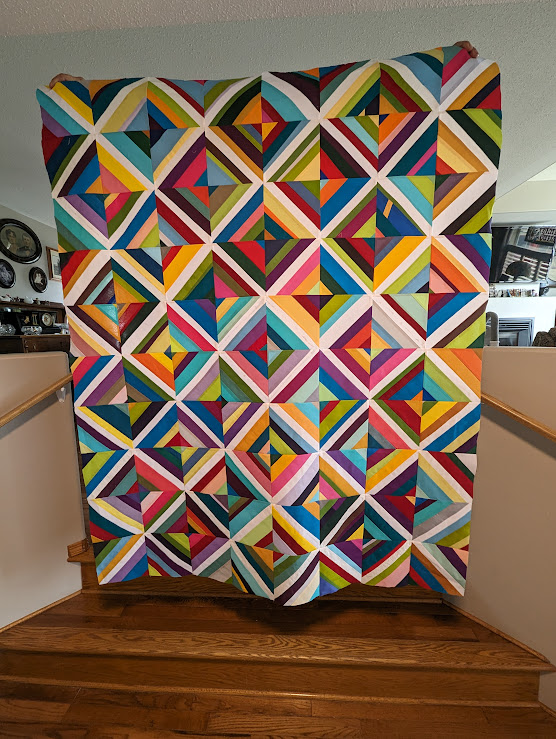
- This is not yet quilted; still a flimsy.
- This top Illustrates the quilts that remain my favorite quilts to make – string quilts.