Scrappy Hexies

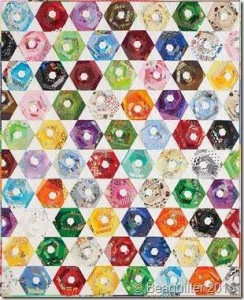
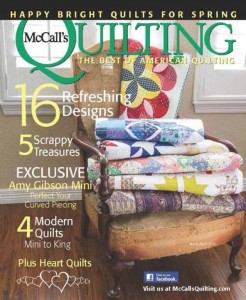
I fell in love with the quilt,  Scrappy Hexies in the March / April 2015 issue of McCall’s Quilting magazine and it has been on my “To Do” list since then.

March / April 2015 cover of McCall's Quilting magazine

March / April 2015 cover of McCall’s Quilting magazine

The quilt is a design by Bea Lee from www.beaquilter.com .

Bea Lee's Scrappy Hexies quilt

Bea Lee’s Scrappy Hexies quilt

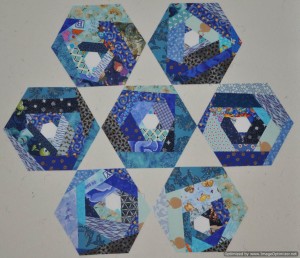
I started my blocks today and I finished my first 7 blocks from my blue scraps.

My first 7 Scrappy Hexie blocks

Blue scrappy hexie blocks

The pattern in the magazine suggests tracing the hexagon pattern pieces from the magazine pullout section onto template plastic.  However, I recently used my discount coupon for Joann’s to purchase a large hexagon shaped ruler which has made trimming the blocks so much easier than using template plastic.

New String Block Project

I often make string blocks when I am between projects or if I just want to sew something but I am not interested in focusing.  Sometimes you just need to mindlessly sew to wind down after a stressful day at work.

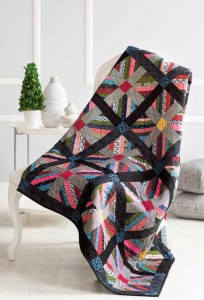
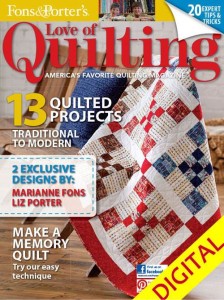
I am always on the lookout for ways to use the string blocks once they are made.  This was a quilt that appeared in the July/August 2013 issue of Fons & Porter’s Love of Quilting.  The quilt is called Rock Island Campfires and was made by Marianne Fons.
DP130365

LOQJA13


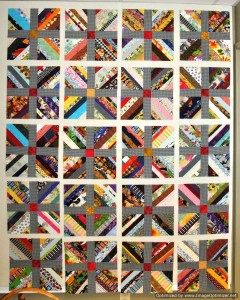
Marianne’s blocks were pieced on paper foundations and measured 4.5″ square.  Four string blocks pieced together with a cornerstone and sashing measured 10.5″ square unfinished.  I pieced my blocks with a used dryer sheet as a foundation and trimmed them to 5.75″ which made my block larger at 13″ unfinished.

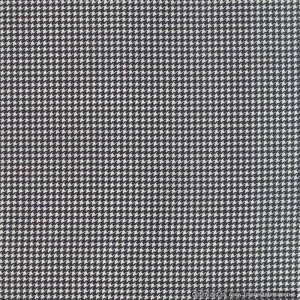
I found the perfect fabric for sashing my blocks – a tiny black and white houndstooth – First Crush by Sweetwater for Moda.

5602-14

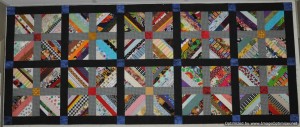
These are some of my blocks on the design wall.

2017May31-Rock Island Campfire - finished blocks

String Half Log Cabin – Flimsy

Back in 2010, I was inspired by a blog post written by Kim Brackett.  Kim’s String Block Tutorial was easy to follow and I started making a pile of string blocks using her technique.  Kim never did post a picture of her finished quilt on her blog so I am not sure how she set her string blocks in her finished quilt.

I played around with various settings for my blocks and decided that I liked the blocks set on point best.  Today, I finally finished sewing my blocks together into a top.  My blocks finished at 9 ” square.  At this stage, my quilt top measures approximately 78.5″ x 79.5″.  I haven’t decided whether or not I will add a border to this quilt.  I like the look of the top without any further borders–the large chaos of colour seems to float on the quilt top.  However, I will likely regret not adding a border to stabilize the edges of this quilt when it comes time to quilt it.  I am sure that keeping the on point setting of the blocks with the bias edged setting triangles square while quilting will be a challenge I am sure.

It took me 4 1/2 years to get my blocks finished and set into a quilt top.  Let’s hope It doesn’t take me another 4 1/2 years to turn this quilt top into a finished quilt.  🙂

The next time I make this quilt, I think I will make the first square of this block the same size and from the same fabric.  I think this will help to “tame” some of the wildness of this quilt and give the eye a place to rest.
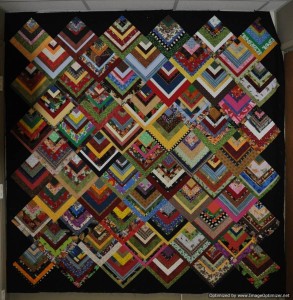
2015_January 29_String Half Log Cabin_Flimsy-Optimized


I recently purchased Fons and Porter’s Easy Diagonal Sets Ruler.  This ruler was a big help when it came time to cut the setting triangles.  The following link will take you to a video that demonstrates how to use the ruler:  https://www.youtube.com/watch?v=iBfDsLP3P9I

I usually use the method of cutting setting triangles as described by Marti Michell in her book, Quilting for People Who Still Don’t Have Time to Quilt.  Marti says to:

Just cut a larger square on both diagonals to yield four setting triangles.  To determine the size of the larger square, measure the diagonal of the finished size unit block, and add 1 1/4 inches.  this is the size square to quarter for perfect-fit, no-mistakes-allowed setting triangles.  I prefer to add 1 1/2 inches to 2 1/2 inches to the diagonal measurement of the block.  That size square will yield slightly larger setting triangles which allow the design blocks to float inside the borders.

Using Marti’s method, I would have been cutting my squares 15 1/2″ square in order to get 4 setting triangles.  In order to cut enough squares this size for my setting triangles, I would have needed more black fabric than I had on hand.  However, using the ruler, I was able to cut my setting triangles from narrower strips of fabric and still have some fabric left over.

Guild Quilt Show

Our quilt guild’s bi-annual show was this past Friday night and Saturday (October 17 and 18, 2014).  I was once again on the committee that hung the quilts.  We were very organized this year and had the quilts hung in record time.

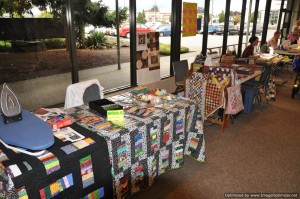
I was also doing demos again this year. Unlike some other quilt shows, our guild does not just do demos at specific times during the show.  Our demos are on-going through the whole show.  This means that the people that are doing the demos are doing lots and lots of talking.  🙂  There were four of us doing demos this year.  We had the most perfect spot with perfect lighting against this bank of windows.

DSC_0938

This was my home for a day and a half while I demonstrated how to make string/crumb blocks using a stabilizer.  I use used color catchers as my foundation, but any other stabilizer product such as muslin or paper could be used.  If you use paper, you will have to remove the paper before quilting your quilt.  This is one reason why I use the color catchers–there is nothing to remove; the color catcher is not removed and stays in the quilt.  Granted the quilt is a bit heavier because of the additional layer.

The woman doing demos beside me was demonstrating another technique for using up scraps–making those fabric wrapped bowls that are so popular now.  We were very complimentary to one another with our demos as we were both showing how to use up scraps that some people put would put in the trash.

The quilts that I entered in this year’s show were:

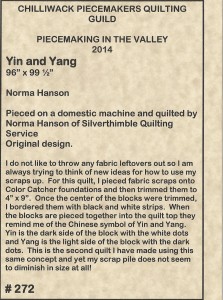
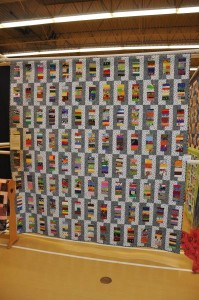
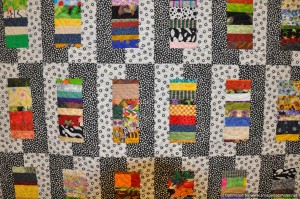
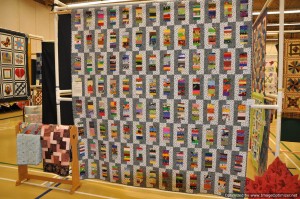
~Yin and Yang

DSC_0575DSC_0577 DSC_0576

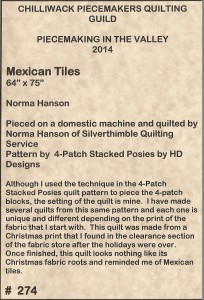
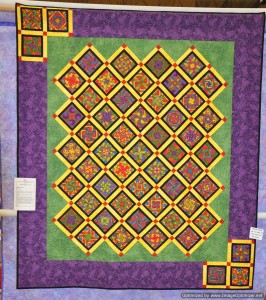
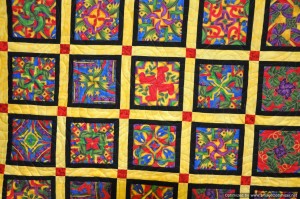
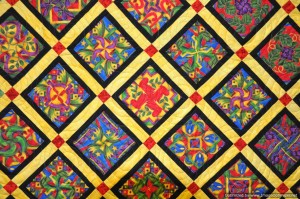
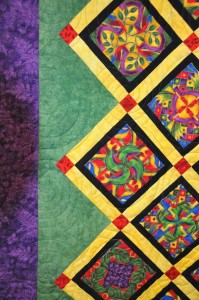
~Mexican Tiles

DSC_0619 DSC_0620 DSC_0621 DSC_0622

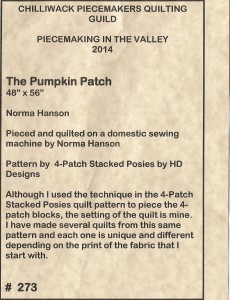
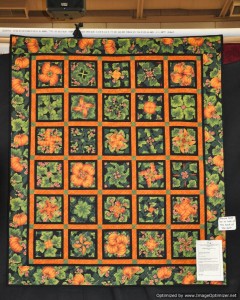
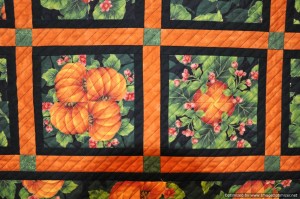
~The Pumpkin Patch

DSC_0583 DSC_0584

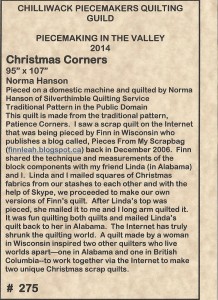
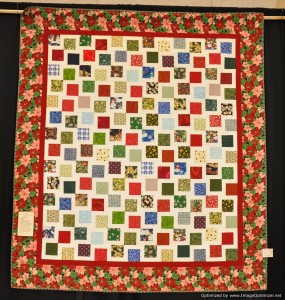
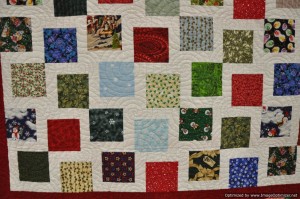
~Christmas Corners

DSC_0812 DSC_0813

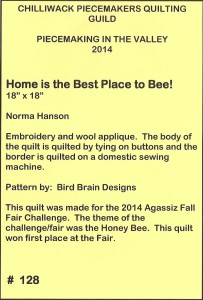
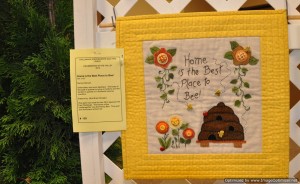
~Home is the Best Place to Bee

DSC_0883


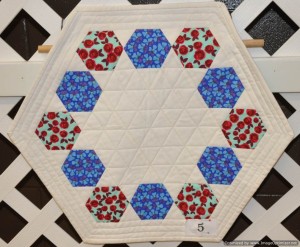
And lastly, my entry into the challenge for this year’s show; Roses are Red, Violets are Blue.

DSC_0872I was very tired by the time I got home after quilt show take down last night.  …but ask me in two years if I am ready to do this again and my response will be a definite, Yes!!!