Guild Quilt Show

Our quilt guild’s bi-annual show was this past Friday night and Saturday (October 17 and 18, 2014).  I was once again on the committee that hung the quilts.  We were very organized this year and had the quilts hung in record time.

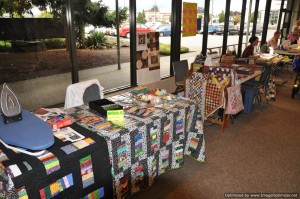
I was also doing demos again this year. Unlike some other quilt shows, our guild does not just do demos at specific times during the show.  Our demos are on-going through the whole show.  This means that the people that are doing the demos are doing lots and lots of talking.  🙂  There were four of us doing demos this year.  We had the most perfect spot with perfect lighting against this bank of windows.

DSC_0938

This was my home for a day and a half while I demonstrated how to make string/crumb blocks using a stabilizer.  I use used color catchers as my foundation, but any other stabilizer product such as muslin or paper could be used.  If you use paper, you will have to remove the paper before quilting your quilt.  This is one reason why I use the color catchers–there is nothing to remove; the color catcher is not removed and stays in the quilt.  Granted the quilt is a bit heavier because of the additional layer.

The woman doing demos beside me was demonstrating another technique for using up scraps–making those fabric wrapped bowls that are so popular now.  We were very complimentary to one another with our demos as we were both showing how to use up scraps that some people put would put in the trash.

The quilts that I entered in this year’s show were:

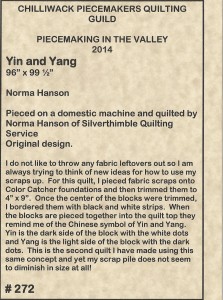
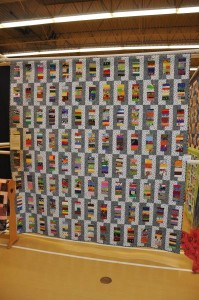
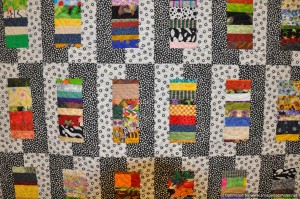
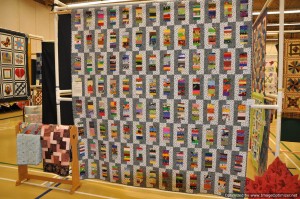
~Yin and Yang

DSC_0575DSC_0577 DSC_0576

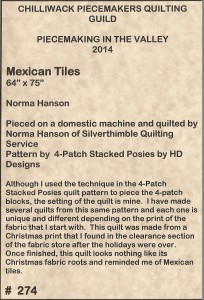
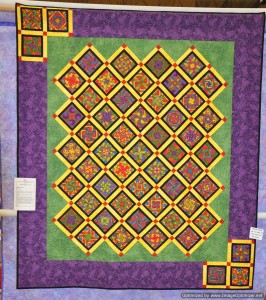
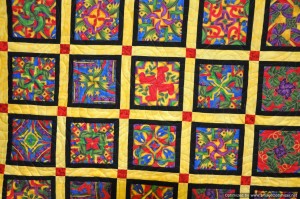
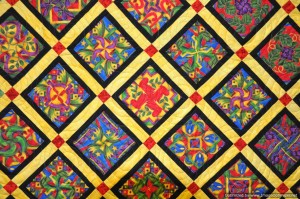
~Mexican Tiles

DSC_0619 DSC_0620 DSC_0621 DSC_0622

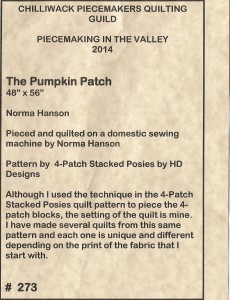
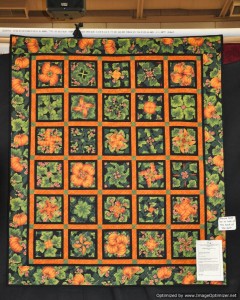
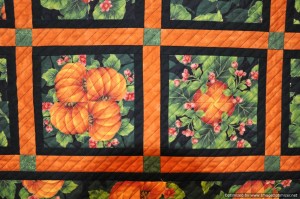
~The Pumpkin Patch

DSC_0583 DSC_0584

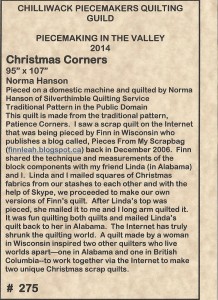
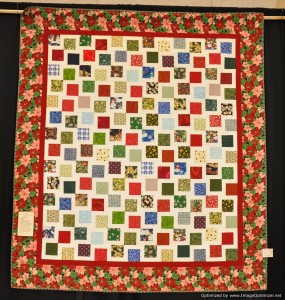
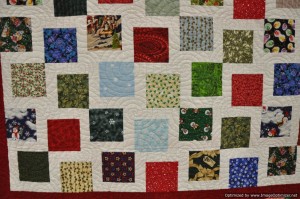
~Christmas Corners

DSC_0812 DSC_0813

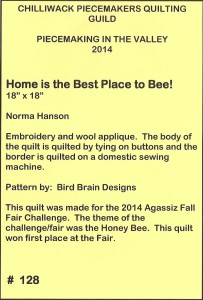
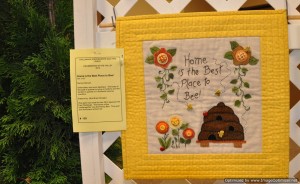
~Home is the Best Place to Bee

DSC_0883


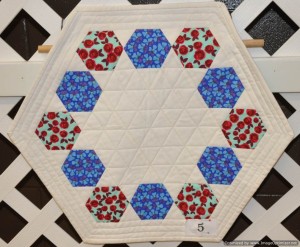
And lastly, my entry into the challenge for this year’s show; Roses are Red, Violets are Blue.
DSC_0872I was very tired by the time I got home after quilt show take down last night.  …but ask me in two years if I am ready to do this again and my response will be a definite, Yes!!!

 

Colour Catcher String Quilt

First, these are some pictures of our backyard.  My plant pots are visible from my kitchen window.

I think of this area as my little sanctuary.

We have been enjoying the feathered visitors to our yard as well.

This weekend was a long weekend for me (I was off from work Friday to Monday).  While North and South played on the laptop, I sewed.  It seamed appropriate that I was watching North and South–a made-for-TV miniseries about the Civil War during the July 4th (American Independence Day) long weekend. http://en.wikipedia.org/wiki/North_and_South_(TV_miniseries)

The center of these blocks are colour catcher string blocks.  I pieced my string blocks on used colour catcher foundations.  http://www.shoutitout.com/preserve-colors.aspx 

My friend, started to call this quilt a “conversation quilt”.  The strings are from many of the scraps and bits leftover from previous quilt projects.  Since each piece has a story to tell, the name conversation quilt was born.

I used all I had of the two black/white fabrics that I purchased last weekend to make this quilt.  The quilt is plenty long enough, but it should be a little wider to better fit our bed.  A couple of my friends and I were discussing border options on-line.  Since this is a conversation quilt, we decided that the quilt would tell us what it needed for borders.  We listened, and with the assistance of a friend, I have secured more of the two black and white fabrics.  Once the fabrics are received in the mail, I will be making this quilt top two blocks wider.  Even though I almost always add at least one border to my quilts, this quilt definitely was not in need of a border. 

I used quite a few of the colour catcher string blocks that I had on hand and I still have more left.  I will be on the lookout for more quilting ideas to use up the remainder of the blocks so stay tuned for more colour catcher string quilts!

Black & White Bento Box Progress

My son held up this top for me so I could take the picture. He wanted to know if the quilt was for Joey as he could see cats in the quilt. No, this one is not for Joey!

So the center portion of this Black & White Bento Box is now complete. I am now stuck on what borders to add. I had wanted to put two borders on–the first, a red with black dots and the second, a black with white print that was used in the center of the quilt. My favorite print in the quilt is a Loralie Design print with cats:

This print is called Sophistikitties. The only problem with using this as the outer border is that my local quilt shop does not carry this print. I could use a plain black but I am reluctant to do that as plain black fabric picks up and shows every thread and every piece of lint. I intend that this quilt will be used as a lap quilt so I would like something that doesn’t show everything that comes in contact with it quite so much. I find that the black and white prints camouflage the lint a little better than solid black. I have also considered using a bright green as an inner border rather than red.
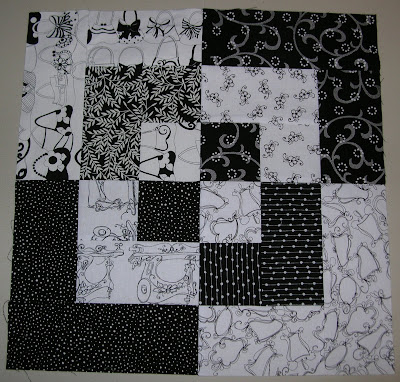
The possibilities for borders go on and on. This is why I end up stalled on the borders. If I can’t find a suitable black with white print for the border locally, I may end up taking the yardage requirements with me when I head out on my vacation later in January and see what I find on my trip.
For now, this top will sit as a UFO awaiting border decisions and fabric.

Black and White

Since the weather is not cooperating with plans to drive anywhere, I am staying put inside. Since I am housebound, I decided to take advantage of the opportunity and I spent the day quilting.

I have been busy today working on this black and white Bento Box quilt.

I have joined the on-line Black and White Quilting Project http://bwquiltchallenge.blogspot.com/ . I have always wanted to work with black and white so I have used the opportunity presented by the challenge to work on one of my black and white ideas–the Bento Box.


The plan is to make this quilt lap size. I have a second idea I would like to try in black and white. Once this quilt is a finished flimsy, I will be able to use the left over black and white fabrics and start a second black and white project–a Disappearing Nine Patch (D9P).
I quite often use a website called, Webshots–http://www.webshots.com/, as a source of inspiration for future quilt projects. I have seen both a black and white Bento Box and a black and white Disappearing Nine Patch there. All you have to do is go to the Webshots site and type in the name of a quilt pattern, add the word quilt and search. You are often overwhelmed by the number of pictures of that particular quilt pattern that will come up.