FVMQG Robert Kaufman Modern It Up Challenge

DSC_0593-Optimized


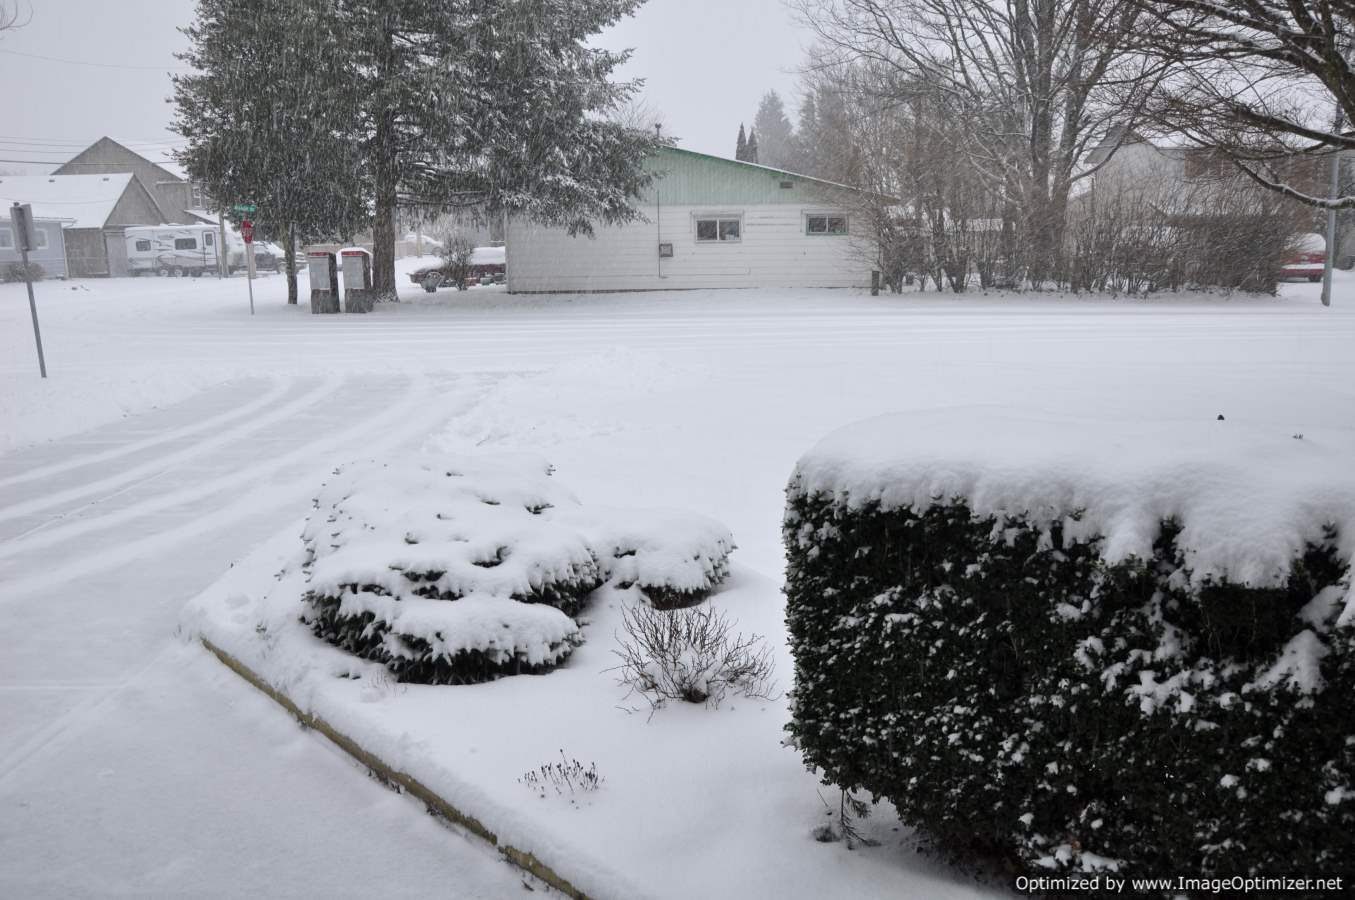
Today it started to snow.  This is the first snowfall that we have seen here this winter.  We have been under an extreme weather warning since last night.

Winter Storm, Gorgon formed over the Northwest Sunday, and in a mere 48 hours it is expected to bring a swath of snow more than 2,000 miles long from the Cascades and Northern Rockies across the Midwest and into the Northeast through Tuesday. (from The Weather Channel)

So while the snowflakes fell outside, I was inside sewing.  Today was a perfect day to work on my FVMQG Robert Kaufman Modern It Up Challenge.  Our finished quilts will be part of an exhibit that our guild has planned for the Creative Stitches Show in March 2015. The theme of our challenge was to take a traditional block / quilt design of our choice and make it modern.

We were given a package of fabrics to work with that included Kona solids in Pewter, Limelight, Pool, Watermelon, Cerise, Goldfish, and three prints from Carolyn Friedlander’s Architextures line.  We were permitted to add fabrics to this selection as long as they were from the Kona solids collection or the Architextures line.  I ended up adding four additional Kona solids to the mix in Snow, Crocus, Flame, and a yellow that I don’t remember the name of.

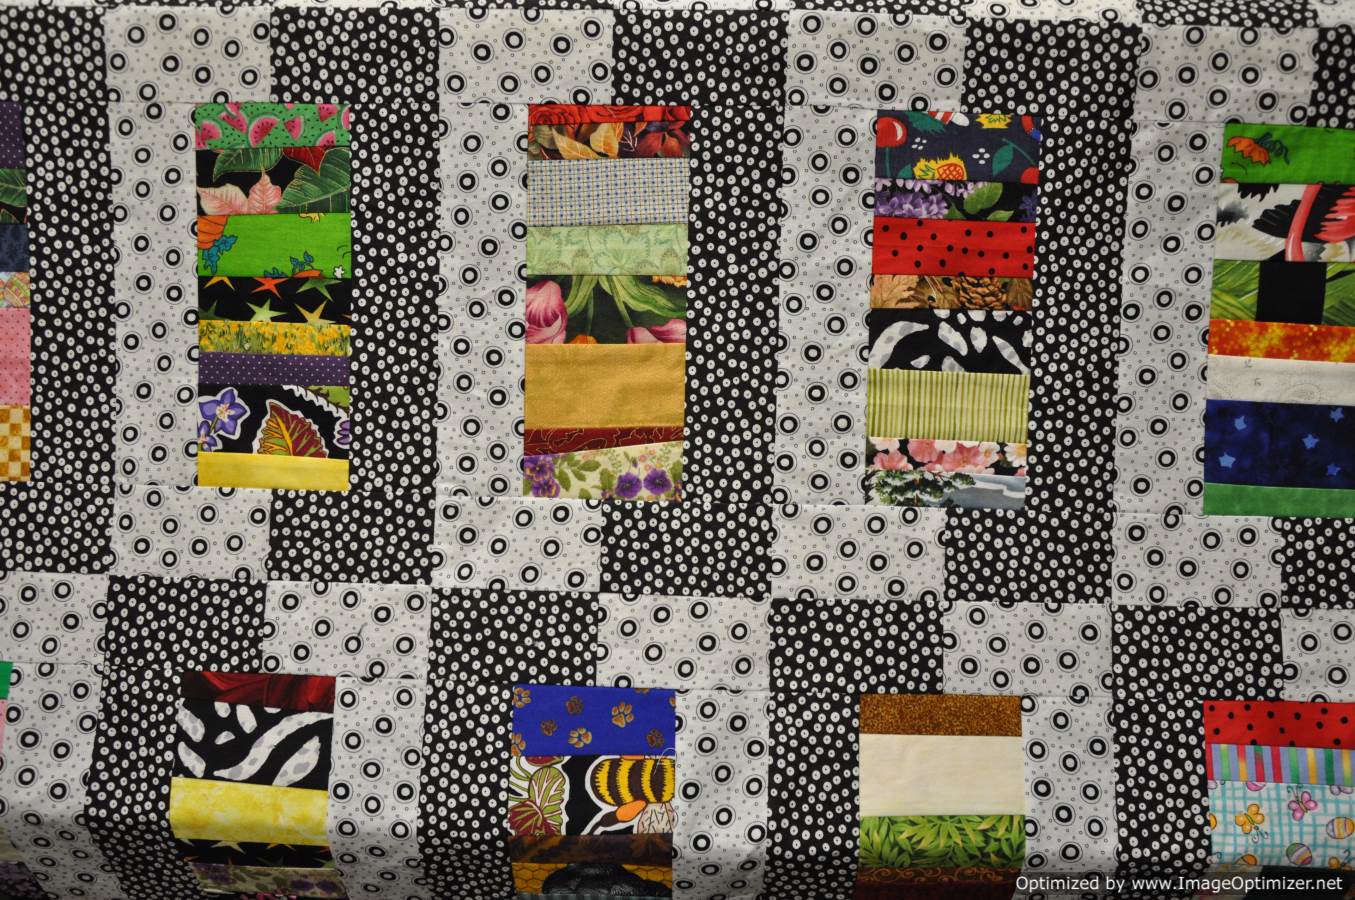
I deliberated for weeks on what I was going to do.  I have changed my mind several times.  I started out thinking I would do a modern Log Cabin and then switched to a Dresden Plate after seeing some inspirational photos on the Internet. I then switched to the idea of a Rail Fence after I picked up the latest issue of American Patchwork and Quilting and was inspired by an article by Jean Wells.  I dropped the idea of the Log Cabin as I thought for sure someone else would do that one as wonky log cabins are very popular in the Modern Quilt World right now.  I abandoned dresden plate after hearing several guild members talking aobut making that design.  I thought I might have too many fabrics to work into a successful Rail Fence and so I also abandoned that idea.  Last night I settled on the Tumbler quilt idea.  A Tumbler quilt has been on my bucket list to make for a while now.  I found several photos of modern versions of Tumbler quilts on the Internet and this morning I worked my way through several versions making test blocks with fabrics I already had in my stash. Those versions just weren’t working for me and I was about to abandon the idea altogether when my friend, Linda J sent me a link to a video on the Internet from the Missouri Star Quilt Company for the Tipsy Tumbler Quilt.  Now this quilt was definitely speaking to me!  I started working on the blocks right away and by evening, I had all my blocks made and arranged on my design wall.


DSC_0599-Optimized

These are my Tipsy Tumbler quilt blocks.  This quilt should finish around 36″ square which will put it at the maximum challenge quilt size of 144″ in perimeter.  The contrast is very low for the Architexture print that looks like ledger paper.  If I was making this quilt for me and not for the challenge, I would have left that print out of the mix.  However, one of the rules of the challenge was that you had to use at least one piece of each of the fabrics we were given so I had to use it somewhere in the quilt.  Some of the other quilters in the Guild were using that fabric as one of their backgrounds.  However, it doesn’t work as a background in my quilt as I would loose the effect of floating the tumblers across the quilt top if I used it as background in some of my blocks.  So I will have to come up with something to help make those blocks stand out when it comes time to quilt this top.  I guess using the more difficult fabrics from the bundle is part of what makes this a challenge.

Funky Pinwheel – Queen Size

Back in November 2014, I fell in love with a quilt that I was quilting for Darlene R.  It turns out that the quilt was made utilizing some clever acrylic templates made and sold by Jodi Nelson of Pleasant Home.

il_570xN.266508401

The templates were perfectly designed to cut 5″ charm squares with the perfect angle to make the Funky Pinwheel block.  This is the quilt. I quilted it with my Swirls template which gave the blocks the appearance that they were turning in the wind–the perfect quilting template for this quilt!

Customer Quilt

Customer Quilt

I contacted Jodi Nelson to see if I could purchase a set of templates from her.  As it turns out, Jodi is no longer selling her templates.  Darlene was very generous and loaned me her templates so that I could make my own Wonky Pinwheel quilt.

13 - Wonky Pinwheel - this one needs quilting & binding

Funky Pinwheel – flimsy – 95″ x 103.5″

I worked on my Wonky Pinwheel quilt over the Christmas/New Year’s season and finished it to the flimsy stage on January 2, 2015.  This is a large quilt – finishing at 95″ x 103.5″.

Guild Quilt Show

Our quilt guild’s bi-annual show was this past Friday night and Saturday (October 17 and 18, 2014).  I was once again on the committee that hung the quilts.  We were very organized this year and had the quilts hung in record time.

I was also doing demos again this year. Unlike some other quilt shows, our guild does not just do demos at specific times during the show.  Our demos are on-going through the whole show.  This means that the people that are doing the demos are doing lots and lots of talking.  🙂  There were four of us doing demos this year.  We had the most perfect spot with perfect lighting against this bank of windows.

DSC_0938

This was my home for a day and a half while I demonstrated how to make string/crumb blocks using a stabilizer.  I use used color catchers as my foundation, but any other stabilizer product such as muslin or paper could be used.  If you use paper, you will have to remove the paper before quilting your quilt.  This is one reason why I use the color catchers–there is nothing to remove; the color catcher is not removed and stays in the quilt.  Granted the quilt is a bit heavier because of the additional layer.

The woman doing demos beside me was demonstrating another technique for using up scraps–making those fabric wrapped bowls that are so popular now.  We were very complimentary to one another with our demos as we were both showing how to use up scraps that some people put would put in the trash.

The quilts that I entered in this year’s show were:

~Yin and Yang

DSC_0575DSC_0577 DSC_0576

~Mexican Tiles

DSC_0619 DSC_0620 DSC_0621 DSC_0622

~The Pumpkin Patch

DSC_0583 DSC_0584

~Christmas Corners

DSC_0812 DSC_0813

~Home is the Best Place to Bee

DSC_0883


And lastly, my entry into the challenge for this year’s show; Roses are Red, Violets are Blue.

DSC_0872I was very tired by the time I got home after quilt show take down last night.  …but ask me in two years if I am ready to do this again and my response will be a definite, Yes!!!


Yin and Yang Scrap Quilt – In Process

I am busy working on another scrap quilt.  I am calling this one, Yin and Yang after the Chinese symbol by the same name. 2014_September 22_Yin and Yang Scrap Quilt (1)-OptimizedI boldly entered this quilt in our upcoming guild’s quilt show on October 17 and 18 even though it isn’t finished yet.

2014_September 22_Yin and Yang Scrap Quilt (2)-Optimized

This quilt will be 8 blocks wide by 13 blocks long.  So far, I have 8 columns put together so technically I am more than half way done.  🙂
ZD4JZ

Countryside Quilters 1st Quilt Show

On Saturday, I attended the Countryside Quilters first quilt show.  Despite the small number of members–only 27–this group put on a huge show–over 400 quilts!!!

I have seen pictures of quilts displayed in the sanctuary of churches before but I had never attended a quilt show in person where the quilts were displayed in this way.

DSC_0547

The golden glow created by the lighting in the church combined with the colours of the quilts made the display breathtaking.  I was glad I was there first thing in the morning though as the aisles quickly became crowded.

DSC_0633

I really liked this scrap quilt.  I am going to have to try this layout for some of my string blocks in the future.

DSC_0550I have a maverick star quilt on my list of quilts to make.  I really like the effect of the red background on this star quilt.  Red is not always a colour that you see as a background, but it really works on this quilt.

Bed Turning (1)

The group also hosted old fashioned bed turnings at different times during the day.  I was there for the 10:30 bed turning.  One of the group members told me that the quilts displayed during the bed turning were not necessarily the fanciest quilts, but they were the ones with the best stories.  She was right–many of those stories were enough to bring you to tears.Bed Turning (2)Bed Turning (12)

For a slideshow of more pictures of the show, click here.

This quilt show proves that you don’t have to have a huge membership to put on a great display of quilts!

Update:  I found another slide show on YouTube that someone else had posted for this show.  It is always interesting to look at someone else’s pictures for the same event that you attended to see things from their eyes.  Click here to enjoy!