Our guild has issued a UFO challenge to our members – the Finish-It-Up Challenge! – 1st Quarter 2017 that ran from February 1 to April 30, 2017. That challenge was so successful that our guild is running a second challenge – the Finish-it-Up Challenge – 2nd Quarter 2017 that will run from June 1 to August 31, 2017. Again the rules are simple; you MUST post photos on the Facebook page dedicated to this challenge of your quilty works-in-progress by the end of May and they must be completed by the end of August to be eligible for the participation draw. I just made it under the wire for posting my quilty works-in-progress or UFO’s.
Last quarter I listed 13 projects – a Baker’s Dozen – and that number seemed to work well for me so here I go again with the same number of projects. I found listing my UFO’s and publicly declaring what they were in this forum held me accountable to get a lot finished last quarter so here I go again, hoping for the same success as in the first quarter. (Sadly, we could play this UFO game for many more quarters and I believe I would be able to keep listing new UFO’s that had not been listed in prior challenges. *sigh*
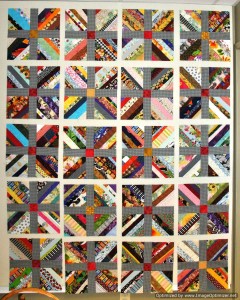
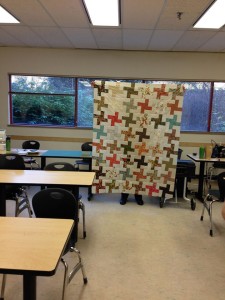
- Rock Island Campfire – blocks need to be sashed; then flimsy can be quilted and bound.
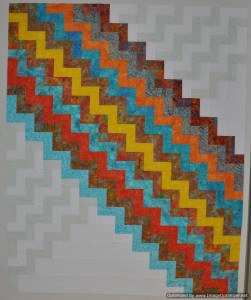
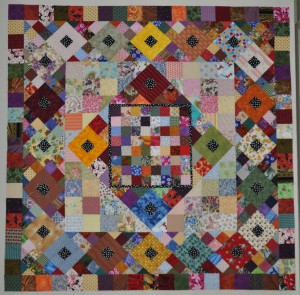
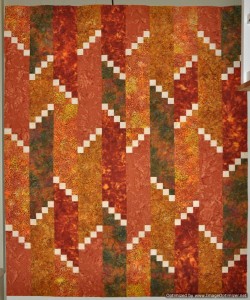
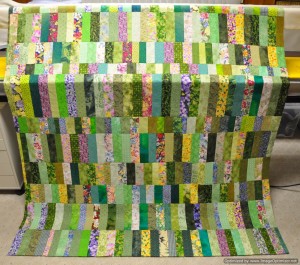
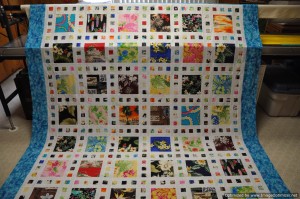
- Good Vibrations – flimsy was finished March 21, 2016 – needs to be quilted and bound – Although I have a long arm, I am considering quilting this one on my DSM because I would like to follow the diagonal lines created by the piecing.
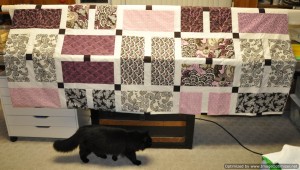
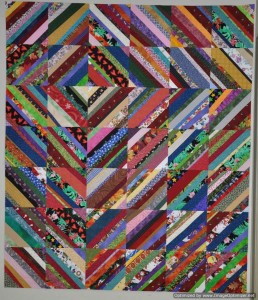
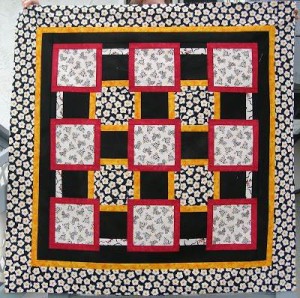
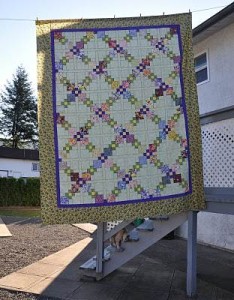
- H is for Hanson – this quilt pattern was called, “Hi”. However, I have renamed this one, “H” is for Hanson. – Needs a border, then flimsy can be quilted and bound. This was made from a kit purchased in Bend, Oregon on our bus trip to Sisters in 2014. I wasn’t impressed with the pattern that came in the kit, but the kit was marked down incredibly and fabric in the kit was yardage not pieces so I could adapt the fabric to a pattern of my choice. It looks like Joey (the cat) decided to photo bomb!
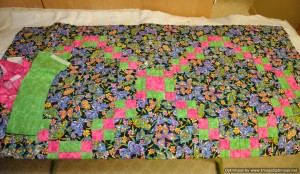
- The Simple Life – This one has been partially quilted by DSM for years. I sure hope I still have the green thread I started the quilting with. It looks like I had the strips for the binding already cut and they were with the quilt – that is a rarity! The pattern was a free pattern given away by The Thread Bear in Ladner during a Quilt Shop Hop in 2002.
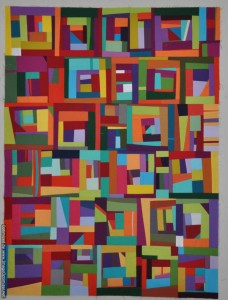
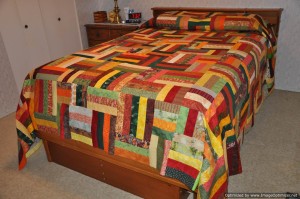
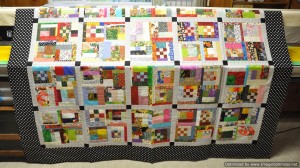
- Log Cabin – This one was inspired by Gwen Marston. One of the quilts that Gwen showed us at her workshop in March 2017 in La Conner, Washington was a log cabin quilt she made from the tossed scraps she salvaged from one of her Beaver Island retreats. I came home from that workshop and pulled out my solid bits and made my own version of Gwen’s log cabin quilt. This one needs a border, quilting and binding. Gwen said it is possible to continue making log cabin quilts for the rest of your quilting career and never run out of ideas – indeed!
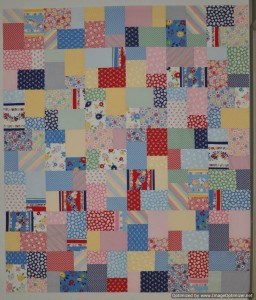
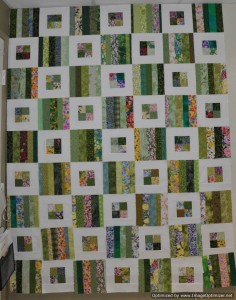
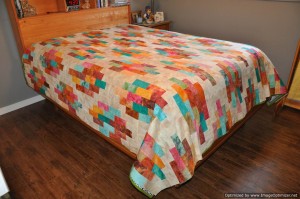
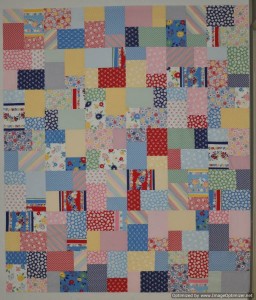
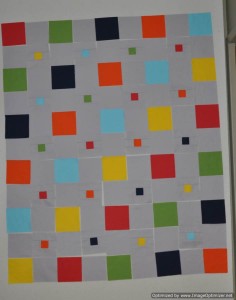
- Double Slice Layer Cake – Needs to be quilted and bound. My DIL’s first quilt was made from this pattern which uses just one layer cake. I loved her quilt so much I wanted to make my own version. This one has been a flimsy since September 2016.
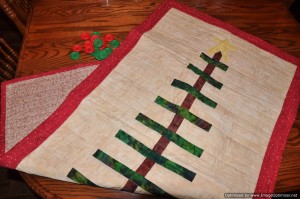
- O Christmas Tree – This one is left over from the first quarter challenge. This one still needs to have the buttons sew on. How long does it take to sew buttons onto something anyway? In my case, years. J
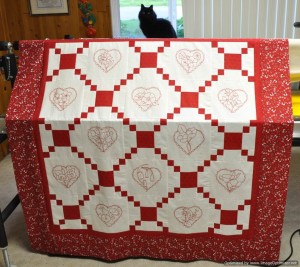
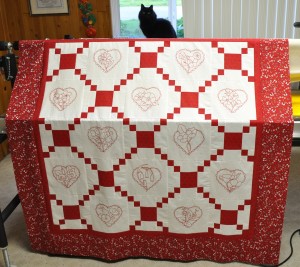
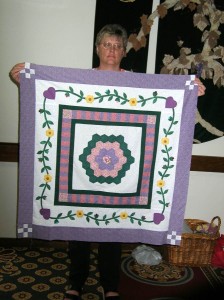
- Redwork Hearts – This has been finished to the flimsy stage since April 2010. It is about time it was quilted! The blocks were made from free redwork patterns put up on the internet by Alex Anderson. The setting design is by my very good friend, LJ in AL.
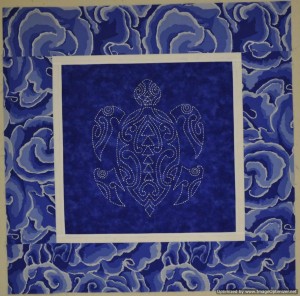
- Honu – Hawksbill Honu Sashiko – I was inspired to try Sashiko after Val Wojutla attended my traditional guild in April 2013 and presented a trunk show of her work. This one was finished to the flimsy stage in September 2015. I just love the Kaffe print that I found for the border.
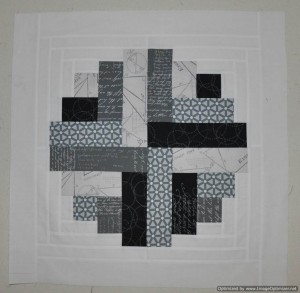
- Circle Log Cabin – This was one of the ideas I was tossing around when trying to come up with my challenge piece for the 2016 Creative Stitches show. These four blocks are the perfect size for a pillow.
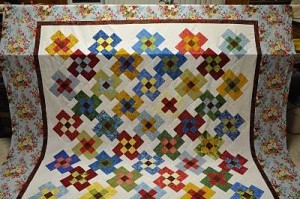
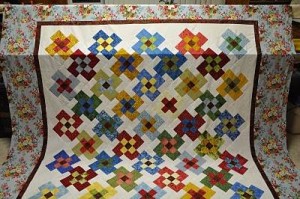
- Canada Day – Named for the Canadian flag in the bouquet on the border. I need to have at least one of my queen / king sized quilt tops in each UFO challenge so that I remain motivated to get the tops on the shelf quilted. * sigh* This flimsy has been stuck at this stage since 2011 – Needs to be quilted and bound.
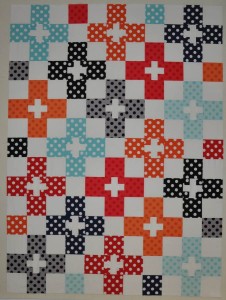
- Check Plus – Left from the first quarter challenge. This one still needs to be quilted and bound. I think I just ran out of time during the first quarter challenge. My daughter has claimed this one so I best get busy! J
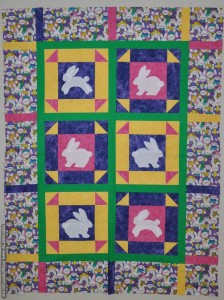
- Bunny Baby Quilt – This has been a finished flimsy for so many years. It is baby size and needs to be finished so that it can be gifted to one of the many expectant mothers that seem to be popping up in my life lately. This quilt top was an experiment in machine appliqué. I will have to do some digging to find the pattern to finish the documentation on this one. Note to self—be sure to write down the details of the quilts that I start so that documentation at the end of the quilting process is made a little easier. J

