I spent Worldwide Quilting Day in the best way possible – in the company of quilters at a quilt show!
My Quilt Guild arranged for a bus to transport 45 quilters for a day at the Quilters Anonymous 32nd Annual Quilt Show in Monroe, Washington.
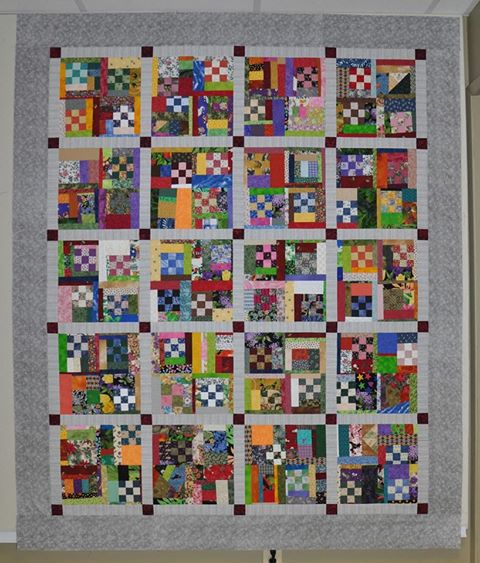
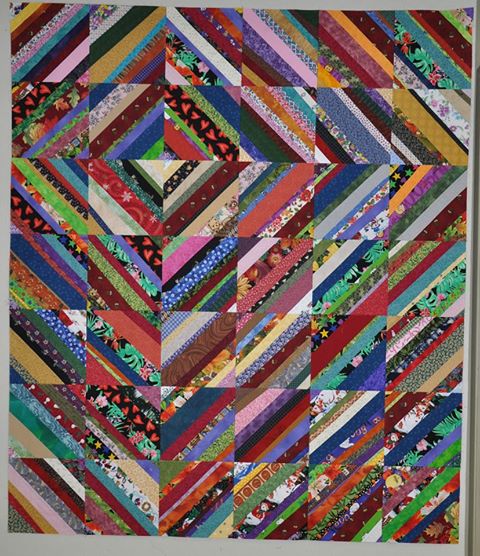
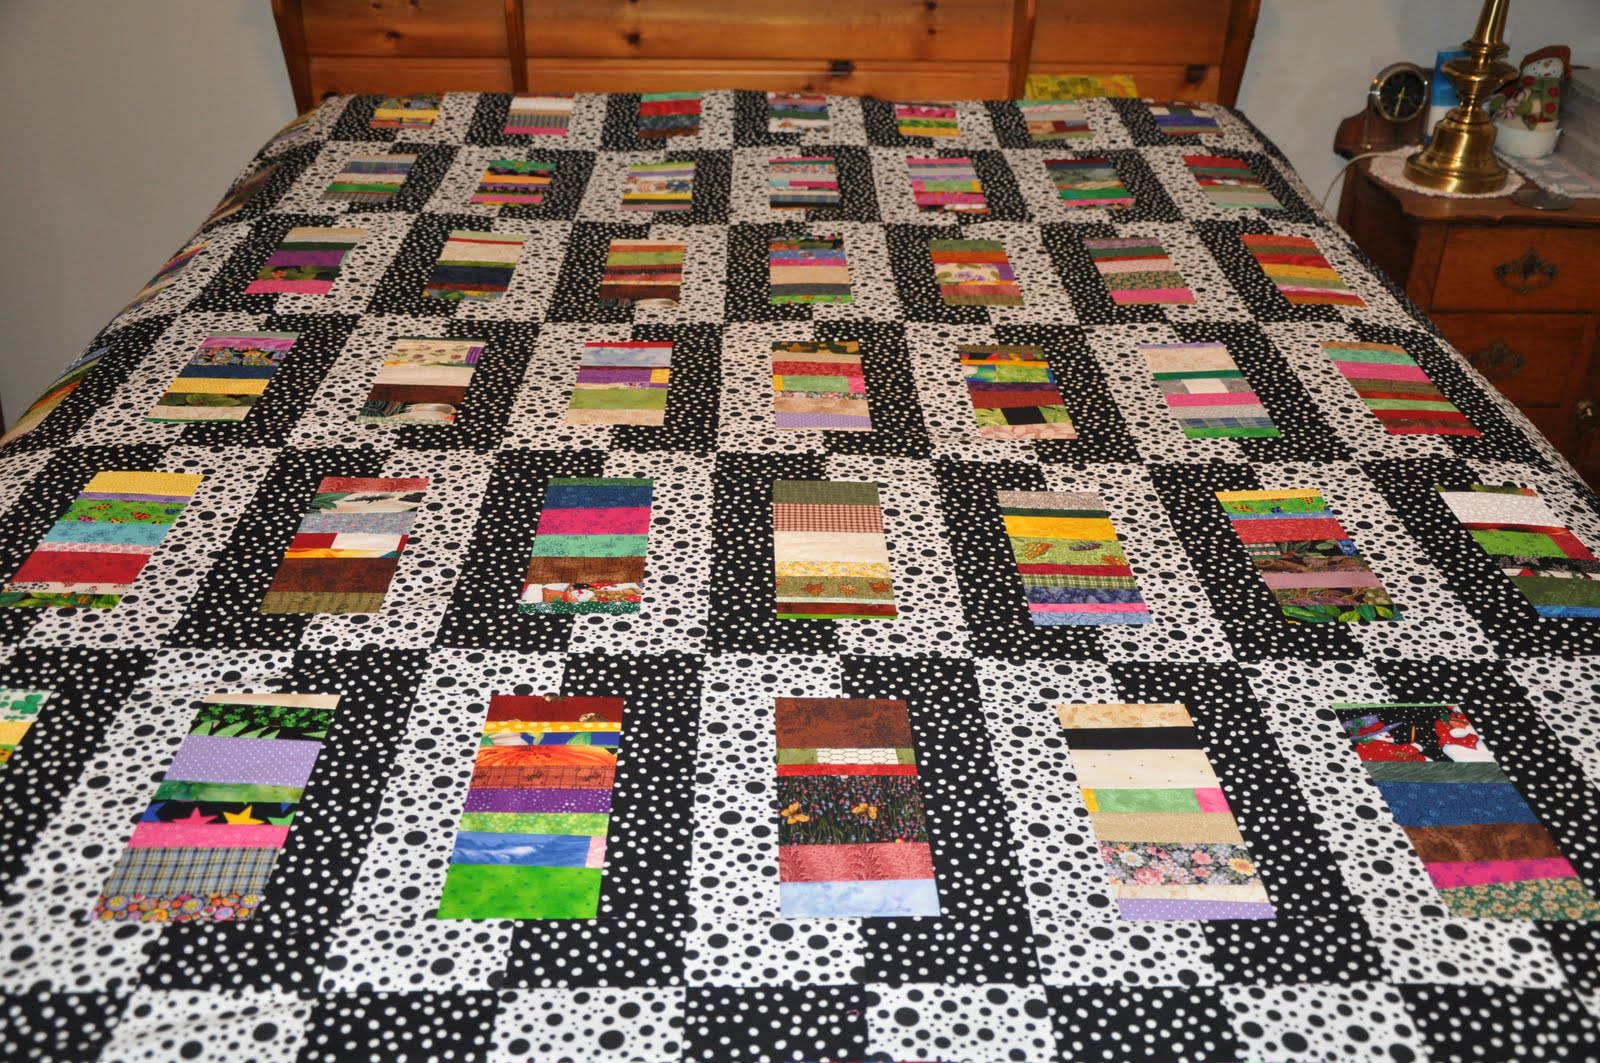
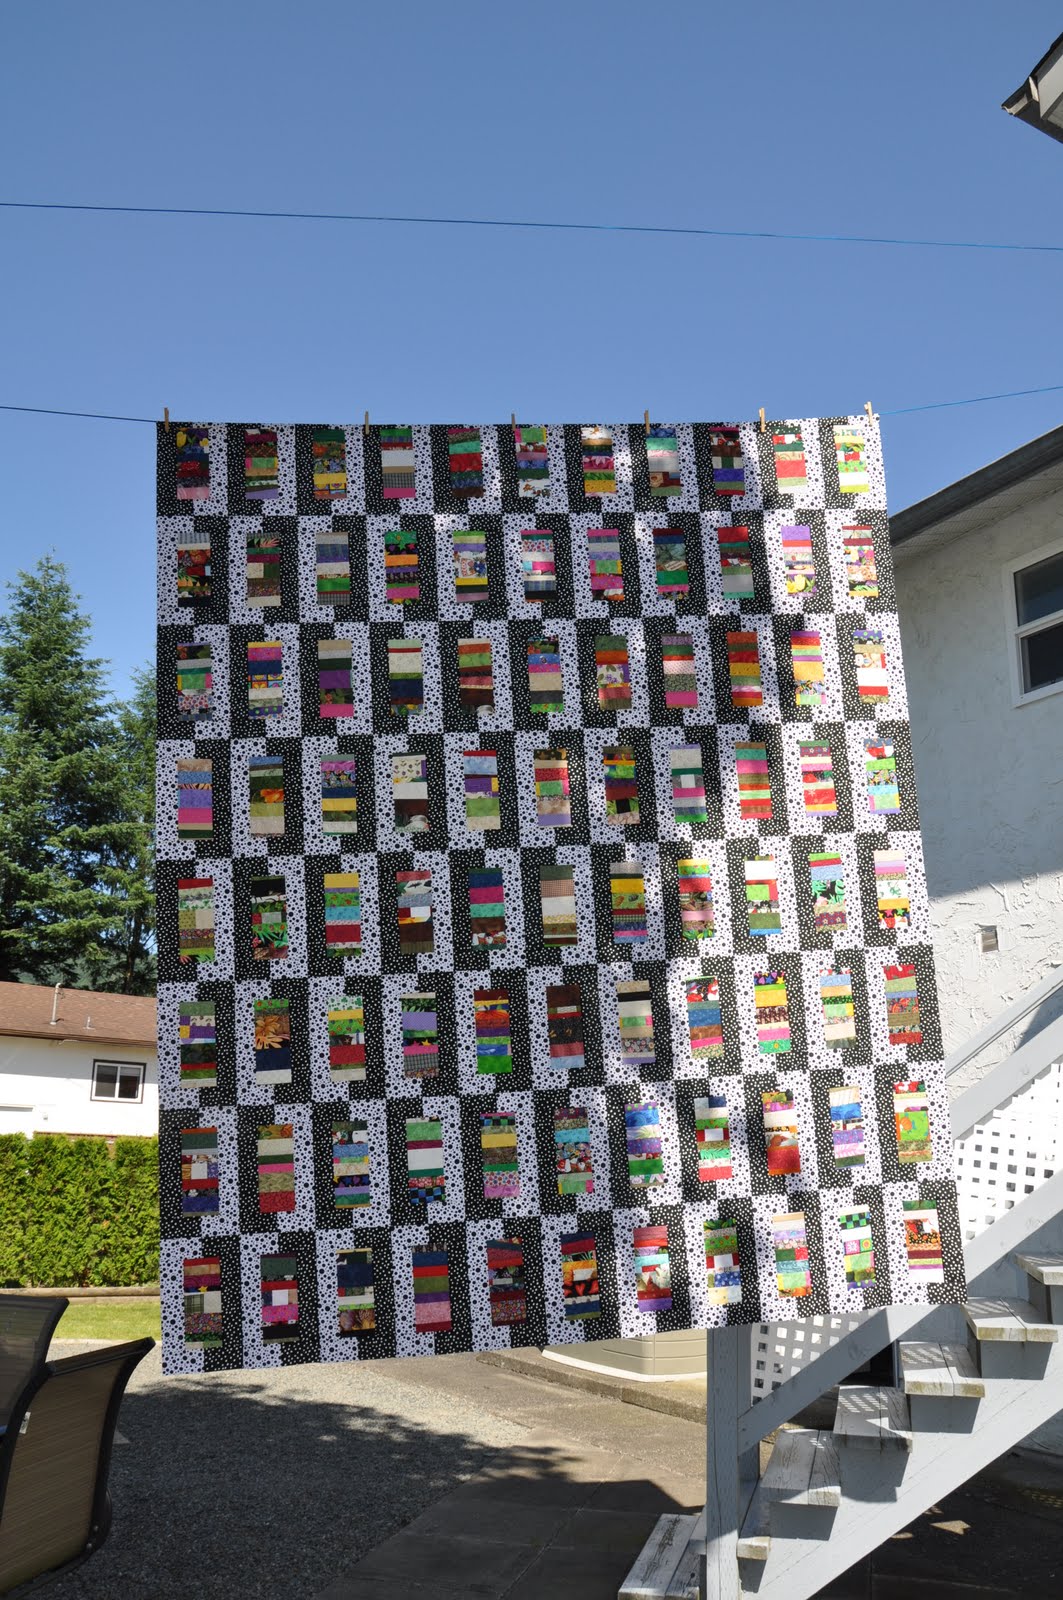
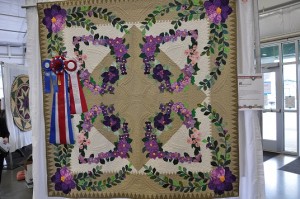
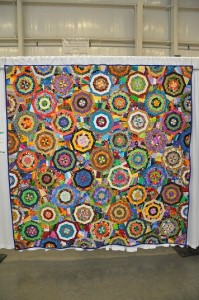
There were over 500 quilts on display at this show so picking just one favorite was impossible. These are some of my favorite quilts from that show:


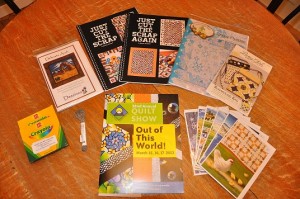
 There were quite a few vendors at the show. These are the purchases that I made:
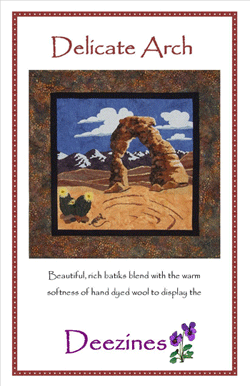
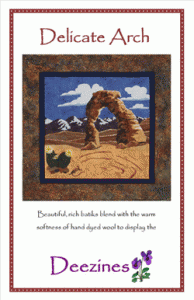
Dee of The Quilted Trillim was in attendance with her realistic raw edge applique designs. Dee told me that with her no tracing applique technique, I should be able to make her Delicate Arch project in a weekend. There are many tiny pieces in this pattern so I don’t think I will be making this one that quickly!
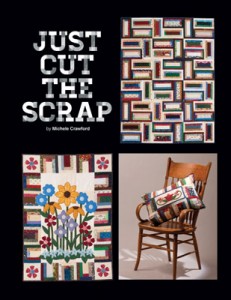
 Michele Crawford of Flower Box Quilts was in attendance with her husband. I was really impressed with the simplicity of the two blocks – Block A and Block B – that are behind the design of the quilts in Michele’s two books. Once you make the two blocks the quilt designs are developed by sub-cutting those two blocks. Very clever! Michele indicated that she is now working on a third book in this series.

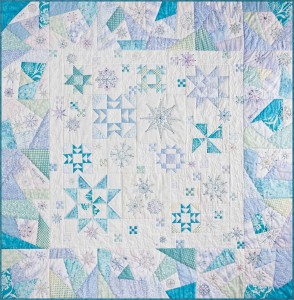
This is a picture of the cover of the pattern: Snow Flurries. This is a new design by Crabapple Hill Studios that I have been looking to make.
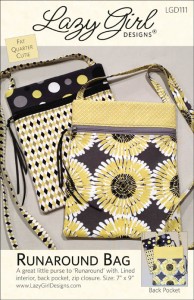
This is the pattern jacket from the Lazy Girl Designs’ bag pattern, Runaround Bag.
I also picked up some art cards by Rebecca Parker, two boxes of just white crayons, and some sparkle floss. I attended a demonstration about how to colour stitchery pieces with crayons where I learned that you should first colour an area with white crayon before adding the layer of coloured crayon. This technique is described by Crabapple Hill Studio on their website as:
Crayon Tinting instructions
Some of the patterns are tinted with Crayola Crayons. It’s a really fun technique that looks SO COOL when it’s done right!!! I like to start the process by coloring any area that’s going to be tinted with white crayon. It sort of “fills” the weave of the fabric and smooths it out to create a base for the colored crayons. It also helps with the blending of colors……….SO!!! You can go through quite a bit of white crayon in a single project. In “Calendula Patterdrip’s Cottage” I used almost 3 white crayons. Having to buy another ENTIRE box of colored crayons just to get one, single, lousy white crayon is just, well……maddening! But….having a little box of all white on hand…..is…..happy-ing! Yes, that’s a new word.
Color tinting is really easy……
- 1. Trace the design onto the fabric as usual
- 2. Make sure your work surface is clean and smooth and there isn’t any lint/threads on the back of the fabric.
- 3. Color all areas that you’ll be tinting somewhat heavily with white crayon.
- 4. Tint all areas as directed in the pattern (or use your own imagination!) I like to use a little circular motion……..
- 5. Heat set with a hot iron by laying a white paper towel over the tinted area and pressing (you’ll smell the wax) Remove the paper towel and look at it…..if there’s ANY color on it repeat the pressing process with a clean paper towel.
In the same demonstration I learned about a metallic look embroidery thread called, Cosmo Sparkle Thread. I learned how adding a bit of sparkle floss to a stitchery project can add just a little special something to your project. The Snow Flurries pattern that I bought uses sparkle floss, and crayons so I will be able to try out the new techniques that I just learned.
From Lecien’s website:
Lecien has been producing Cosmo embroidery thread in Japan since 1950. Cosmo thread is made from the best grade of Egyptian cotton available and its texture and sheen is equal to that of silk. Cosmo floss doesn’t twist and tangle like other flosses, and is easy to separate the strands for stitchery projects. Cosmo thread glides smoothly through fabric.
Opening and Using Sparkles
To use Sparkles – do NOT pull an end like you would with other flosses. Gently remove the paper sleeve. Handle gently and keep the loops in nice circles. Find where the knot is; these 2 ends are the ends of the 10 meter strand. Open the loop twice, until all that is holding the loops together is the knot. Gently pull the 2 ends of the strands till the knot is away from the loops and cut the knot. Carefully wind Sparkles around a spool or bobbin.
Today was the perfect way to celebrate Worldwide Quilting Day!


 I have a maverick star quilt on my list of quilts to make. I really like the effect of the red background on this star quilt. Red is not always a colour that you see as a background, but it really works on this quilt.