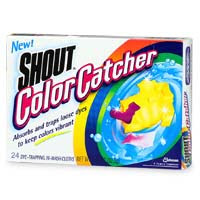
I have discovered the most wonderful product–Shout Color Catchers.
“Shout® Color Catcher™ sheets absorb and trap loose dyes in your wash water, safeguarding your clothes from color bleeds and helping to preserve original colors. ”
I now launder all my quilts with this wonderful product to keep dyes from bleeding or running onto other fabrics in my quilts. I have also started using these sheets in some of my regular laundry loads and I just love them. However, I started to accumulate a stack of used color catcher sheets that I couldn’t bear to throw away. What do you do with all those used sheets once they have trapped all that loose dye? I use them as foundations for string pieced blocks.
 I am a long arm quilter and I don’t like to throw away the bits of left over bobbin threads left from quilting customer quilts. When I am finished a quilt, I take the bobbin out of the long arm and throw it in this basket.
 The bobbins that fit my long arm do not fit the bobbin area of my DSM. However, those bobbins can be used on my DSM in place of the top thread. Because I am going to use these threads in a “stitch and flip” technique to piece my string blocks, the colour of the thread does not matter. The object of these blocks is to use up threads and fabrics that would otherwise be thrown away.
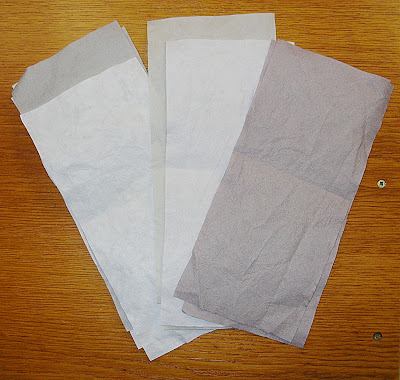
 These are some of the color catchers after they have been through the wash cycle. Yes they are different colours–remember they are used and are finished their intended purpose which is trapping loose dyes in the wash cycle.
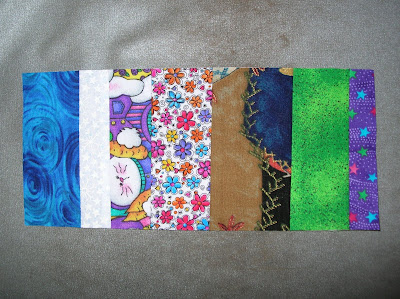
 This is my current box of strings.
To start, I lay a string the approximate width of one of the color catchers across the middle of the color catcher.
 Then I lay a second strip on top of the first strip – right sides together, aligning the edges of the strips on the right side of the strips.
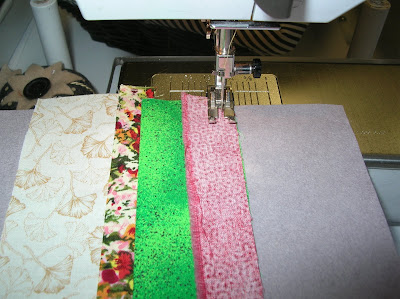
 Sew a 1/4″ seam down the right edge of the strips. If your seam is not quite a perfect 1/4″, don’t worry. This is a very forgiving technique and as long as the fabric is captured in the seam, you will be fine.
 Once that first seam is sewn, press the strip to the right and continue adding strips to the right of the last piece sewn in place.
Stitch and flip, press, and repeat until the right side of the color catcher is completely covered with fabric strips.
 To further maximize your thread usage, work on more than one block at a time and chain piece through the machine.

Once the right side of the color catcher is covered with fabric, turn the color catcher and add strips to the left hand side of the color catcher in the same manner that you covered the right side of the color catcher until the entire color catcher is covered with fabric strips.
 This is what a finished block looks like–a little ragged on the edges.
 Flip your block over so that your color catcher is right side up. Align your ruler and trim the block to the size you want. I have been trimming my blocks to 4″ x 9″. No special reason for the size–it just seems to make the best use of the color catcher.
 These are some blocks ready for trimming.
 Before you know it, you have a stack of blocks ready to be set into a quilt top.
This is an excellent technique to use up fabric and thread that would otherwise be headed for the trash. This is also a technique that is a little “mindless” and works for those evenings that I am too tired to concentrate but when I still have a “need” to piece or sew.


 ….but the Bricks and Stepping Stones quilt was not finished until late last night–just in time to make the March deadline! This quilt will be given to one of my niece’s as a wedding gift when she gets married on April 14.


 This last picture is Joey. When I am finished with the binding on a quilt, I like to measure the length and width of the quilt. The tape measure proved to be too tempting a toy for Joey.