Guild Quilt Show

Our quilt guild’s bi-annual show was this past Friday night and Saturday (October 17 and 18, 2014).  I was once again on the committee that hung the quilts.  We were very organized this year and had the quilts hung in record time.

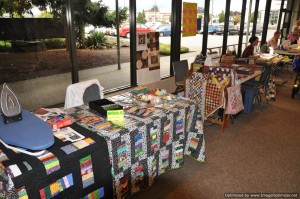
I was also doing demos again this year. Unlike some other quilt shows, our guild does not just do demos at specific times during the show.  Our demos are on-going through the whole show.  This means that the people that are doing the demos are doing lots and lots of talking.  🙂  There were four of us doing demos this year.  We had the most perfect spot with perfect lighting against this bank of windows.

DSC_0938

This was my home for a day and a half while I demonstrated how to make string/crumb blocks using a stabilizer.  I use used color catchers as my foundation, but any other stabilizer product such as muslin or paper could be used.  If you use paper, you will have to remove the paper before quilting your quilt.  This is one reason why I use the color catchers–there is nothing to remove; the color catcher is not removed and stays in the quilt.  Granted the quilt is a bit heavier because of the additional layer.

The woman doing demos beside me was demonstrating another technique for using up scraps–making those fabric wrapped bowls that are so popular now.  We were very complimentary to one another with our demos as we were both showing how to use up scraps that some people put would put in the trash.

The quilts that I entered in this year’s show were:

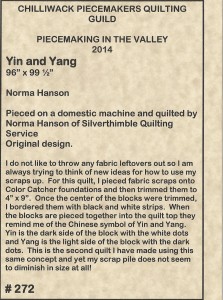
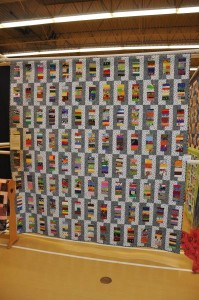
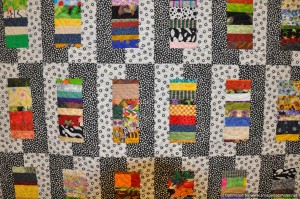
~Yin and Yang

DSC_0575DSC_0577 DSC_0576

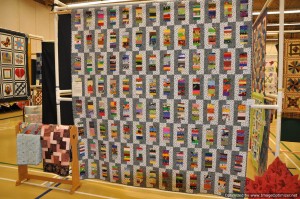
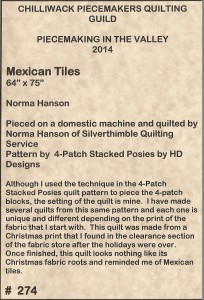
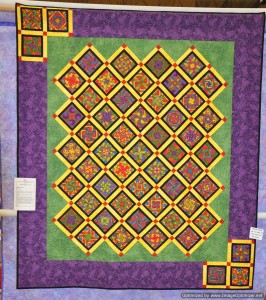
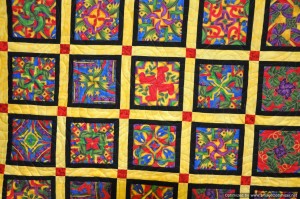
~Mexican Tiles

DSC_0619 DSC_0620 DSC_0621 DSC_0622

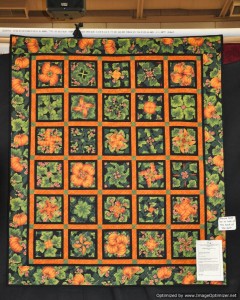
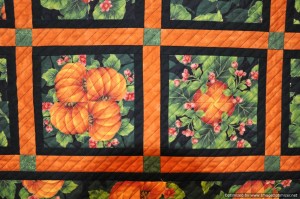
~The Pumpkin Patch

DSC_0583 DSC_0584

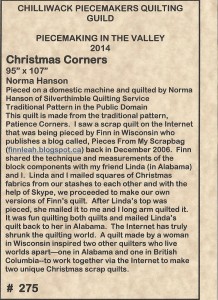
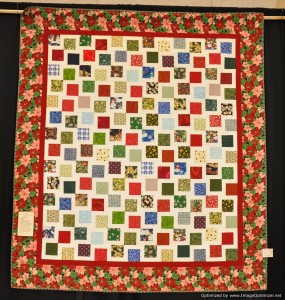
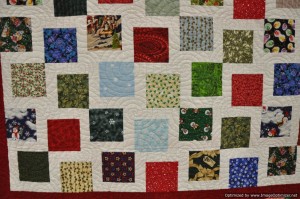
~Christmas Corners

DSC_0812 DSC_0813

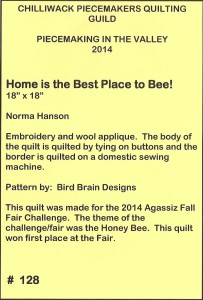
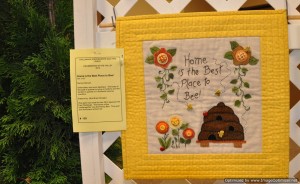
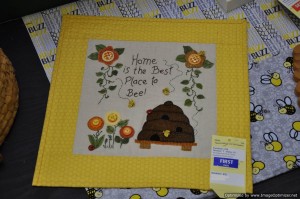
~Home is the Best Place to Bee

DSC_0883


And lastly, my entry into the challenge for this year’s show; Roses are Red, Violets are Blue.

DSC_0872I was very tired by the time I got home after quilt show take down last night.  …but ask me in two years if I am ready to do this again and my response will be a definite, Yes!!!


2014 Fall Fair

This weekend was our small community’s annual Fall Fair.

The fair kicked off Friday afternoon with midway rides, some entertainment on the stage, and fireworks.  We are lucky that we are able to enjoy the fireworks from our back yard.

midway

View of the Midway from our backyard.

fireworks

Saturday morning was the annual parade.  As you can tell by a lot of the parade entries, the theme of this year’s fair was. “the Year of the HoneyBee”.

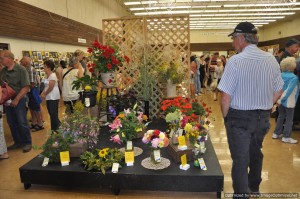
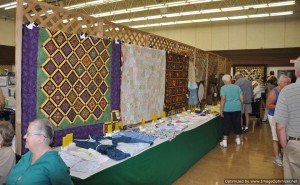
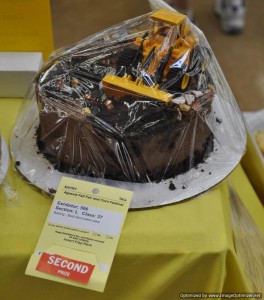
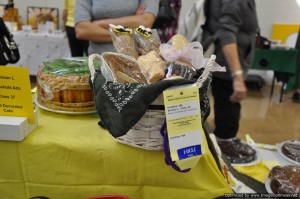
After the parade, it is tradition to head to the hall to look at the exhibits and see what prizes our family members have won.  This year, our daughter entered 5 items in the baking and craft sections and took home 4 first places and 1 second place which gave her $24 in prize money and a $20 gift certificate from Bernardin.  I entered 6 quilts and took home 6 first places, earning $27 in prize money.  There was quite the debate in our house over who took top honors and whether the $20 gift certificate should be included in the total tally.

DSC_0639

DH having a look at the exhibits.

DSC_0634

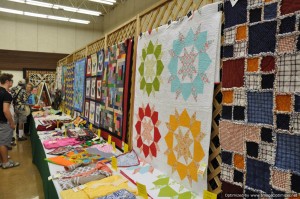
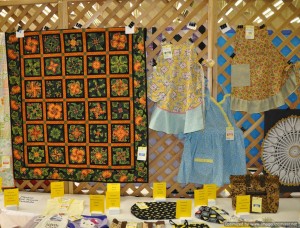
The Quilt and Sewing Section.

DSC_0638

More exhibits.

Dana with Baking

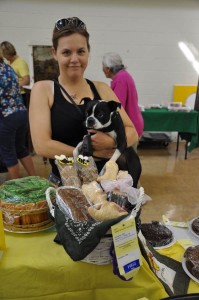
DD with her gift basket entry.

Dana's HoneyBee and Honey Theme - Cookies with honey

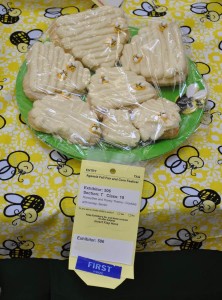
DD’s HoneyBee themed cookies.

Dana's HoneyBee and Honey Theme - Muffins with honey

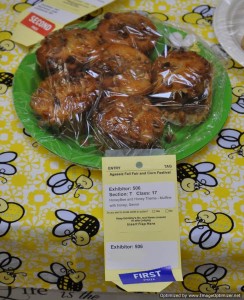
DD’s HoneyBee themed muffins.

DSC_0627

DD’s cake.

Dana's Baking - Gift Basket with 4 baked items

DSC_0632

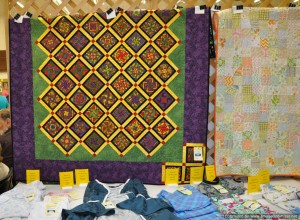
My quilt on the left – Mexican Tiles.

DSC_0633

My quilt on the left – Pumpkin Patch.

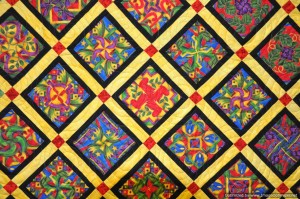
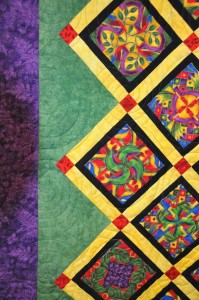
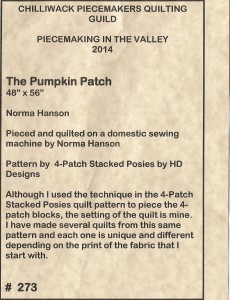
The quilt blocks for both Mexican Tiles and Pumpkin Patch are made using the technique in HD Design’s quilt pattern, 4-Patch Stacked Posies.  The setting of the blocks is my own design.  Mexican Tiles was quilted on my long arm using the Loricircles’ Swirls pattern board and Pumpkin Patch was quilted on my Bernina using vertical lines spaced about every 1/2″ or so.

DSC_0635

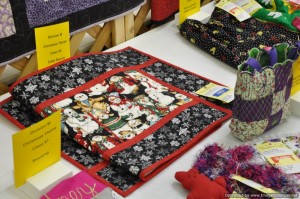
My Snowman Table Runner.

My Snowman Table Runner is made from the Designs to Share With You pattern, It’s Fast, It’s Easy.

DSC_0636

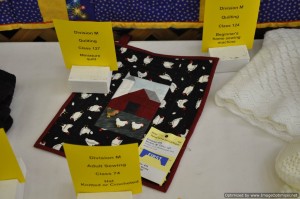
My Miniature Quilt – Chickens in the Farm Yard.

My Chickens in the Farm Yard quilt is made from a paper piecing pattern that was in a Miniature Quilts magazine years ago.

DSC_0637

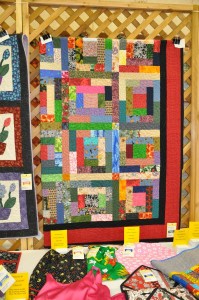
My quilt – Crayon Box.

My Crayon Box quilt is one of Bonnie Hunter’s free quilt patterns by the same name.

Norma's HoneyBee and Honey Theme - Needlework Picture

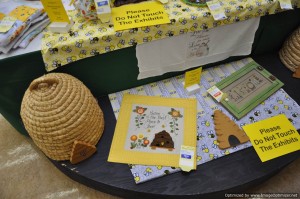
HoneyBee Themed Challenge.

Norma's HoneyBee and Honey Theme - Needlework Picture - Large

My quilt – HoneyBee Themed Challenge – Home is the Best Place to Bee!

My HoneyBee challenge quilt was made from an out of print pattern that I picked up at a quilt show garage sale table for 25 cents earlier this Spring.  The pattern is called, “Bee Home Pillow – 105” from Bird Brain Designs.  My quilt measures 17.5 inches square.

DSC_0646

Sarge – DD and DSIL’s dog.

My husband and I were able to puppy sit for the evening on Saturday night while our daughter and son-in-law attended a wedding.

DSC_0655

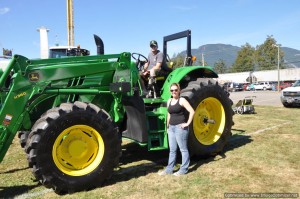
A Deere family.

Our son-in-law is a John Deere fan so I couldn’t resist taking a “family” picture with the tractor.

By Sunday morning when we got up, almost all evidence of the fair was gone.  The Midway had packed up and moved on and all the tents and exhibits were removed from the field behind our house.  This year’s fair is now only a memory.  …looking forward to next year!

Three Finished Flimsies

This was a long weekend here in Canada. Here in BC it was BC Day today. 2008 marks 150 years since the founding of the Crown Colony of British Columbia in 1858. I had Friday off from work so for me it was a very long weekend–4 days total.

This weekend was very productive quilt wise.

This first quilt is the Warm Wishes quilt I have previously shown. Here it is at the completed flimsy stage. I am back to using my garage door design wall system. I forgot to measure this quilt before folding it and adding it to the “to be quilted” pile, but as you can see, it fills the garage door opening. Anyone need a quilt to fit a garage door? This is my Poppy 4 Patch Stacked Posies quilt finished to the flimsy stage. As I said in a previous post, the fabric left from making the blocks was way too busy for me to use as a border so I went with my favorite neutral; green. The width of the outer border is cut 6″–the width of my long ruler. Using the 6″ measurement makes for easy cutting of the border pieces. This quilt top measures 57 1/2″ x 66 1/2″.

And the third quilt that was finished to the flimsy stage this weekend is my Tiger Lily BQ2. As I stated before, I just couldn’t leave this one without borders. I had to piece the outer border in several places and I have just one tiny strip left. The border pieces were cut 4 1/4 inches wide–to maximize the use of what fabric I had left. My mother will be pleased to hear that I have a small piece of the lily fabric left. Although my mother does not quilt, she has her eye on that fabric! LOL This quilt top measures 65″ x 78 1/2″.


The wind was blowing a bit when I was trying to take a picture of this last quilt. Note the magnet in the lower left corner of the quilt holding the quilt from moving in the breeze. I love this “design wall”.

Border Day

One of the blogs that I read on a regular basis is Joyce’s blog over at J’s Quilting Blog: http://jdebreuilsartandquilts.blogspot.com/2008/08/when-all-else-fails.html. Joyce is a fellow Canadian quilter living on the prairies in a neighbouring province to where I was born. Yesterday morning when I checked in to see what Joyce was up to, she had made the comment, “When things don’t go well in the studio, my policy is to start something new.” I thought about that and decided to adopt that as my policy for the day.

I previously posted that I was unsure if my BQ2 needed borders. I had secretly decided in my head that I was going to most likely end up putting borders on that quilt (I rarely go without borders as much as I seem to stall at putting them on.). The majority of comments that I received confirmed that, yes, that quilt did need borders. The prospect of spending the day putting on boring borders was not inspiring or motivating to me. So, yesterday, I adopted Joyce’s policy and started something new.

I pulled out a box that was labelled. “4 Patch Stacked Posie”. I remembered that I had a 4 Patch Stacked Posie quit started that was sitting unfinished, but for the life of me I could not remember what the fabric looked like. When I opened the box, I found that all the four patch blocks were complete, they just needed to be set together. OK, I didn’t really start something totally new, but it was new to me for a second when I couldn’t remember what it looked like (must be a sign that I have too many UFO’s when I can’t remember what they look like!).

The 4 Patch Stacked Posie pattern, http://www.hddesigns.net/default.aspx?sectionid=1756&pageid=3671 calls for 1″ cut strips to border the 4 patch blocks before adding sashing and corner stones. I have made two quilts using that method and vowed that I would never do that again–life is just too short! I am not signing up for more of that insanity.

I was unsure of how best to set my blocks (which is why they were likely still sitting in the box). I headed over to one of my favorite resources for inspiration, http://www.webshots.com/

I found a quilt by Mary Lou with 49 blocks–just the exact number of blocks that I had–that looked simple enough. Mary Lou set her squares on point and eliminated that nasty 1″ border around each square, moving straight to the sashing and cornerstones. http://home-and-garden.webshots.com/photo/2628819070061648096aQTfwn

With inspiration in hand, I auditioned some fabric choices for the sashing and corner stones and ended up with what I had originally chosen months ago when I had put the blocks away in the box. It felt good to confirm my original choices though.


Please excuse the perspective of this picture. I put the quilt on the floor to take my picture. My new design wall, aka garage door, is unavailable this morning. DD’s car is parked in the driveway where I would stand with my camera to take the picture. DD is still in bed sleeping. In her defense, she has been putting in a lot of 11 pm to 7 am graveyard shifts at work so I am not going to wake her to move her car.

I spent the better part of yesterday putting together my quilt top. The designer of this pattern suggests that you split your fabric (4 repeats of the design) down the middle lengthwise ending up with two pieces of fabric 4 repeats long by 20 to 22″ wide. The first half of the fabric is what you make your blocks from and the second half of the fabric is what you save for your outer border. I was prepared to burn the midnight oil last night to get the final border on this one, but I stopped at 11:00 pm because in this case, this border fabric was just screaming at the quilt top.

It didn’t look like a good idea last night at 11:00 pm to put this on as an outer border and it didn’t look like any better an idea this morning. I think the final border for this one will be the same green that was used in the corner stones.

I am not sure if I will loose what is left of this print on the back of this quilt somewhere or if I will save this piece of fabric for some other project. Since I am not in a hurry to quilt this one, I have some time to think about these options.

If you are interested in the pattern for this quilt, this is the website: http://www.hddesigns.net/ I will warn you though, the pattern is very confusing. Some designers should stick to designing and forget about writing patterns. After spending some time trying to navigate this website, you might think that quilt designers should also stay away from web design. To the designer’s credit she says that, “Re-modeling of the website is being worked on! Should be ready SOON!” Hmmm….the date of the note is March 2008. It is now August 2008 and still no remodel is complete.

This is Joey. He is sitting in one of his favorite spots. On nice mornings, I like to keep the window open and Joey appreciates being able to sit in the fresh air and check out what is going on outside.

This morning, Joey was talking to his friend outside.


This poor thing seems to have been abandoned. He isn’t very old–I would say only 6 months. He has decided to hang around our house. Quite often in the morning he is curled up asleep on one of our deck chairs. He spends a fair amount of time hunting in the back yard and he often checks in with Joey. There is a screen between them. I am not sure what would happen if they could actually get at each other.
Images of Christmas 2007

This post is all about the Christmas season at our house.

First, is a picture of our tree. This year, I considered not putting up the large tree. I was feeling overwhelmed with all of the preparations leading up to Christmas, work commitments, etc. My husband insisted that we needed to have the tree and so while I cleaned the house and rearranged the furniture to make room, my DH put up the tree and with my DD’s assistance, the tree was decorated. This is how handsome our tree looked this year in the corner of the living room.

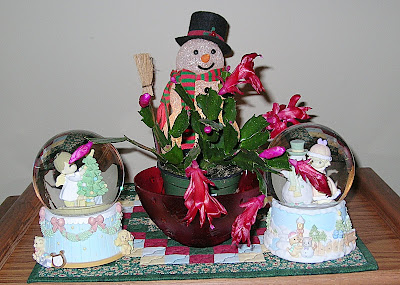
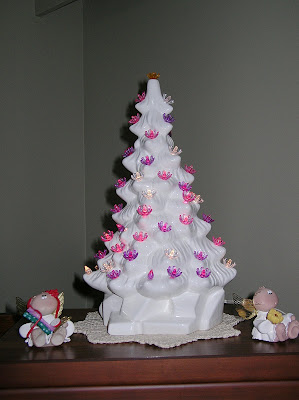
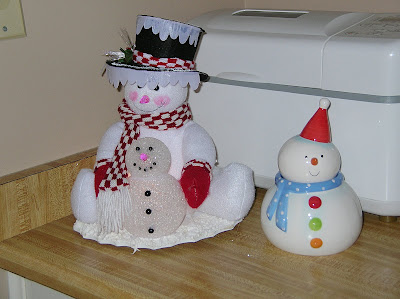
I collect snowmen and these are some images of my favorite snowmen that were displayed in the house this year.


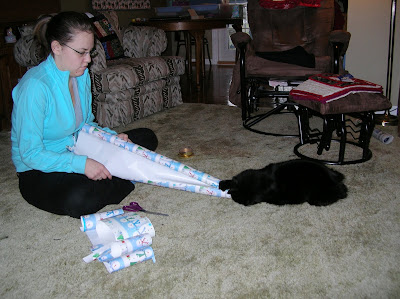
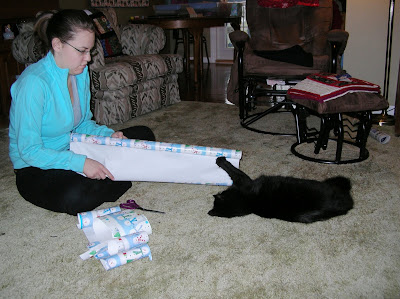
My DD not only assisted her father with the decorating of the tree, but she was also responsible for unpacking of the snowmen and other Christmas decorations and setting up the displays throughout the house. My DD was also responsible for wrapping most of those presents that were under that tree.


Of course, Joey the helper cat was never too far away!

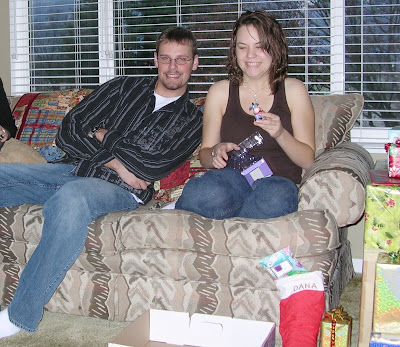
This is a picture of my DS and DD on Christmas morning. They are just starting to open the presents in their stockings.

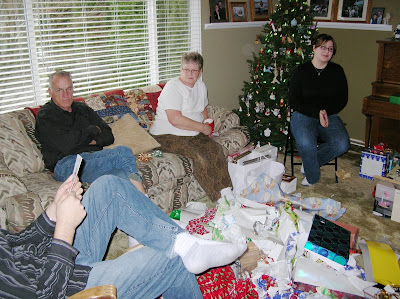
Later, we were joined by my parents. We continued to open presents–just look at that pile of wrapping paper in the center of the room!

My DS.
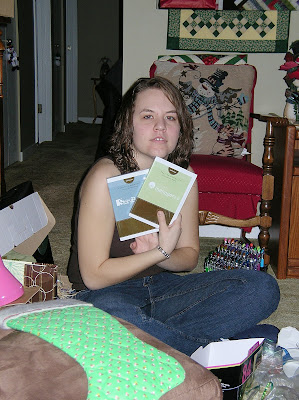
My DD with some computer software that my DH and I gave her. She looks tired, doesn’t she.

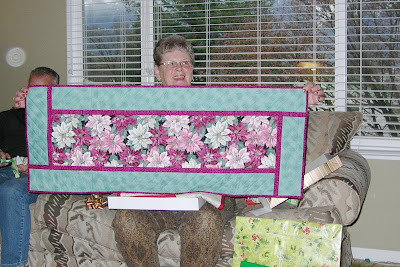
My Mom received some quilts from me. Here she is with one of the table runners that I made for her.
And here is my mother with her latest table topper – the first 4-Patch Stacked Posie Quilt that I made. The quilt collection grows! Note the quilt inspector (Joey) in the foot of the photograph.

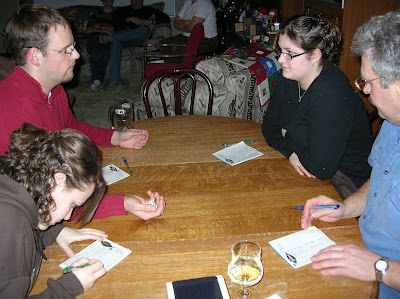
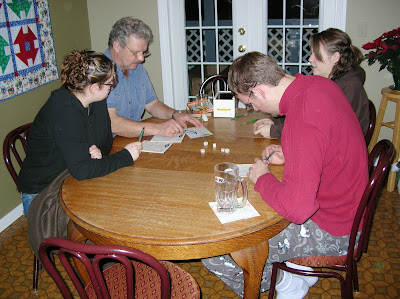
After dinner, my DH played board games with the kids.

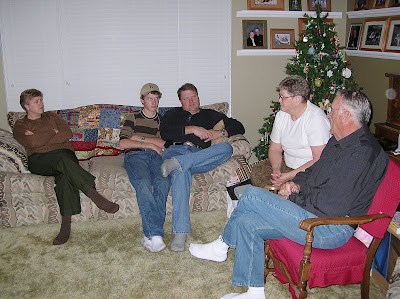
My brother and his family joined us after dinner. This is my SIL, nephew, brother, mother, and father.

…and my niece.

Merry Christmas to you and your families from our house to yours!