
Last Wednesday night was our quilt guild’s annual Christmas potluck.
The first three pictures are taken in the hall of all the ladies who attended this year.


 I missed taking a picture of all the food. What a spread! Even though you tell yourself that you are only going to “taste” each dish, you still end up with a plate full of food. Quilting potlucks have the best food!
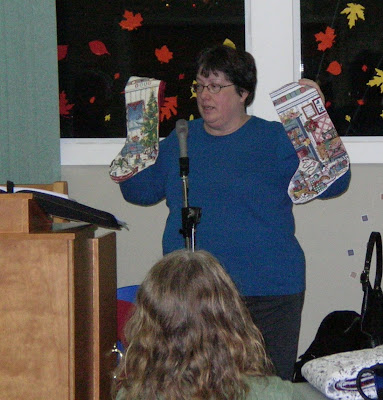
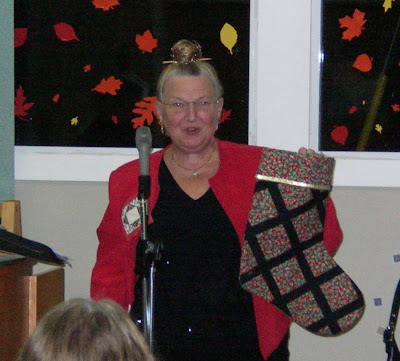
After dinner, we had a Christmas stocking show and tell. Any members who had made stockings brought them to share with the rest of us.

 One of our members has been leading us in a mystery quilt. The project has been totally created by her and is proving to be a lot of fun. Those who having been playing along for the last three months brought their creations to share with the rest of us.
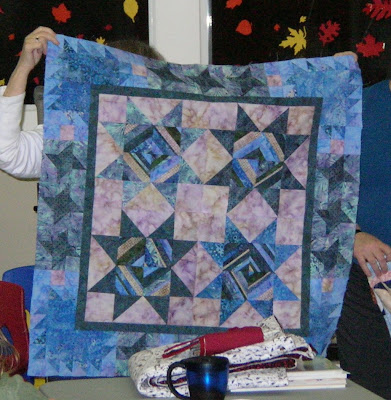
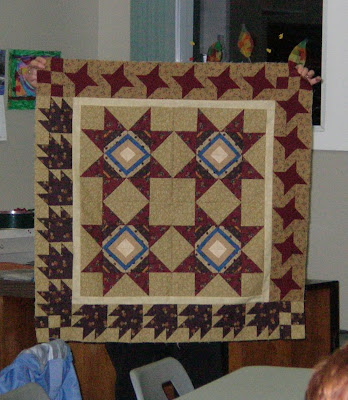


 We are also having a block of the month lotto. Each month we are given instructions to make a block. You bring your finished blocks to the next month’s meeting. At that meeting, a name is drawn from all the blocks contributed and the winner wins all the blocks. Each block you enter gives you an entry–the more blocks you make, the more chances you have to win. This month’s block is a string block foundation pieced onto used dryer sheets.

The last item on our agenda before the “meeting” part of the night is show and share (show and tell). This is the most popular part of our monthly meetings.


 One of our members has been leading us in a mystery quilt. The project has been totally created by her and is proving to be a lot of fun. Those who having been playing along for the last three months brought their creations to share with the rest of us.


Even though everyone is working from the same directions with the same pattern, just changing the fabrics changes the look of the quilt.
 We are also having a block of the month lotto. Each month we are given instructions to make a block. You bring your finished blocks to the next month’s meeting. At that meeting, a name is drawn from all the blocks contributed and the winner wins all the blocks. Each block you enter gives you an entry–the more blocks you make, the more chances you have to win. This month’s block is a string block foundation pieced onto used dryer sheets.
The last item on our agenda before the “meeting” part of the night is show and share (show and tell). This is the most popular part of our monthly meetings.


One of the guild members came up to me during the meeting and told me she has just discovered my blog. Hello, Ursula!
.jpg)
.jpg)
.jpg)
.jpg)
.jpg)


 This fabric is a small (only about 6″ square) piece of batik. The fabric is intended as our inspiration only and is not intended for use in the blocks.