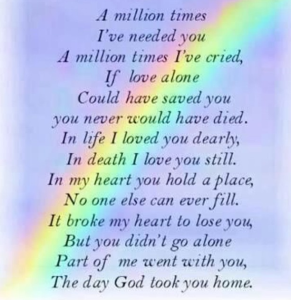


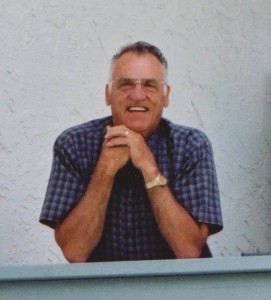
Last Friday (June 5, 2015), after a short fight with cancer, my Dad came to the end of his life journey. I have been pouring through old photos of my Dad to select the photos that we will use for a slide show presentation during the Service of Remembrance to be held on June 20, 2015. These are the photos that I selected for that presentation.
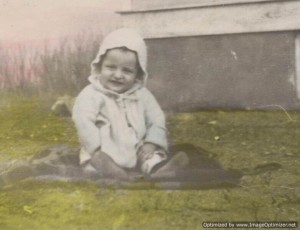
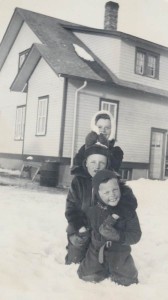
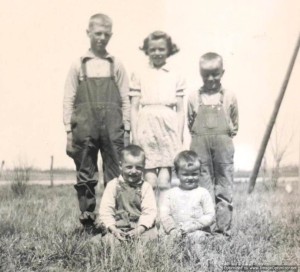
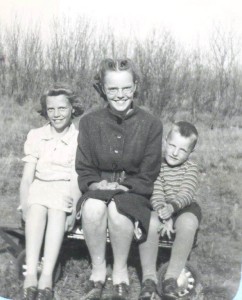
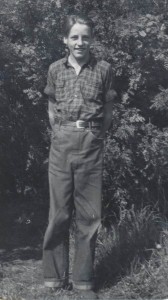
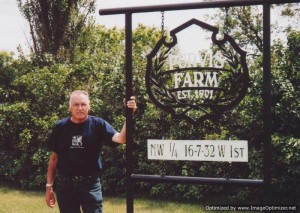
Born on December 16, 1935 on the family farm four miles west of Redvers, Saskatchewan. my Dad was the fifth child of Archie and Elizabeth.
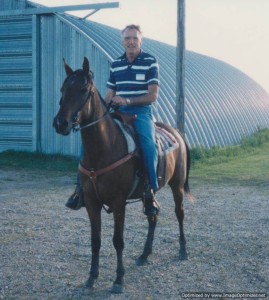
At 19, my Dad purchased a half section of land and began farming. Despite his love of farming, he sold his land to one of his brothers.
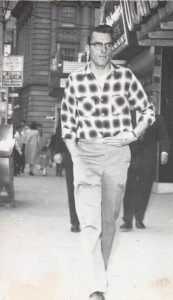
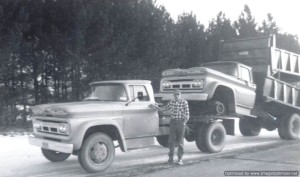
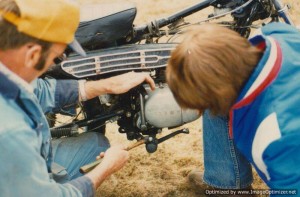
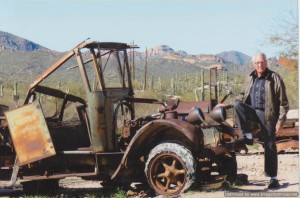
In 1959, my Dad attended the Chicago Vocational School in Edmonton to begin his mechanics training. My Dad was awarded his journeyman’s status in 1965. He worked for several garages in Weyburn.
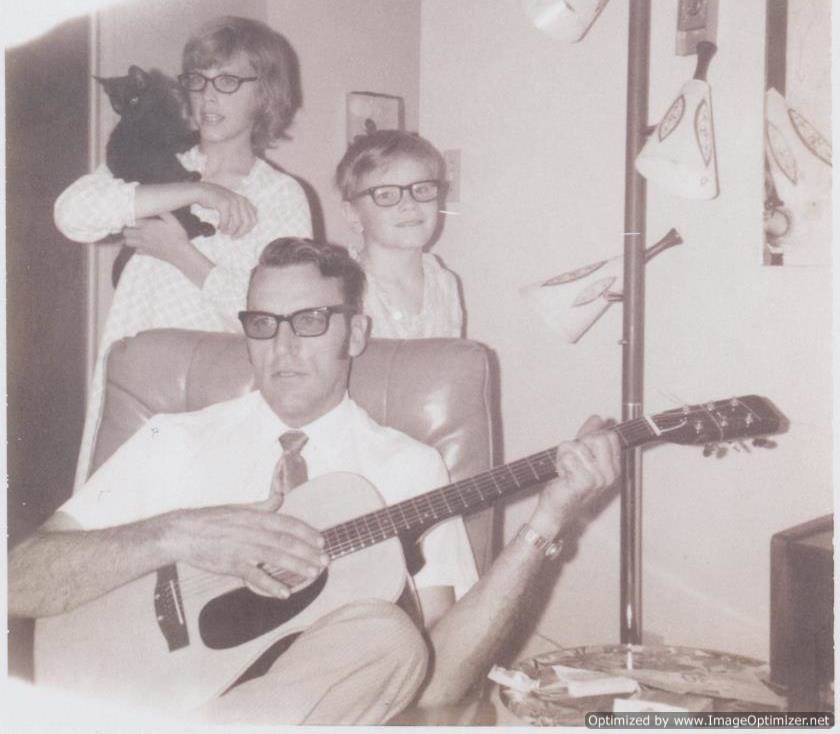
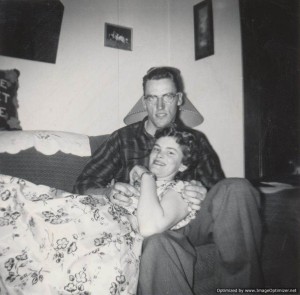
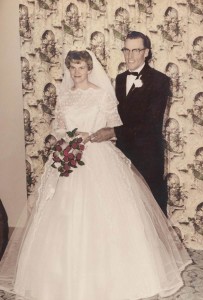
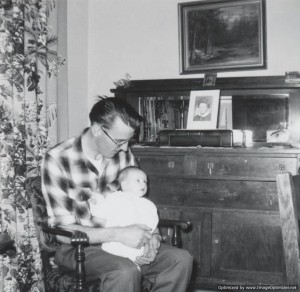
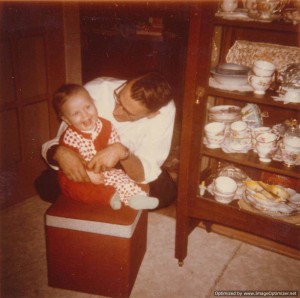
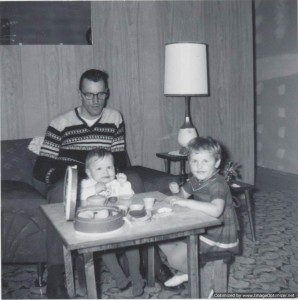
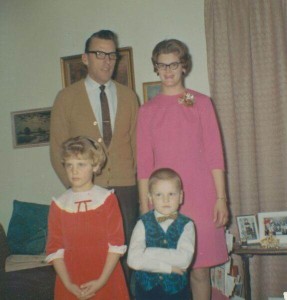
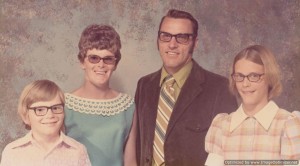
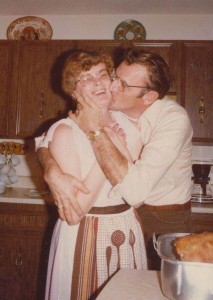
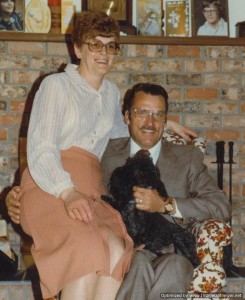
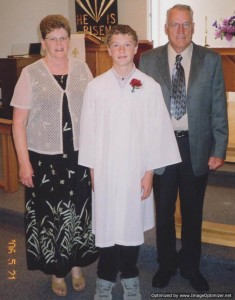
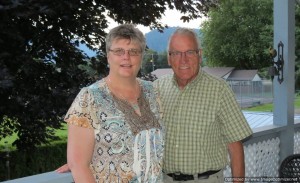
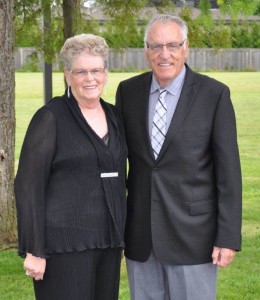
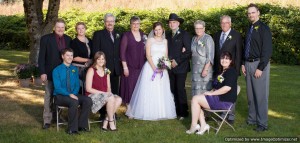
My Dad married my Mom on July 9, 1960 in Carlyle, Saskatchewan. They had two children: me and my brother. My Dad and Mom first lived in a 32′ trailer in Weyburn and later moved into the house they built on Duke Street in 1963.
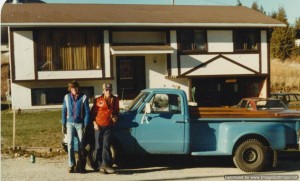
In 1971, our family moved to Nelson, BC. My Dad continued to work as a mechanic, first at a private dealership and in 1974 for the BC Government Department of Highways. At the end of his career, he was foreman and also started to weld for them. He spent many hours proudly fabricating mower decks and sand boxes for the highway equipment. He retired in 1995 at the age of 59.
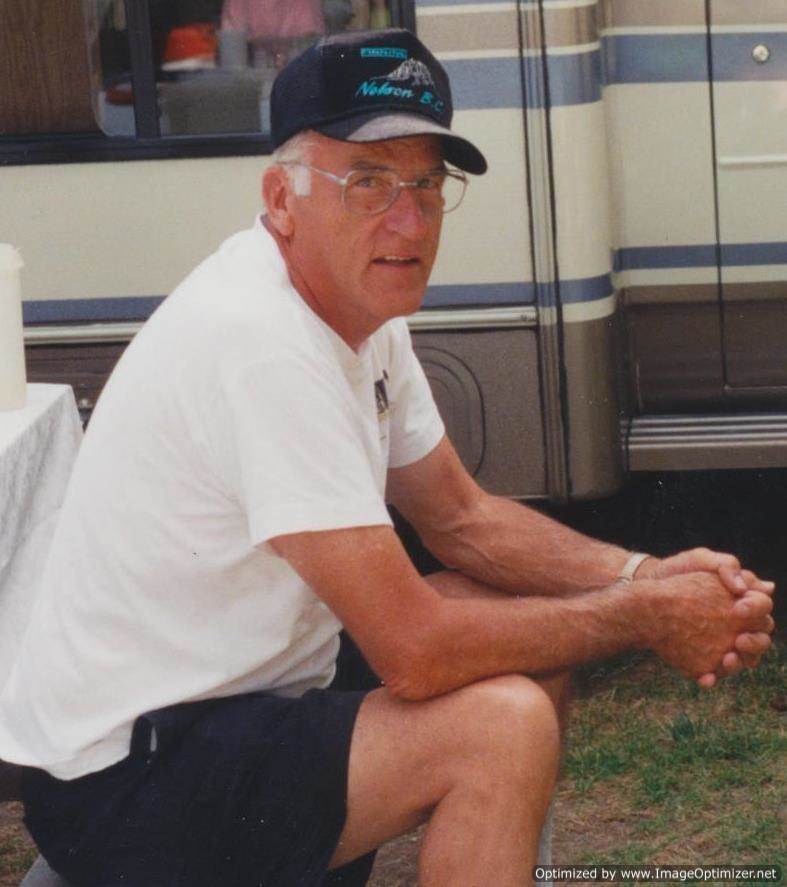
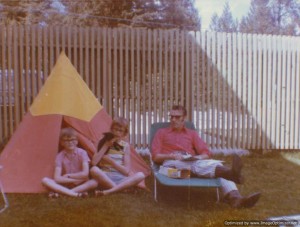
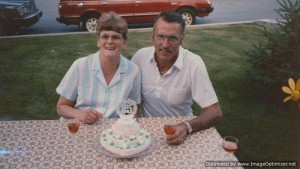
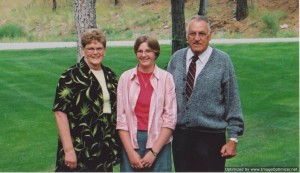
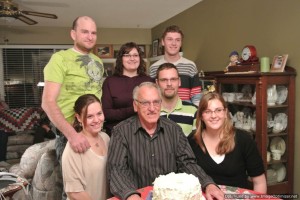
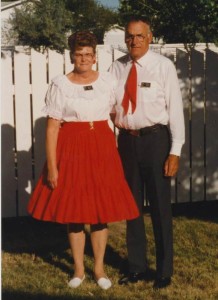
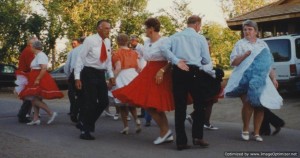
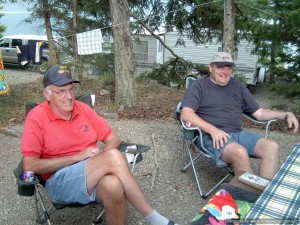
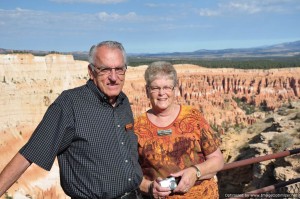
Once retired, my Dad and Mom moved back to Weyburn where they enjoyed a wonderful retirement – square dancing and spending time with friends and family. In 2004, they moved back to BC, where they could be closer to children and grandchildren.
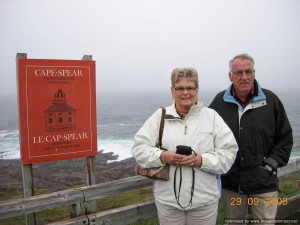
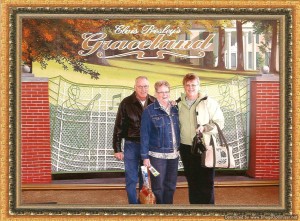
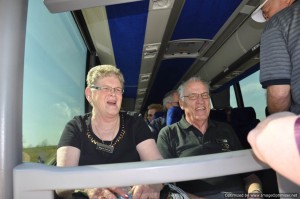
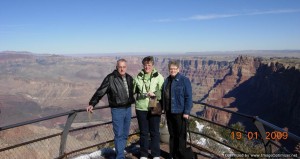
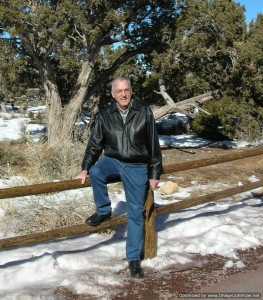
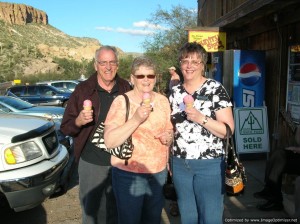
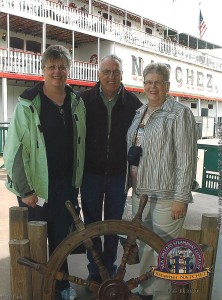
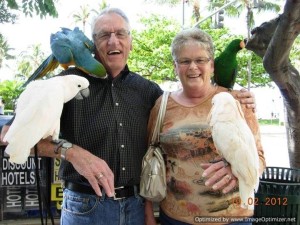
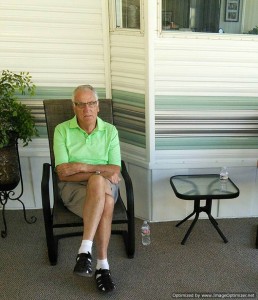
In retirement, my parents enjoyed many bus trips around Canada and the US. In the last years, they spent the winters in sunny Arizona which my Dad loved.
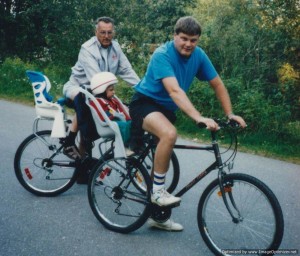
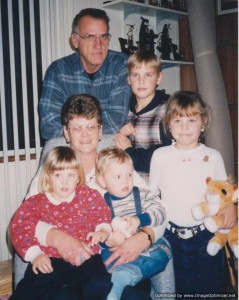
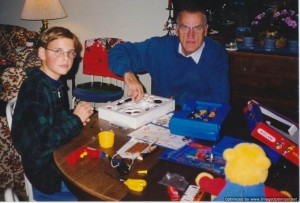
We loved him and he will be greatly missed by all who knew him.