Design Wall

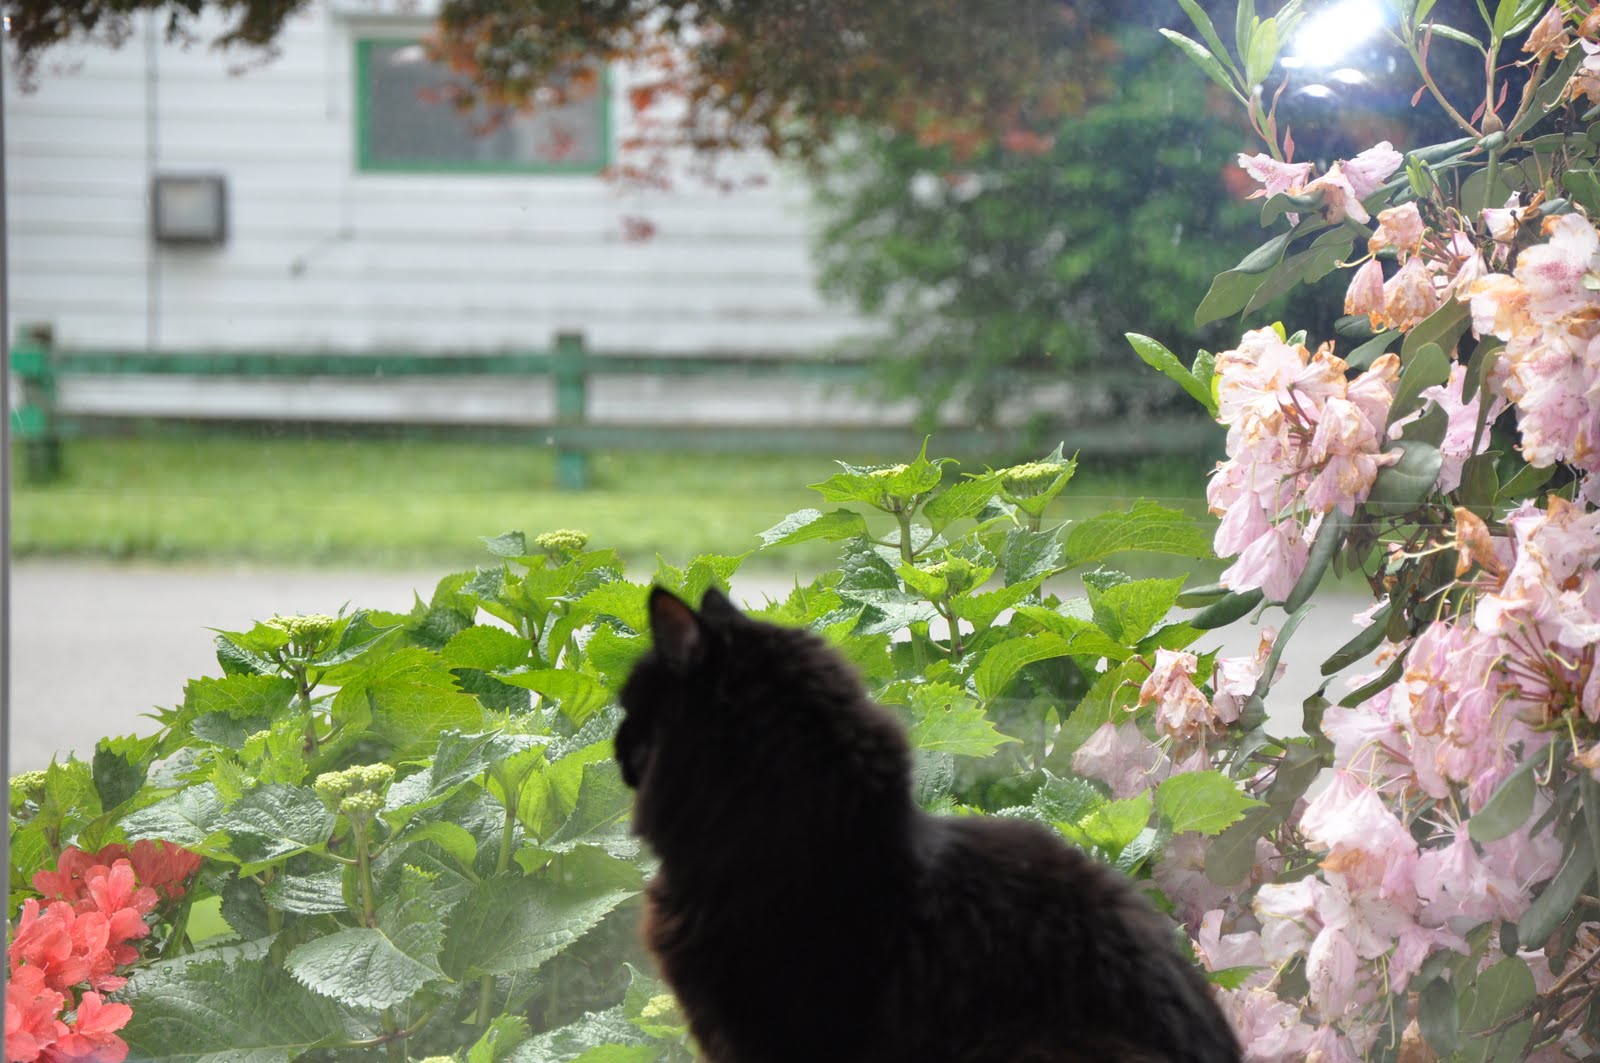
I have never had a design wall before. I have always laid my blocks out on the floor to tweak the arrangement. A design floor is a disadvantage if you have a cat. As soon as I have my blocks arranged on the floor, Joey thinks it is time to play and he runs and slides through the middle of the blocks.

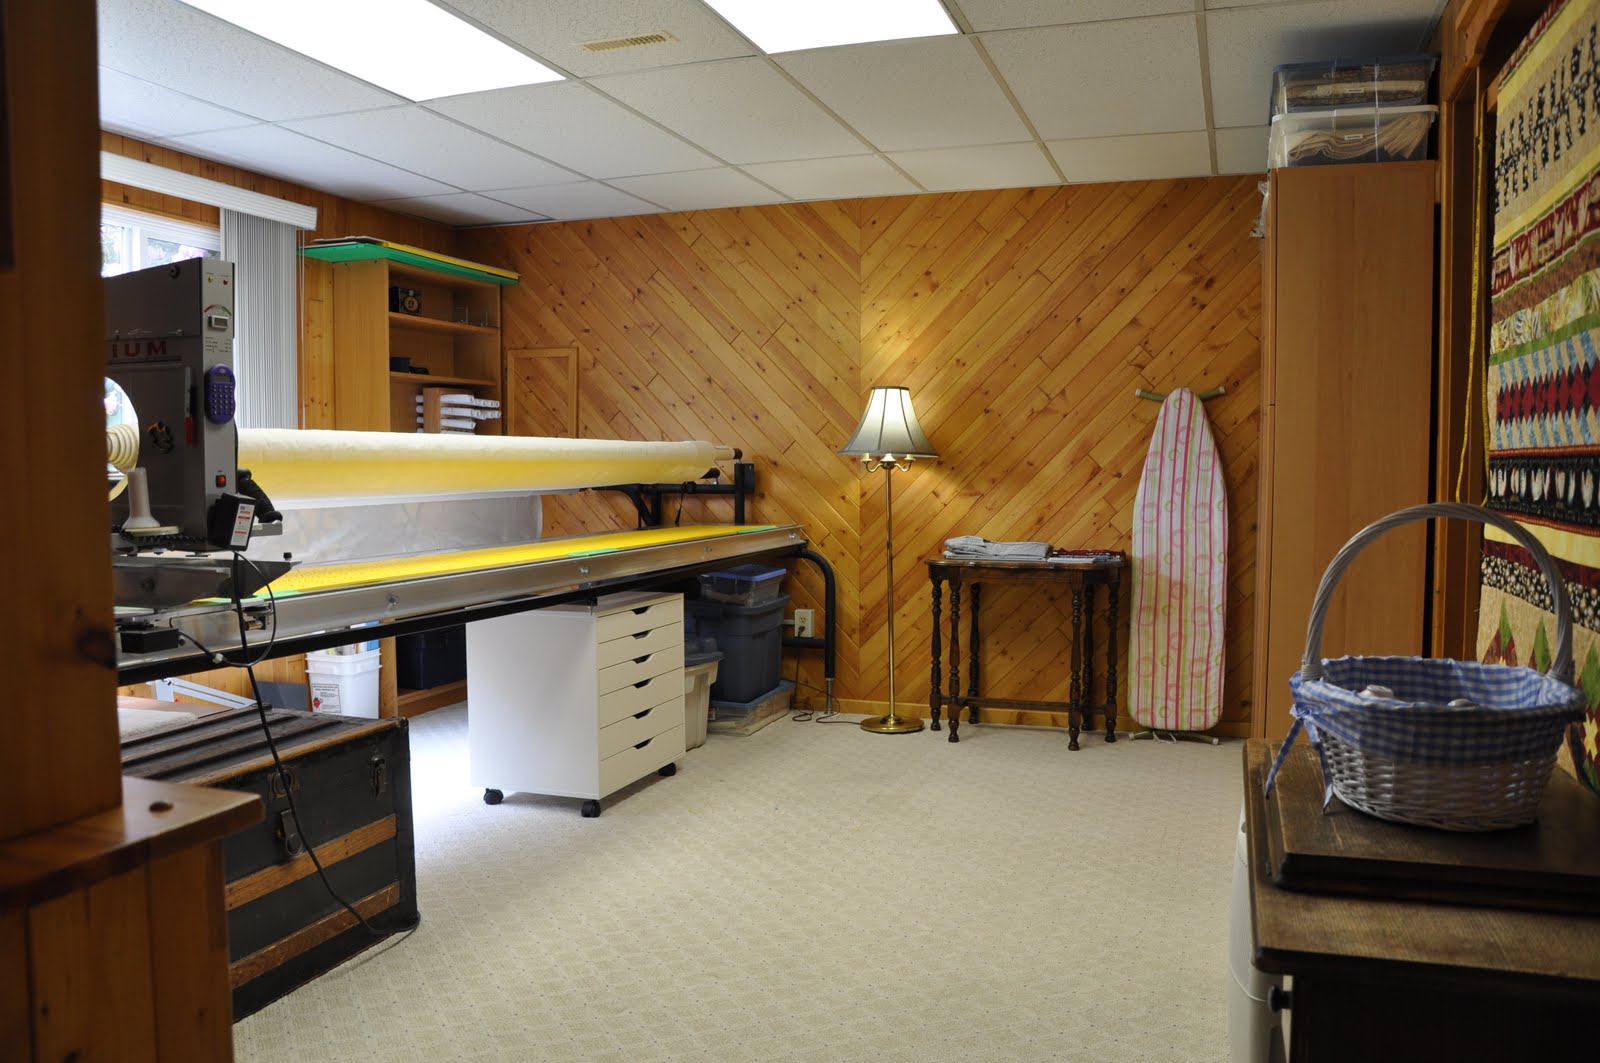
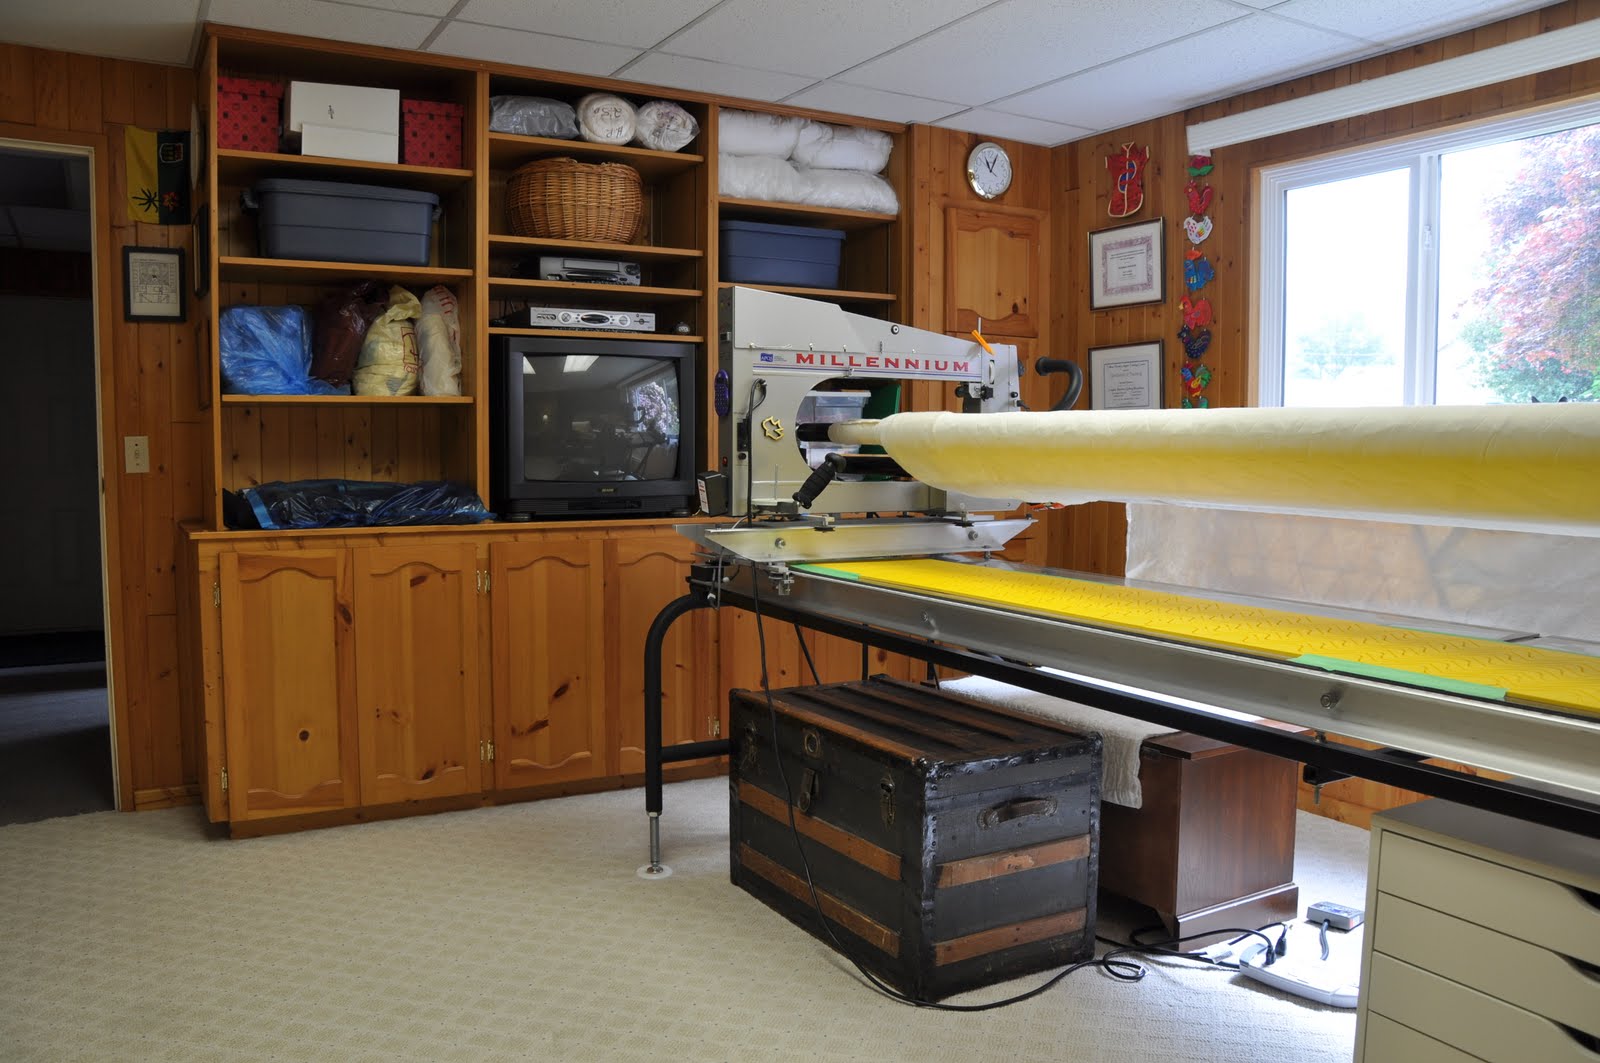
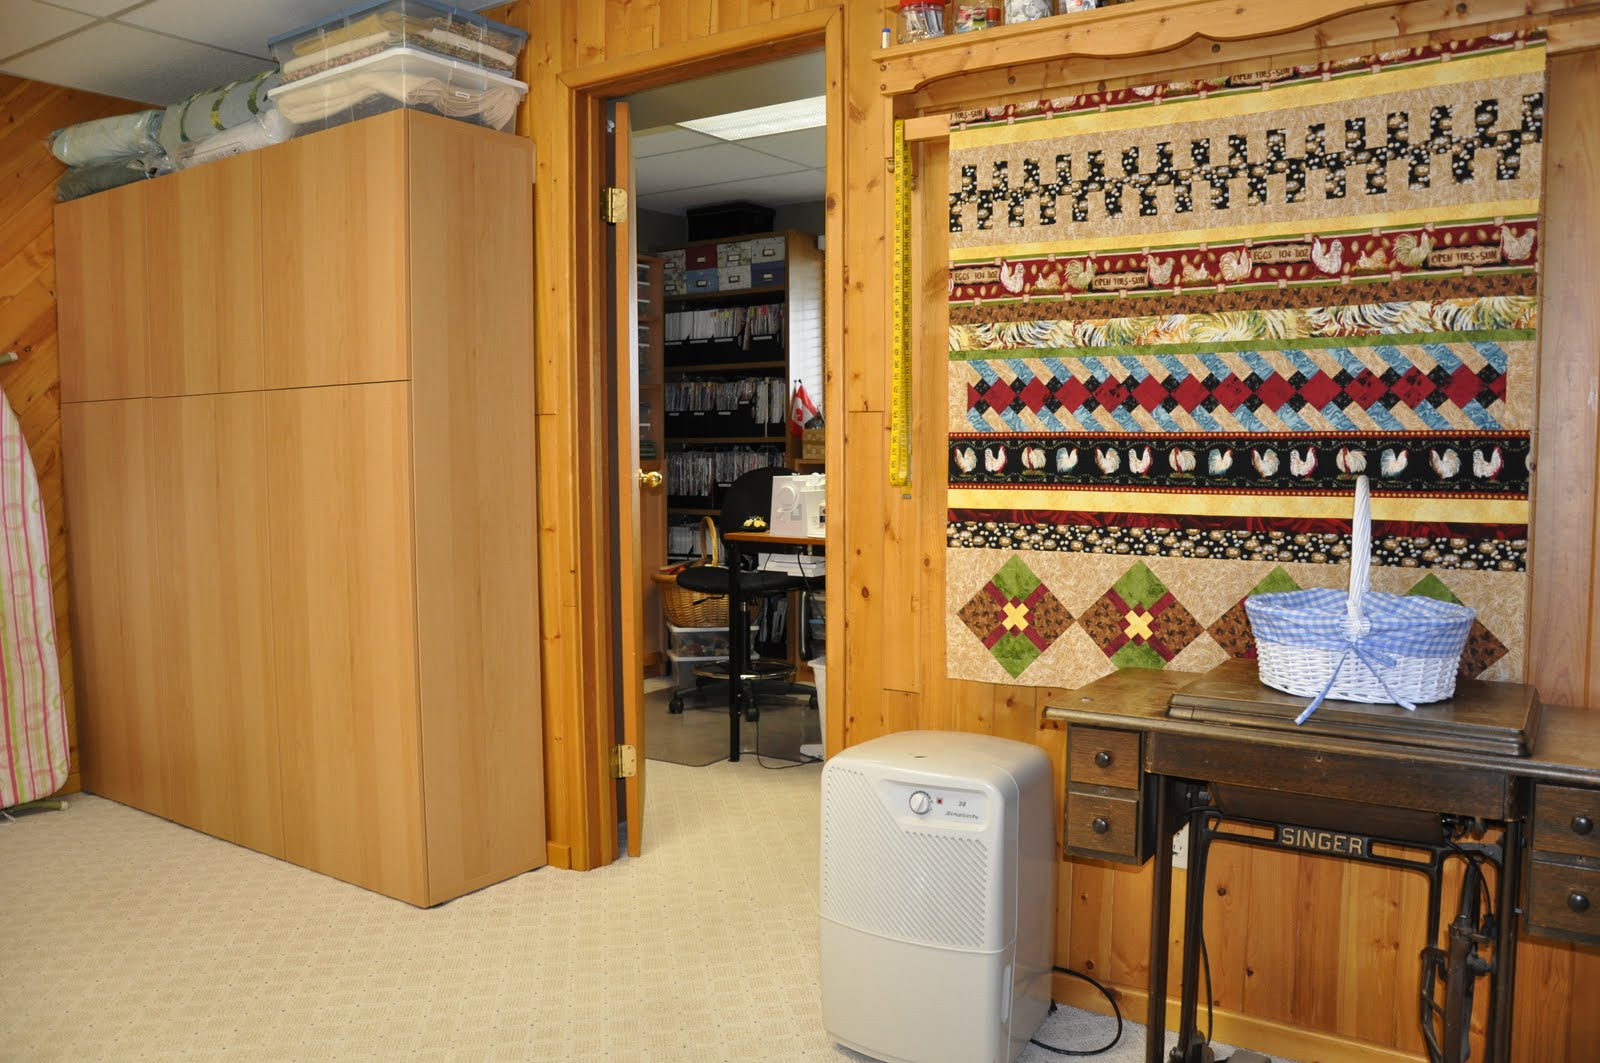
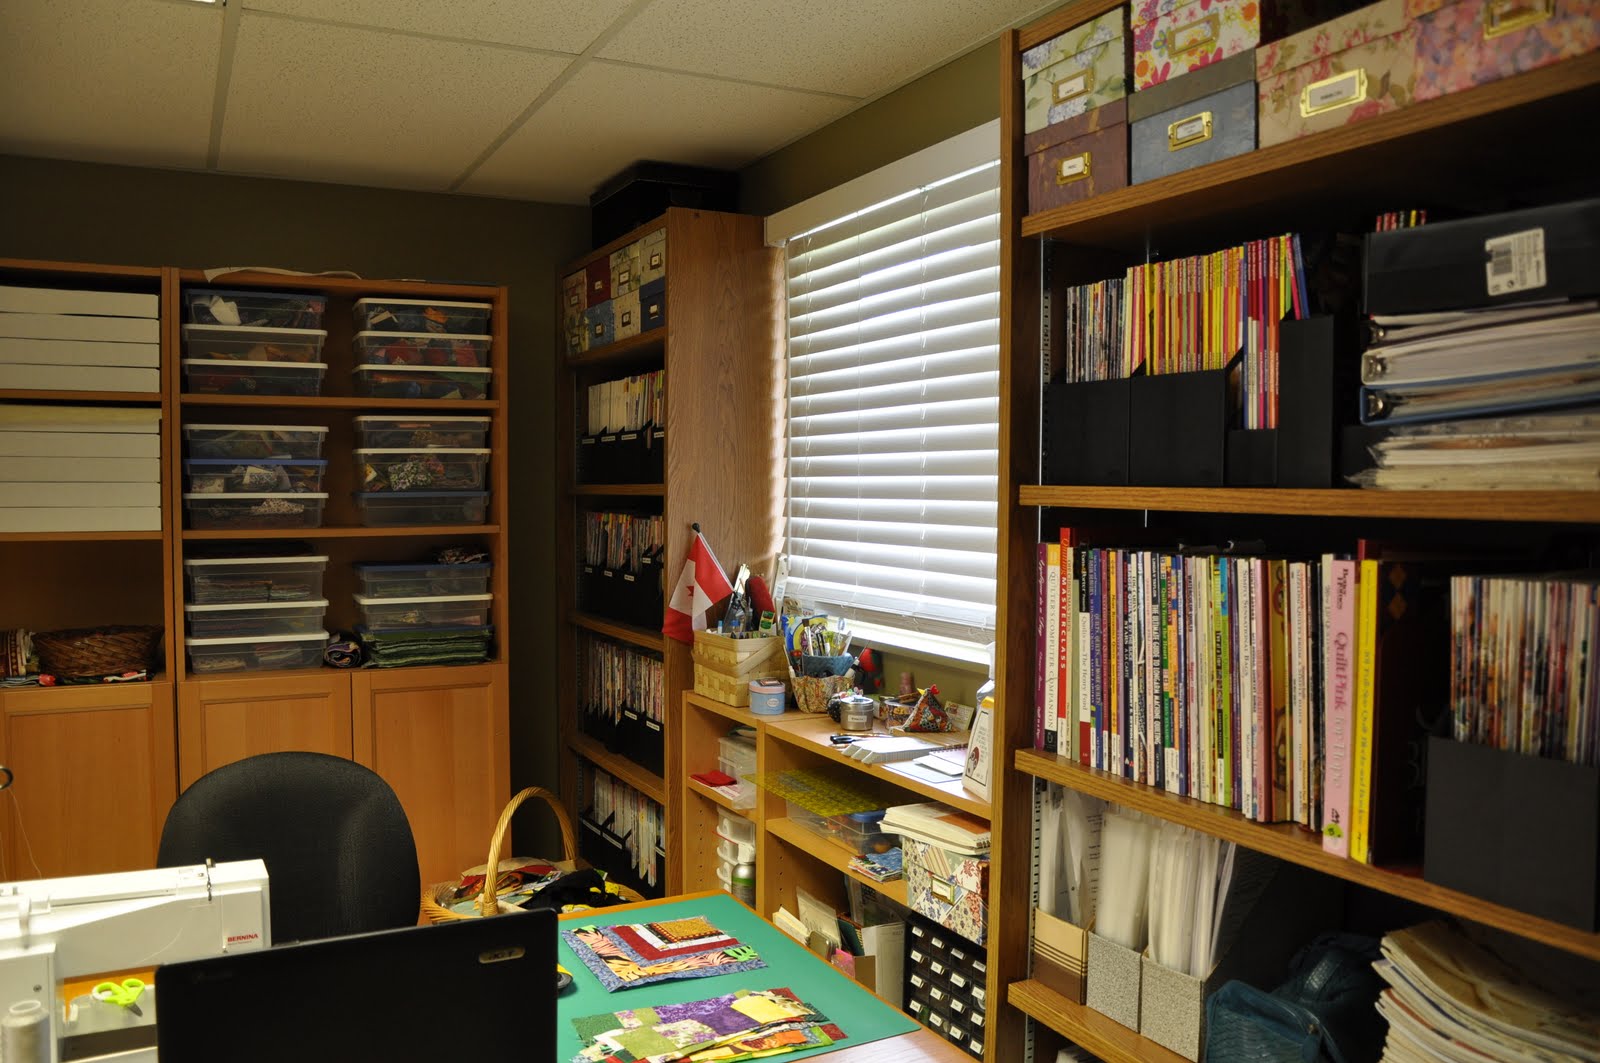
This week, I asked my husband if he would help me put up a design wall in my sewing room. The wall directly across from where my sewing machine sits was blank. I can’t put a piece of furniture against that wall as there is an outside door to the left of that wall and a closet door to the right. When both doors are open, the space between the doors is only about 10″ wide. Since it is hard to find a piece of furniture that is only 10″ wide, that wall remained empty. The wall was really a waste of space and seemed to be crying out for a purpose.

We purchased three sheets of Styrofoam insulation and covered them with an extra wide piece of flannel. We had to work around an outlet on that wall. When the Styrofoam was turned, it fit perfectly in the space. No trimming of the Styrofoam was required and the electrical outlet was not covered.

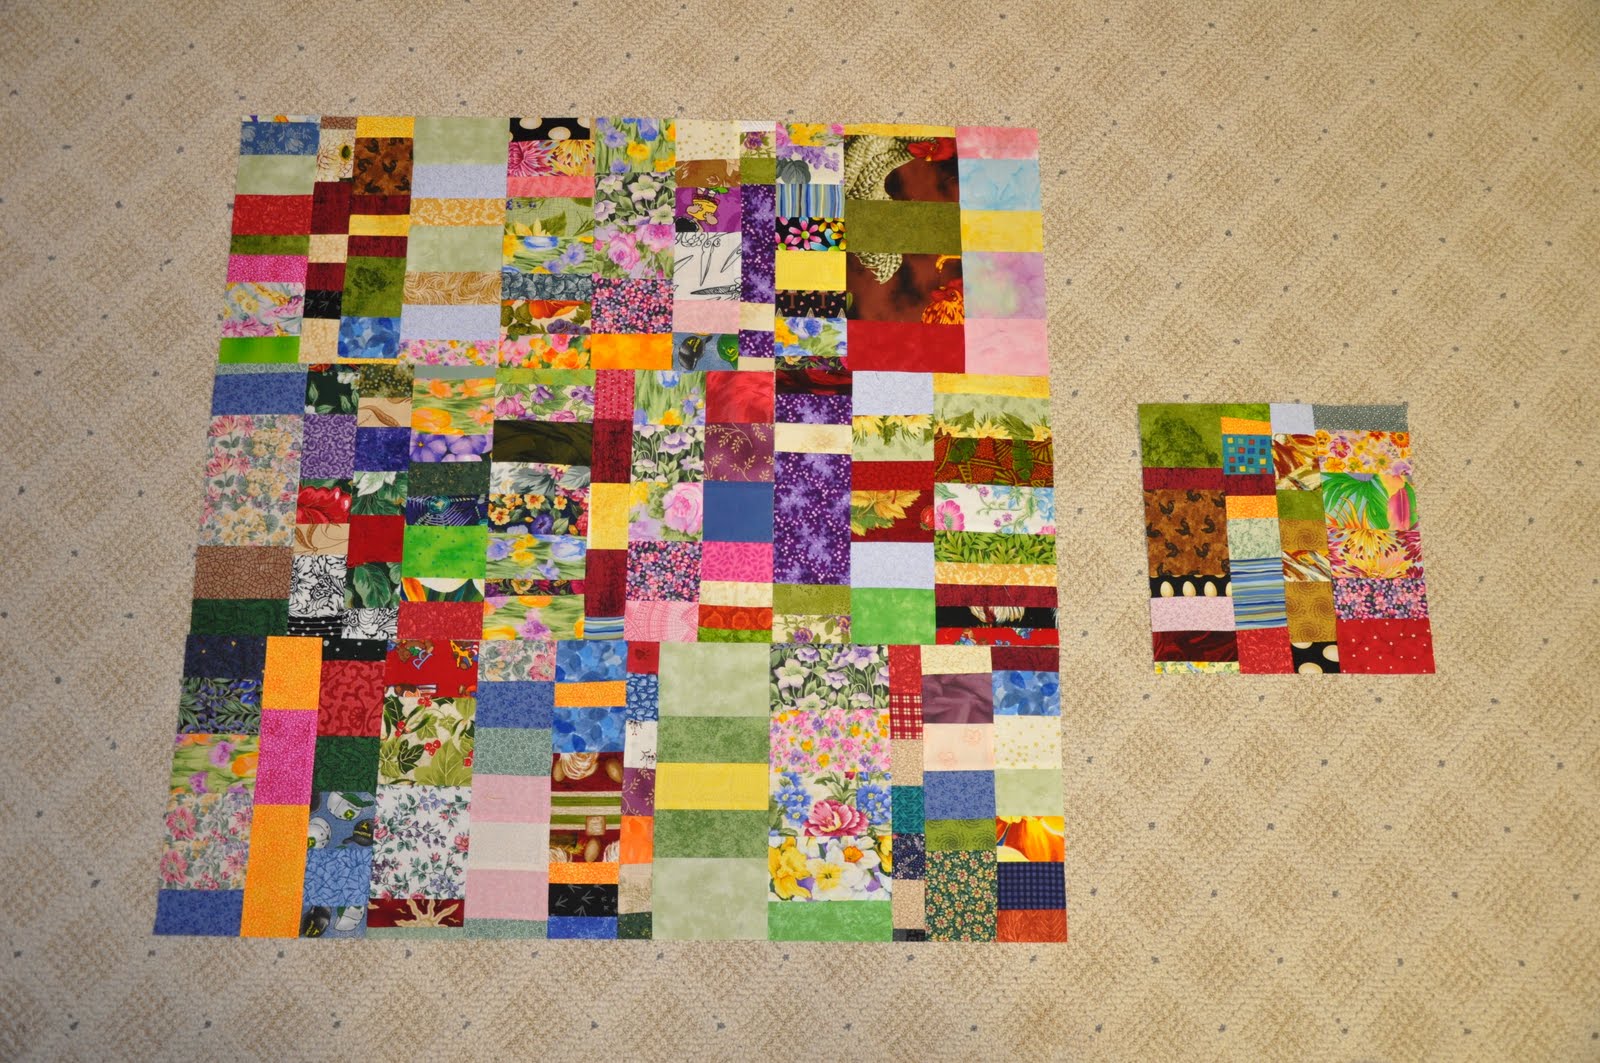
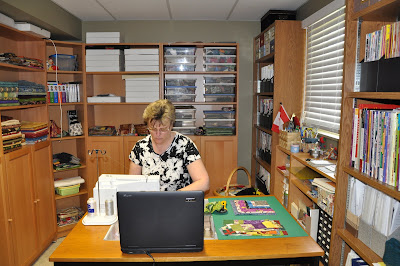
My husband wanted to see “how the wall worked” so I added my Bridge Creek Blossom blocks to the wall. It works perfectly (as I knew it would).

My husband kept referring to this as my “feature wall”. I guess it really is a feature wall since it features prominently in my sewing space. My son was home tonight and said he likes my “inspiration wall”. Certainly, being able to look at my work in progress as I sew, should serve as inspiration. So I guess it is a design wall, feature wall, and inspiration wall all in one!

Using up Scraps and Strings

I am determined to use up every last string and scrap in my studio! To that end, I have been continuing to work on these string scrappy chevron Log Cabin blocks. I have finished 74 – 9.5 inch blocks so far. By my calculations, I need 11 more of these blocks to make a large queen or king sized quilt top.

I have also been working on a new scrap block (like the block to the right in the photo below). These blocks are fast to make and are great to make when you want to use up those strata trimmings left from all those other projects. I find that if I use Ellen’s Best Press on the block when I am finished piecing, I can flatten out those bulky seams so they are super flat and ensure a perfectly square block once trimmed.
This picture shows what a group of nine blocks might look like if they were pieced together without any sashing.
I am determined to leave no string or scrap behind!

Bridge Creek Blossoms

Linda and I are working on another Atkinson Design pattern: Bridge Creek Blossoms. http://www.atkinsondesigns.com/patterns/patternDetail.asp?productID=144

We were supposed to start this one together last Friday, but my day job got in the way of those plans as I ended up having to work. We did work on this project a bit last weekend, but not like we like to, which is all day, uninterrupted.

I am planning to work on more blocks to put towards this project today – between the regular domestic chores that compete for my time each weekend – laundry, grocery shopping, cleaning house, etc.

This is a picture of the progress that I have made so far – 10 of the 50 blocks required to make this a queen size. I was originally going to make this one lap size, but I have enough fabrics in my stash to make more blocks so why not go for it, and make the queen size, right?

This project sort of counts as a patriotic project. If you double click on the picture, you should be able to see the Canadian flags in the bouquets on the border print. Canadians are a bit quiet and subdued about putting their flag out there front and center. When I bought this fabric more than 3 years ago, I wanted to make a patriotic quilt and I was unable to find any fabric with the Canadian flag on it. Of course, in the last year, that has all changed with the focus we had last winter on the Winter Olympics. Now I am seeing Canadian flag fabric everywhere!

Addition of the Quilting Annex

Our son bought his own place and moved out on his own in April. When he was living at home, his bedroom was the room just off my studio. Once the space was vacated, I seized the opportunity to occupy the additional real estate and my Quilting Annex was born!

My husband and I got busy and painted the walls in the new space and made a trip to IKEA to buy some more cabinets to add much needed storage. These are pictures of the new space.
This is the view you see as you enter my longarm studio. To the right is the door to my new Quilting Annex.

This is the view from across the room looking back towards the door into my longarm studio.


This is the view from the side of the longarm studio. The picture was taken while standing in the doorway of the Annex.


This is the view of the opposite side of the room looking into the Annex.

This is a picture taken from inside the Quilting Annex. Storage surrounds my worktable.


The bottom half of the shelving units houses my stash. Fabrics in my stash are organized in colour groupings. The top sections of the shelving units are open and house UFO’s and fabrics that have been committed to projects not yet started.

The white boxes in this picture house UFO’s. The clear totes to the right of the white boxes house strips and squares organized in various size groupings. These boxes are used to make the scrap quilts that I love so much.

I have room for all my quilting books and magazines within reach of my worktable.

And here I am working on my Scrap Chevron Log Cabin blocks. You can see my laptop on my work surface. My laptop allows me to quilt and chat with my quilting friends living in Alabama, Oregon, and Wisconsin via Messenger.

A tour of my studio would not be complete without checking in with Joey. This is Joey’s favorite spot to sit in my studio–the windowsill. From this vantage point Joey can keep an eye on everything that moves through the yard and down the street.
This picture is for Linda. Our rhubarb seems to be enjoying the rainy weather we have had this spring. Those large leaves are so suited to trapping the rain. Rhubarb grows like a weed here. I wish I could send you some, Linda!

Progress on my Seminole Quilt

This is my Seminole quilt so far.

I ended up re-doing the first row. The fabrics I had originally made this row from ended up blending together too much – not near enough contrast.

The problem I had with this quilt was that I had way too many chicken fabrics that I wanted to add to this project. I kept adding bits from my stash and in the end I have ended up with a piece that is 42″ x 71″. At this point I should be adding borders. However, to keep this quilt from being just a long skinny quilt, I may have to add some Seminole piecing to the side(s) before adding the borders.

This project has really challenged me. I continued to modify, rearrange and change options right up until all the rows were finally sewn together. As I took the picture tonight of the progress so far I find myself contemplating more options. This project will definitely not be “finished” for a while yet!