I have started making my own project bags to organize my cross stitch projects. I must admit, they are a lot nicer than ZipLoc bags.
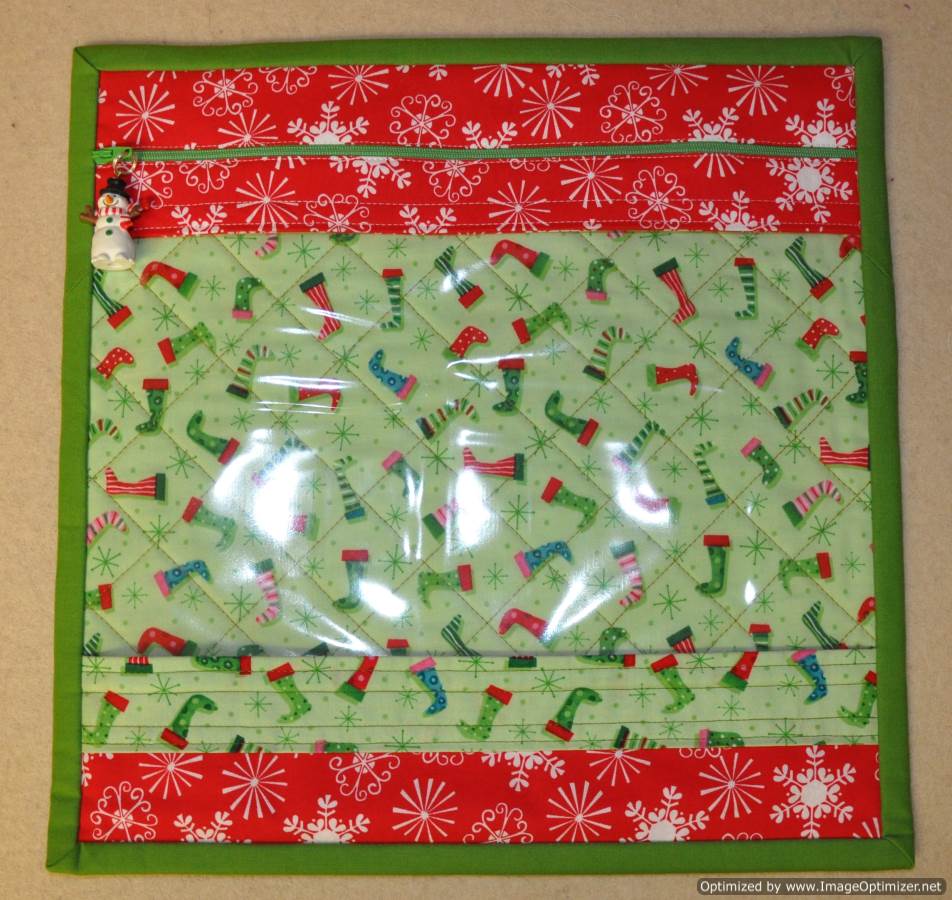


I have started making my own project bags to organize my cross stitch projects. I must admit, they are a lot nicer than ZipLoc bags.
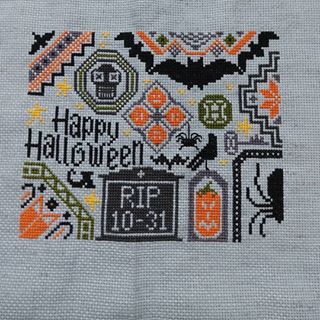
After finished the Little Quaker Christmas cross stitch, I went on to stitch this Little Quaker Halloween cross stitch design by Susan Ache. I think I am hooked on Quaker cross stitch designs. The fabric is a grey Aida that I picked up on the January De-Stash table at guild.

I have been enjoying Susan Ache’s Collecting Colors SAL that I went searching for any other patterns that she might have. I came across this Little Quaker Christmas and I soon had it stitched up.
This is the perfect sort of project for stitching in the evenings in front of the TV while we stay socially distanced during the COVID-19 pandemic.
I am on a mission to work through my Christmas scraps by making some placemats.
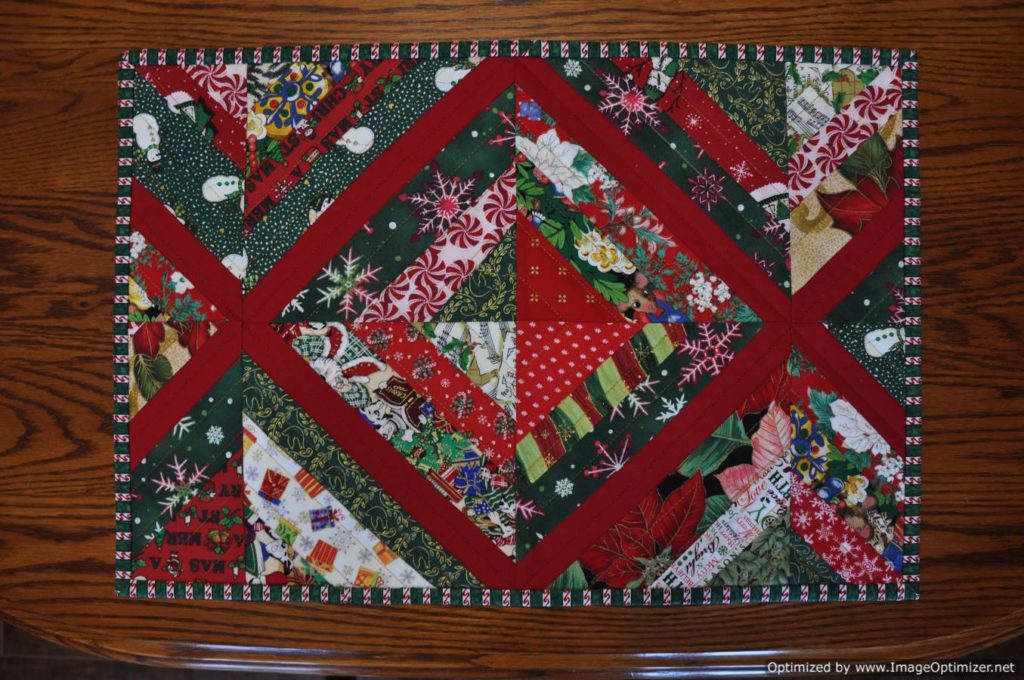
These string blocks were pieced and trimmed to 7.5 inches square before sewing 6 of them together to make a placemat.
I like my place mats on the larger size so there is room for the plate, cutlery, and glass without the glass having to sit on the edge of the placemat. This placemat finished at 14.5″ x 21 inches.

Ready for Christmas dinner!

While camping in October 2019 I was looking for a portable handwork project that I could take along to work on. I dug out an old cross stitch kit that I had bought for $5 at a guild white elephant sale at our guild quilt show about 6 years ago. The kit was unopened and dated 1999. I thought it was about time I got started on it. This was the first cross stitch project that I worked on in 20 years.

This kit was a Janlynn Counted Cross Stitch full coverage piece called, Smokey Mountain Cats. It finishes at 10″ x 13″. I am not sure whether I will frame the piece or make it part of a quilted bag.
When the WHO declared the COVID-19 outbreak a pandemic this spring, I lost my quilting mojo. Unlike many Canadians who were encouraged to shelter at home, I am an essential services worker and I continued to work. The long hours at work coupled with the extreme level of stress called for something different to relax in the evenings so the timing was right to finish this off.
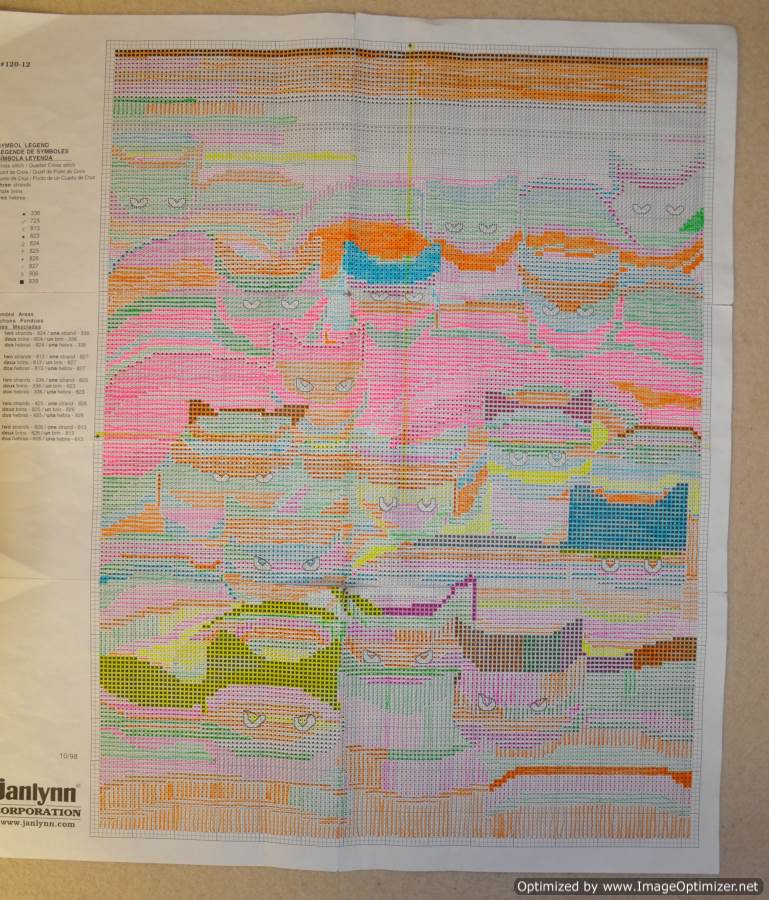
This was the design. I had to use highlighters to keep track of what was stitched and to assist with keeping my place.