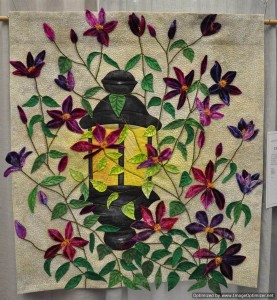
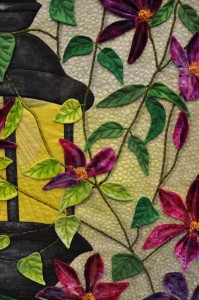
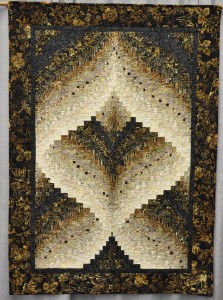
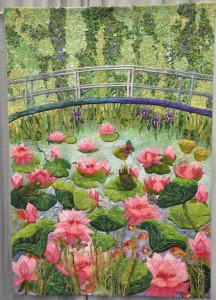
Boundary Bay Quilters’ Guild Quilt Show

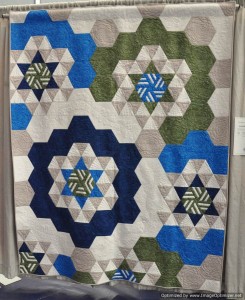
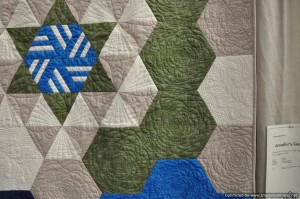
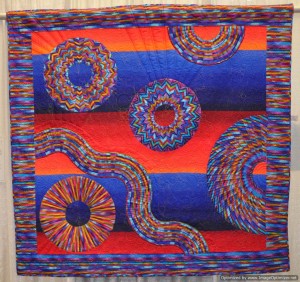
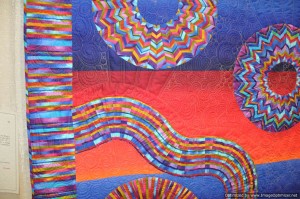
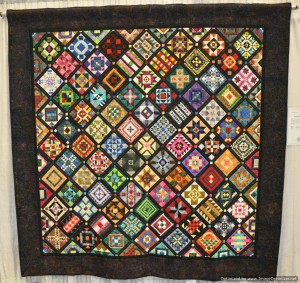
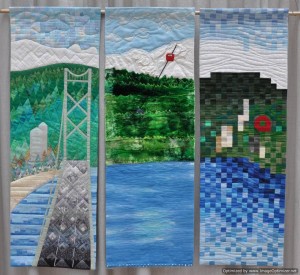
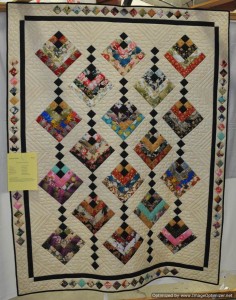
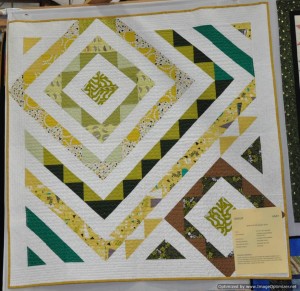
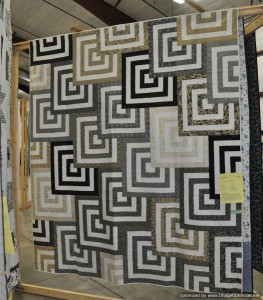
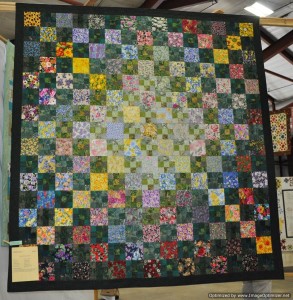
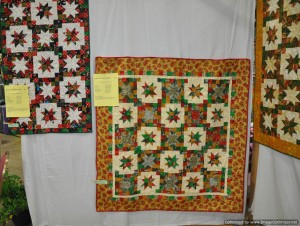
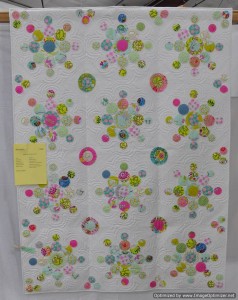
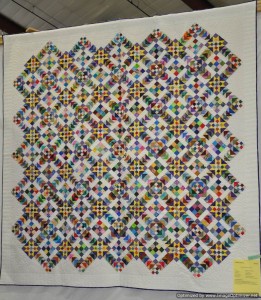
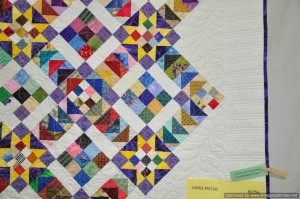
Today I took my parents into Vancouver.  Dad had a specialist appointment first thing Monday morning.  With the traffic and constant road construction, we have found it easiest to head into the city the night before and stay at a hotel.  This is by far the least stressful way of dealing with travel to the city.  On the way into Vancouver,  we stopped in Delta at the Boundary Bay Quilters’ Guild show.

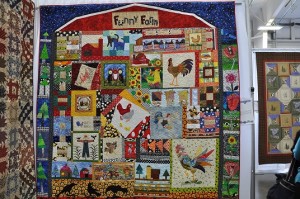
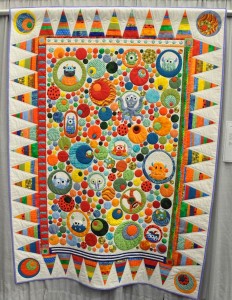
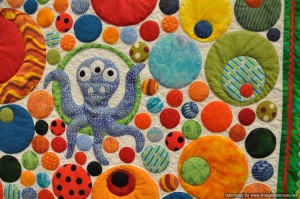
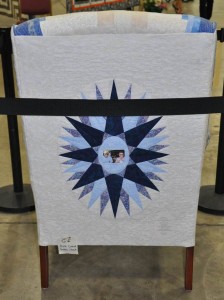
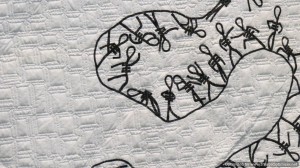
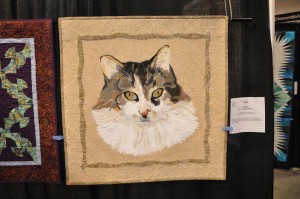
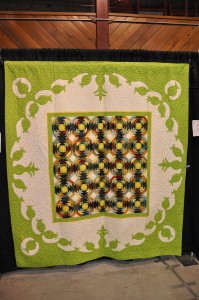
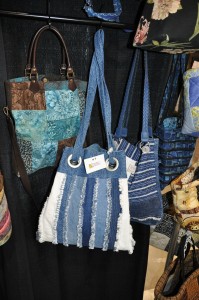
Quilts-by-the-Bay-2013-300x186DSC_0375This cat quilt was my favorite quilt of the show. DSC_0366eThis lime green Hawaiian themed quilt was my second favorite.  I love the mix of traditional Hawaiian applique on the border and the pieced pineapple blocks in the center. DSC_0372eThere was a huge display of bags and purses.  I am always looking for new bag ideas.  This grommet bag made from recycled blue jeans.DSC_0373e

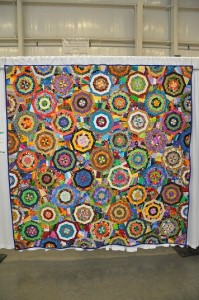
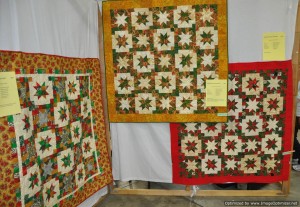
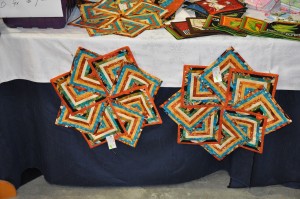
These table centers were favorites of my Mom’s.  The guild had these on the tables in their tea room.  Does anyone know what this pattern is called?

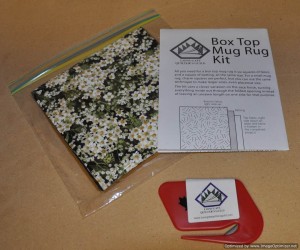
There were lots of vendors at this show.  I bought a cute little pieced chicken quilt kit.  Stay tuned for pictures of that one.

Worldwide Quilting Day

2013-Worldwide-Quilting-Day-250_gif_150x150_q85

I spent Worldwide Quilting Day in the best way possible – in the company of quilters at a quilt show!

My Quilt Guild arranged for a bus to transport 45 quilters for a day at the Quilters Anonymous 32nd Annual Quilt Show in Monroe, Washington.

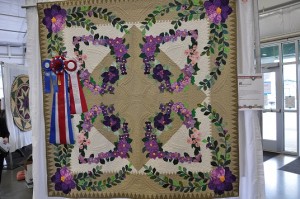
There were over 500 quilts on display at this show so picking just one favorite was impossible.  These are some of my favorite quilts from that show:
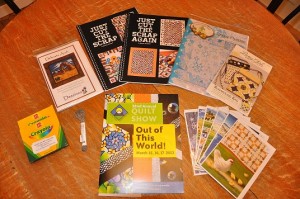
DSC_0280_smaller DSC_0315_smaller DSC_0319_smaller DSC_0343_smallerThere were quite a few vendors at the show.  These are the purchases that I made:
DSC_0359_smaller

Dee of The Quilted Trillim  was in attendance with her realistic raw edge applique designs. Dee told me that with her no tracing applique technique, I should be able to make her Delicate Arch project in a weekend.  There are many tiny pieces in this pattern so I don’t think I will be making this one that quickly!
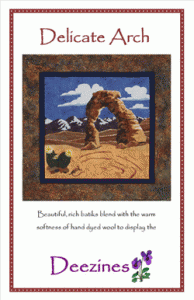
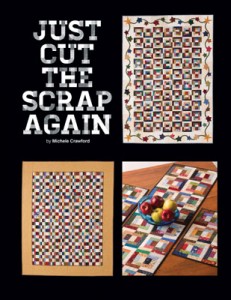
DELICATE-ARCH-250Michele Crawford of Flower Box Quilts was in attendance with her husband.  I was really impressed with the simplicity of the two blocks – Block A and Block B – that are behind the design of the quilts in Michele’s two books.  Once you make the two blocks the quilt designs are developed by sub-cutting those two blocks.  Very clever!  Michele indicated that she is now working on a third book in this series.
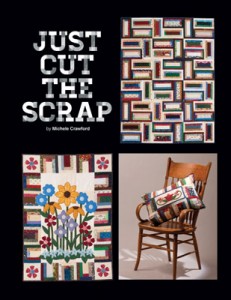
book1cover309x400webbook2cover309x400web

This is a picture of the cover of the pattern:  Snow Flurries.  This is a new design by Crabapple Hill Studios that I have been looking to make.
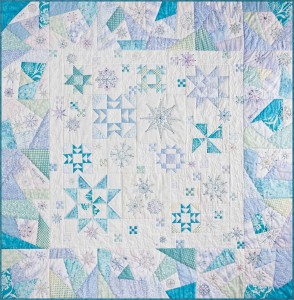
431-snowflurries-web

This is the pattern jacket from the Lazy Girl Designs’ bag pattern, Runaround Bag.
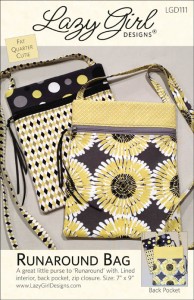
111-cover-2012_web

I also picked up some art cards by Rebecca Parker, two boxes of just white crayons, and some sparkle floss.  I attended a demonstration about how to colour stitchery pieces with crayons where I learned that you should first colour an area with white crayon before adding the layer of coloured crayon.  This technique is described by Crabapple Hill Studio on their website as:

Crayon Tinting instructions

Some of the patterns are tinted with Crayola Crayons. It’s a really fun technique that looks SO COOL when it’s done right!!! I like to start the process by coloring any area that’s going to be tinted with white crayon. It sort of “fills” the weave of the fabric and smooths it out to create a base for the colored crayons. It also helps with the blending of colors……….SO!!! You can go through quite a bit of white crayon in a single project. In “Calendula Patterdrip’s Cottage” I used almost 3 white crayons. Having to buy another ENTIRE box of colored crayons just to get one, single, lousy white crayon is just, well……maddening! But….having a little box of all white on hand…..is…..happy-ing! Yes, that’s a new word.

Color tinting is really easy……

  1. 1. Trace the design onto the fabric as usual
  2. 2. Make sure your work surface is clean and smooth and there isn’t any lint/threads on the back of the fabric.
  3. 3. Color all areas that you’ll be tinting somewhat heavily with white crayon.
  4. 4. Tint all areas as directed in the pattern (or use your own imagination!) I like to use a little circular motion……..
  5. 5. Heat set with a hot iron by laying a white paper towel over the tinted area and pressing (you’ll smell the wax) Remove the paper towel and look at it…..if there’s ANY color on it repeat the pressing process with a clean paper towel.

In the same demonstration I learned about a metallic look embroidery thread called, Cosmo Sparkle Thread.  I learned how adding a bit of sparkle floss to a stitchery project can add just a little special something to your project.  The Snow Flurries pattern that I bought uses sparkle floss, and crayons so I will be able to try out the new techniques that I just learned.

From Lecien’s website:

Lecien has been producing Cosmo embroidery thread in Japan since 1950. Cosmo thread is made from the best grade of Egyptian cotton available and its texture and sheen is equal to that of silk. Cosmo floss doesn’t twist and tangle like other flosses, and is easy to separate the strands for stitchery projects. Cosmo thread glides smoothly through fabric.

Opening and Using Sparkles

To use Sparkles – do NOT pull an end like you would with other flosses. Gently remove the paper sleeve. Handle gently and keep the loops in nice circles. Find where the knot is; these 2 ends are the ends of the 10 meter strand. Open the loop twice, until all that is holding the loops together is the knot. Gently pull the 2 ends of the strands till the knot is away from the loops and cut the knot. Carefully wind Sparkles around a spool or bobbin.

Today was the perfect way to celebrate Worldwide Quilting Day!
 

Quilt Show Weekend

This weekend was our local guild’s quilt show.  Set up was Friday.  We opened Friday night from 5 pm to 9 pm.  This was the first year that we opened our show up to the public on Friday night.  Saturday we were open from 9 am to 4 pm.

This was the view as you came in the door of the church.

This was our raffle quilt.  This was the first year that we sold all of the tickets that we had printed.
This is our guild banner.
We had a small merchants’ mall as well.

And now….on with the show!

I spent all day Saturday demoing crumb and string quilting.  This was my table – set up in front of one of my quilts, Got Stripes that was entered in the show.

1.)  I entered a total of 14 quilts in this show.  Got Stripes is 99.5″ x 115.5″.  The Pattern is by Terry Atkinson  from Terry’s Time Out Quilts book.  This quilt is part of a collection of quilts gifted to my daughter and her husband on the occasion of their wedding on September 1, 2012.

This was the display that I looked at as I demoed on Saturday.

This display was also in my field of vision as I worked away at my demo table.

2.)  This is where my quilt, Love Is was hanging.

A closeup of Love Is.  This quilt is 37.5″ x 49.5″.  This pattern is by Paula Stoddard and was on her blog, Quilt Happy, Quilt Often, at one time. This quilt was presented to my daughter at her bridal shower in August.

3.)  This is another one of my quilts–Minnesota Hot Dish.  This quilt is 86″ x 101″.  The pattern is by Terry Atkinson and is also part of a collection of quilts presented to my daughter and her husband at their wedding on September 1, 2012.

4.)  This is another of my quilts, Butterfly Trails.  This quilt is 64″ x 77″.  The pattern is by Atkinson Designs and is from Terry’s book, Time Out Quilts.  This quilt is part of the collection of quilts that was presented to my daughter and her husband on their Wedding Day.

5.)  This is where Bento Box hung at the show.

Bento Box was the fifth quilt that I entered in this show and is 61″ x 75″.  This pattern is by Tracy Brooksheir.  This quilt also forms part of the collection of quilts that were presented to my daughter at her bridal shower.

This picture shows the long row of quilts that hung on the far wall of the hall.  Two of my quilts are visible in this picture – Pansies and Fire Escape.

6.)  Pansies is 51.5″ x 68″.  The pattern is by Kari Nichols.  This quilt forms part of the collection of quilts that were gifted to my daughter at her bridal shower.

7.)  This is Fire Escape.  This quilt is 59.5″ x 71″.  This quilt was presented to my daughter at her bridal shower.

8.)  This is where my Jelly Roll 1600 quilt hung at the show.

This is a closeup of JR1600.  This quilt is 47.5″ x 62″.  This quilt still belongs to me!  The pattern for this quilt can be found on You Tube.  The online quilting group that I belong to–the FABs–celebrated each quilter’s birthday in 2011 with an online birthday party.  This quilt was assembled during Pam’s birthday party.  After the presents were opened, we were on to the rest of the party.  Pam and Cher used commercial Jelly Rolls and Linda, Pat, and I used strips cut from our own stash.  After joining 40 – 2.5″ strips end to end you have 1,600 inches of fabric.  Take the end of your strip and match it with the beginning of your strip and put the pedal to the metal and sew!  You will be working on one long seam–800 inches long.  You repeat this 5 times and you end up with a lap sized quilt.  There is to be no pressing of seams until the top is done.  The women on the video claimed to be making their tops in 35 minutes.  It took longer than 35 minutes for me to complete my first seam!  After sewing my top together I thought my top needed something more.  All the green fabrics looked like a lawn to me so I thought about adding some bugs.  After the quilting was finished, I appliqued the 5 ladybugs to the top–one ladybug for each FAB.

9.)  This is a wall hanging that I made from a panel.  I called this one, Love.  (Not very original, eh?)  The pattern that I used was Sidelights by Kari Nichols.  This one finished 46″ x 53″.

10.)  This is where my quilt, Halloween Scrappy Log Cabin hung at the show.

Halloween Scrappy Log Cabin is from a pattern by Two Kwik Quilters and finished 47.5″ x 66.5″.  This was a pattern that many of us from our Monday night quilt group have made.

11.)  This is the quilt that I finished recently–Fall Rail Fence.  This quilt finished at 68″ x 86″ and was inspired by a quilt on the cover of the January 1999 issue of Traditional Quilter.  The quilt in the magazine was called, Christmas Village and had a border of foundation pieced houses and trees on it.  I started this quilt in 1999 and by the time I got around to finishing it recently, I decided that I no longer liked the border that was on the quilt in the pattern so I replace the pieced border with this green/sunflower print.

12.)  This quilt literally came right off our bed before it was hung in the show.  This quilt is 95.5″ x 103.5″ and is called, Rooster Twist.  The name of the quilt pattern is Strip Twist and is by G.E. Designs.  I belong to a group of on-line quilters called the FABs.  One member is from Wisconsin, two members are from Oregon, another member is from Alabama, and then there is myself.  Although we had quilted together on line since 2006, only a few of us had met in person before we got together for a retreat in 2009.  We had a great time–each of us piecing together our own version of this quilt.  Friendships were bonded together forever that weekend and we continue to quilt together most weekends thanks to MSN and e-mails.

13.)  This is a small version–61.5″ x 72.5″–of a larger bed size quilt that I made, All About Halloween.  This is another Terry Atkinson pattern–All About Me.  This quilt was gifted to my son and his wife after the quilt show.   This quilt was a healthy alternative to trick or treat candy this year.

14.)  This is the last quilt that I entered in our quilt show this year.  This quilt is Halloween contemporized Country Squares and measures 73″ x 85″.  This pattern is by The Stitchery in Olds, Alberta.  While attending a family reunion near Olds, Alberta in August 2010, I had an opportunity to visit a local quilt shop called The Stichery.  I fell in love with the samples of this quilt that they had hanging in the shop and purchased my own copy of the pattern from the mother/daughter team that designed the pattern.  This pattern was perfect for my Halloween scrap collection.  This quilt was gifted to my daughter and her husband after the quilt show and was a healthyy alternative to trick or treat candy.

This is a picture of one of the fresh flower arrangements that decorated the tea room tables.

By the end of the show, I was exhausted.  It is always a lot of work to put on a show like this.  However, it is all worth it when you receive the positive comments from the public like we did.  See you all in another two years!

Harrison Mills Quilt Show

This weekend was the annual Harrison Mills Quilt Show.  A small group of quilters–The Stitch and Rip Group–meet weekly in the hall to share their love of quilting and once a year, in October, they host a small quilt show featuring the talents of local quilters.  This is a fund raiser to support the upkeep of the hall.
 
 
This year, I entered six quilts.
 

1.  Lap size All About Halloween

2.  Pumpkin Warm Wishes

3.  Halloween Contemporized Country Squares

4.  Halloween Scrappy Log Cabins (on the left and Contemporized Country Squares on the right)

5.  JR1600 – Ladybugs in the grass

6.  Bear Paw