“Fast Food” Table Runner for Easter

I have been slowly working on a stack of UFO’s that need to be quilted.  This weekend’s finish was this Easter table runner.  The pattern is a Terry Atkinson design called, Fast Food.  The pattern is very simple–making use of a stripe that does all the work.

This table topper has been sitting for at least 2 years waiting for me to have the opportunity to quilt it. The Quilt Show was broadcasting their shows for free this weekend.  So while Ricky and Alex talked; I quilted.

Fast Food Easter Table Runner_Atkinson Designs_March 23, 2014 (1)-Optimized


This is a close up of the fabrics and the quilting.  I quilted in the ditch around the blocks and then went up and down each yellow stripe.  I love the dense quilting!Fast Food Easter Table Runner_Atkinson Designs_March 23, 2014 (4)-Optimized


Random Reflections – The Start of a New Quilt

This morning, Quilters Newsletter Magazine’s Facebook post stated that, “March is National Quilt Month! It’s the perfect time to start a new project, or maybe finish one of those UFOs (or PIGS – Projects in Grocery Sacks – as Lori would call them).”

So in keeping with National Quilt Month, I did start a new project yesterday.  The pattern is called Random Reflections and is by KarrieLyne from Freckled Whimsy.  The pattern is available on the Moda Bake Shop site and is free for the downloading.  This quilt should finish approximately 60″ x 60″ and will be perfect as a lap quilt.

I picked this pattern because the darker strips resemble books on a shelf.  This quilt is for someone who loves to read and who has included books as decorations in her wedding planned for later this year.

2014_Feb 28_Random Reflections for Lindsay_started Feb 28, 2014-OptimizedAll fabrics in this quilt are from my stash.  So although I promised myself I wasn’t going to start anything new until my stack of flimsies was done, I can rationalize starting this new project because at least I was not out there buying new fabric to add to the stash.  …somewhat of a compromise.  🙂


Finished UFO’s – Table Runner and Bed Quilt

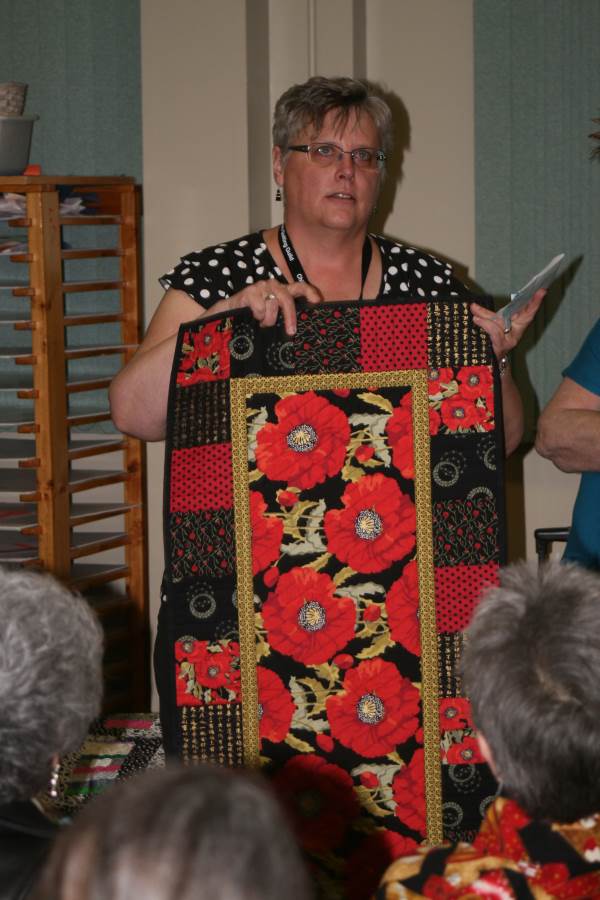
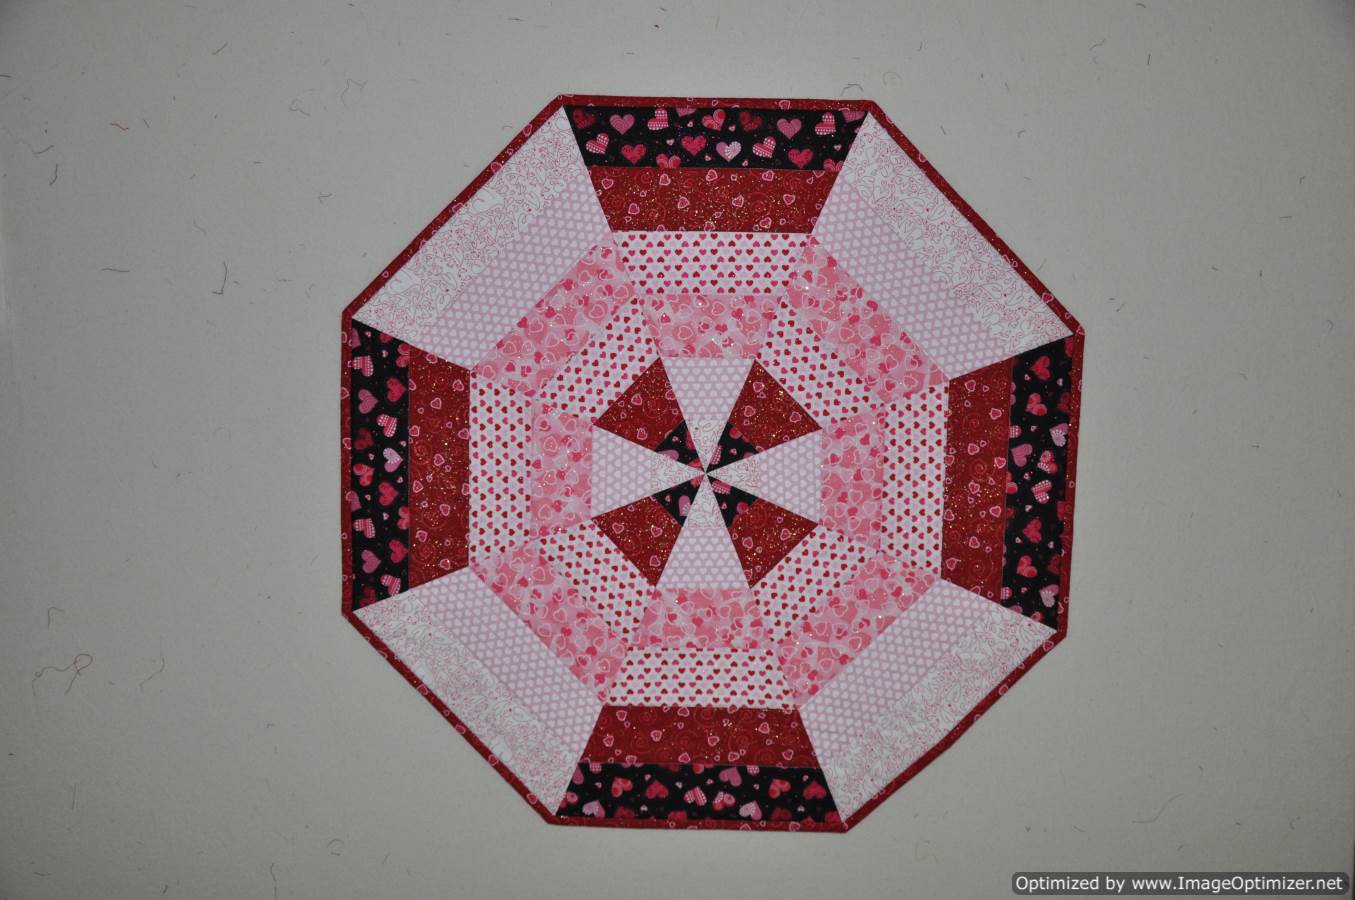
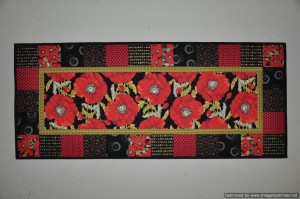
The table runner that I started on January 2, 2012 is finally finished.  Sometimes it is not just the larger and more complex projects that sit as UFO’s for a very long time.

2014_Feb 20_Poppy Table Runner-Optimized

Here I am at our Guild meting last night showing my completed table runner.Show and Share - February 19, 2014 (15)

We have a UFO Completion Contest at our Quilt Guild this year.  Although I took this completed table runner for show and tell last night, it doesn’t count towards the UFO Completion Contest as your UFO has to be from before 2012.  Because I started this project on January 2, 2012, I am just outside the time period for the contest.

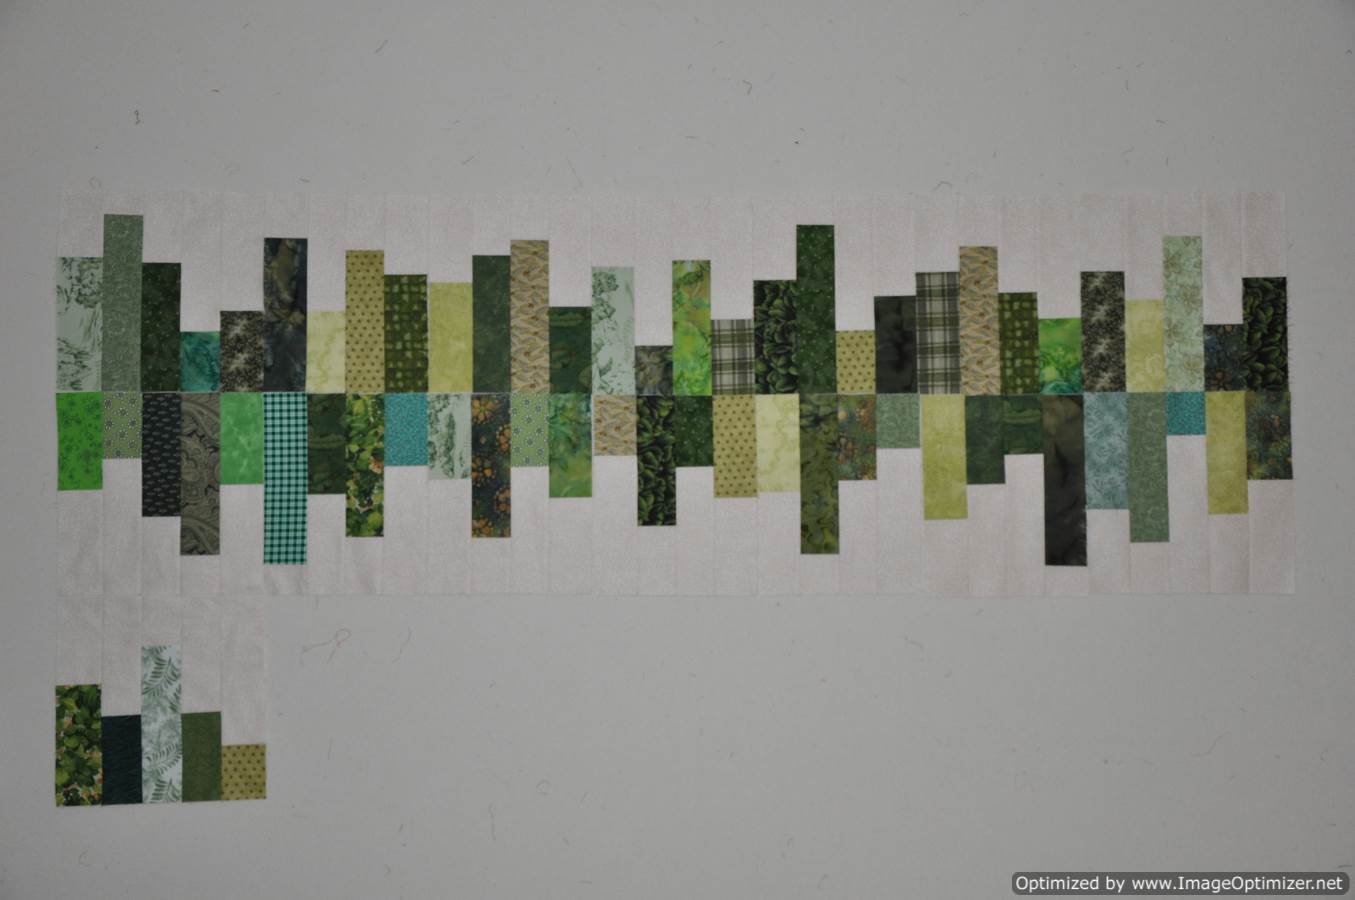
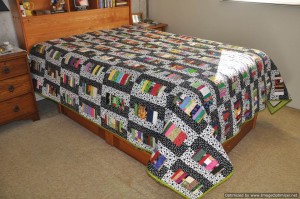
I did show another project at Guild this month that does qualify for the UFO Completion Contest though.  I finally took “Plum Dotty” for show and tell at the Guild.  Plum Dotty was finished to the partial flimsy stage on July 5, 2011.  I say partial flimsy stage because after I had this one together, I put it on the bed and decided that it needed some more blocks to make it wider.  Adding just a few more blocks to make it wider proved to be a challenge because I had run out of the black and white and white and black dot fabrics.  After getting some help from a friend in Oregon who helped source out more fabric for me, I was able to add the extra blocks.  The quilt top then sat for a long time until I had time to quilt and bind it.  I finished Plum Dotty on September 12, 2013, just in time to show at the Fall Fair in our town on September 13 and 14, 2013.

Here is Plum Dotty on the bed.  This is a perfect quilt for winter – not only does it brighten the room at an often dreary time of year, but it is heavy with the extra foundation for the blocks and the flannel back.

2013_Sep 12_Plum Dotty_Finished-Optimized
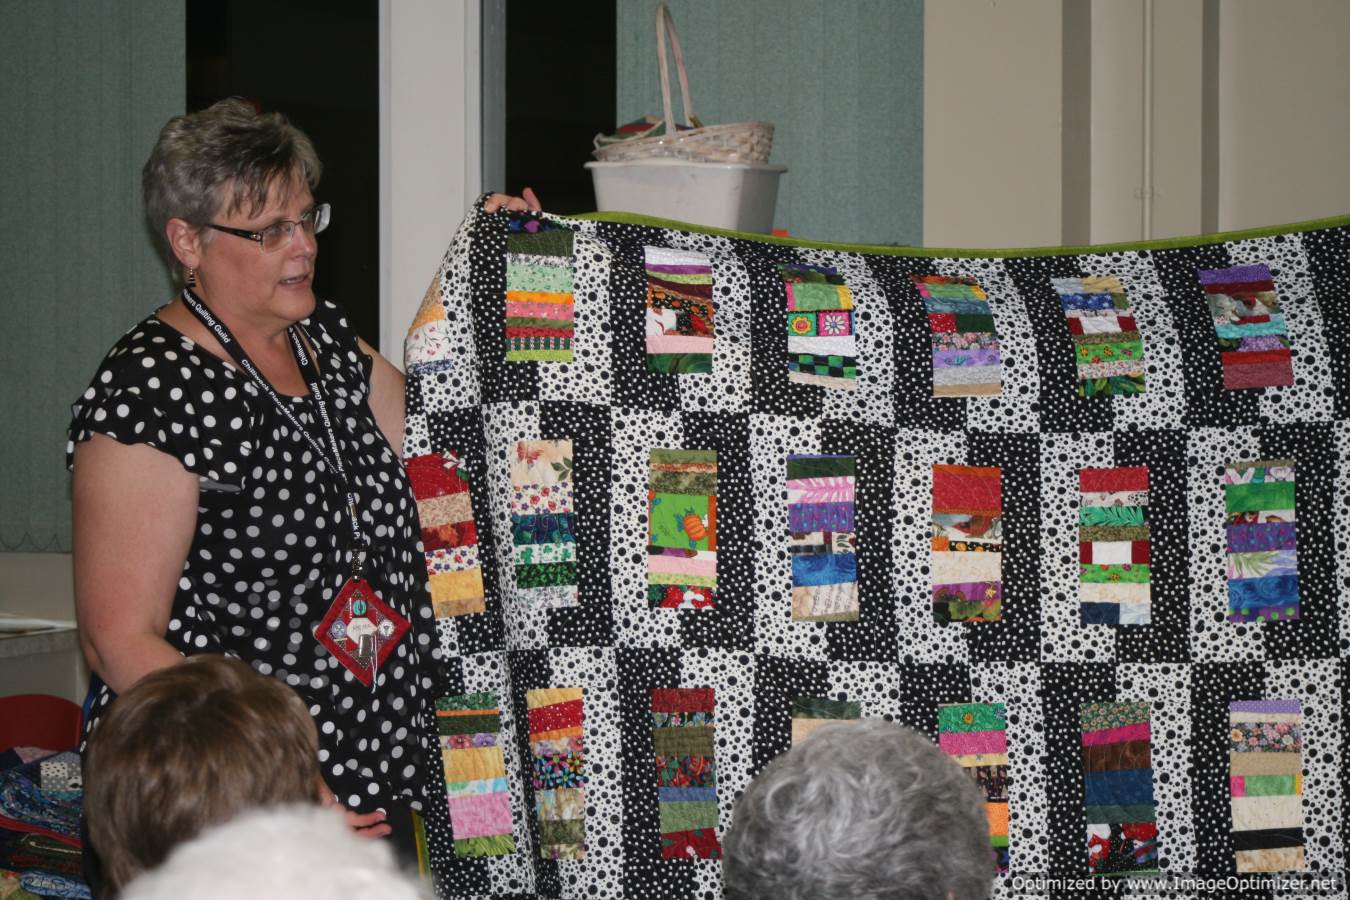
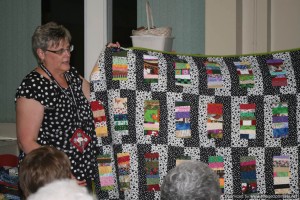
Here I am at our Guild meeting last night talking about Plum Dotty during Show and Share.


Show and Share - February 19, 2014 (17)I wish I could say that finishing these two projects has caught me up to date with my UFO’s, but sadly it barely scratches the surface.


My Newest Redwork Project

My newest red work project is, Snow Happy by Pearl Louise Krush.  The pattern was in the Holiday 2013 issue of The Quilter Magazine.

magazineThis is a picture of the finished quilt from The Quilter magazine’s site.

snow happy


I am trying something new with this project–Sticky Fabri-Solvy from Sulky.  This product is a self-adhesive, fabric-like, water soluble stabilizer.

solvy


I ordered my product from Bird Brain Designs a while ago and I was anxious to try the technique described on their site. (http://www.birdbraindesigns.net/sticky-fabri-solvy).  From the Bird Brain Designs site:

Do you hate to trace designs for your needlework projects?  We have the solution for you – Printable Sticky Fabri-Solvy from Sulky!  Print your design with your copier, stitch your design and dissolve the film away in a generous amount of warm water…EASY & ACCURATE.

Sticky Fabri-Solvy is a printable stablizer film in a full 8 1/2″ x 11″ size making printing more accurate!  Just print your design on your home copier/printer right onto the sheet of Sticky Fabri-Solvy.  Copy your design onto the “film” side of the Sticky Fabri-Solvy.  Peel the paper backing away and finger press the printed film directly onto your fabric.  Add your embroidery hoop and get stitching in just minutes!   The easiest, fastest way to transfer designs for embroidery, applique and needle felting.

Remove the film easily from your finished embroidery.  (See the photo above.)  Place in your sink with running warm water adding a generous amount of warm water.  You can “swish” your embroidery with your hand to hasten the dissolving process.  I run clean water from the faucel over my design and dry flat on a bath towel.

Stitch as usual following the design on the printedSticky Fabri-Solvy.  EASY!  We tried it for RedWork embroidery on muslin and on wool for Needle Felting and Embroidery.  When your stitching is completed, cut away excess Sticky Fabri-Solvy and soak the project in warm water to melt the remaining film away…..NEAT.

Sticky Fabri-Solvy is a full 8 1/2″ x 11″ so it fits into your copier paper tray perfectly making printing quick and easy and accurate.

2014_Jan29_Snow Happy Redwork
This image is my project.  The block on the right is my Kona White fabric with the design photocopied to the Sticky Fabri-Solvy product.  The block on the left has been stitched.  It is a bit wrinkly now as I found the stabilizer added enough body to the fabric that I didn’t need to hoop my project for stitching.  It does mean however, that my project gets a bit wrinkly.  🙂  Removing the Sulky product from my finished project was easy.  A little water in the sink and a bit of agitation and it was all gone!

I used DMC’s perle cotton No. 8 in colour 498.  I love the perle cotton–no more separating floss threads–you can use it right off the ball.  When I was in AZ, I found a new perle cotton thread by Presencia (No. 16).  This product is finer than the DMC that I used in this project.  I am planning to use it in a more detailed design where a thinner thread than the DMC perle cotton would be more appropriate.

For reference, I found the following video on You Tube that describes how to use the Sulky Fabri-Solvy product:  “How to Transfer and Stabilize an Embroidery Pattern”.

In a second video, the deisgner describes and illustrates using a stabilizer–Pellon Designer’s Lite–to the back of your embroidery design.  The stabilizer in this video is ironed in place, stays on the back of the design, and does not wash away.  I have not yet tried this but I want to hang onto this information for future reference, so here it is:  “Embroidery How to for Quilt Pattern, I Believe in Snowmen by Bunny Hill Designs”  This video is also a great resource for how to get started with red work.