This past Friday, a friend and I attended the Creative Stitches and Crafting Alive Show.

This year, the show featured Modern Quilting. The Fraser Valley Modern Quilt Guild had an excellent display of Modern quilts. The members of this guild are full of enthusiasm and were on site to share their knowledge of the Modern Quilting movement. Giveaways at the FVMQC booth included packs of 2.5″ squares of Modern fabrics like this and some cute buttons. The button I picked says, I’m here for S.E.X. Stash Enhancing eXperience. Apparently, this was their most popular button.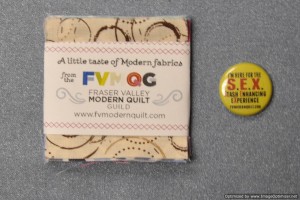
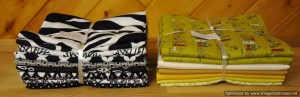
Many of the vendors at the show were featuring the Modern Quilt movement in the products that they were featuring for sale. I believe I have been bitten by the Modern Quilt bug because this tower of 23 fat quarters–Dots by Riley Blake Designs–was calling to me. The stack of fat quarters on the right is from Thimbleberries’ Flashback line. These fabrics will be added to a project that I have been collecting fabrics for–a log cabin quilt featuring Thimbleberries Vintage Stitches line. The yellow/orage batik will be added to the collection of fabrics I have collected to make a landscape quilt featuring Arches National Park.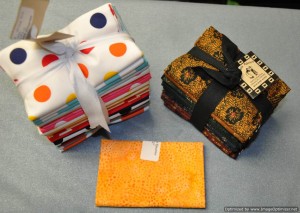
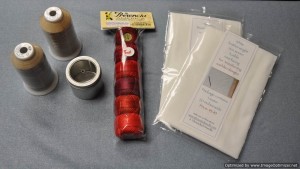
 I also picked up some spools of thread for my long arm, some threads for a redwork project that I want to start and some fusible webbing for my Sashiko project. That metal tin with the clear top is for holding your ball of perle cotton to keep it from rolling away on you when working on your redwork project.
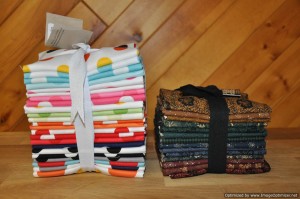
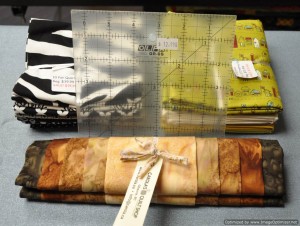
These are fabric purchases from another vendor. The ruler was on sale for $1.99–which is a great score since it was regularly priced $19.99! The black and white fat quarters will be added to the black and white stash awaiting a future black and white quilt. The stack of fabrics on the right–are 1/2 yard each of Road 15 by Sweetwater for Moda (Main Street and City Park Pickle) plus a 1/2 yard of Kona cream, and 3 fat quarters of coordinating Kona solids and a fat quarter of Road 15 coordinate–Vine Street Pickle. This pack was a great value at $19.99 and will be the beginning of another Modern Quilt. The brown batiks in the front are for that Arches National Park landscape project.
 So once I get some of my UFO’s under control, I can dabble a bit in the Modern Quilt movement!


