This quilt is from “The Quilts of Gee’s Bend” exhibit. The quilter was Annie Mae Young. It is titled, “Work-clothes quilt with center medallion of strips”. The quilt was made in 1976 from denim, corduroy, and synthetic blends and measures 76.5″ x 108″.
Some members of the Gee’s Bend Quilters will be coming to Vancouver this fall. As part of the Maiwa Textile Symposium that runs from September to November, the Gee’s Bend Quilters will be presenting a lecture and two workshops.
Monday, October 19, 2015, 7:45 pm: Lecture at Netloft, Granville Island, $15
Monday, October 19 and Tuesday, October 20, 2015, 10 am to 4 pm: Workshop, at Maiwa Loft, Granville Island, $295 (includes lab fee of $25)
Wednesday, October 21 and Thursday, October 22, 2015, 10 am to 4 pm: Workshop at Maiwa Loft, Granville Island, $295 (includes lab fee of $25)
Registration for these classes opens June 22, 2015 at 10 am. This link will take you to the full calendar including the class descriptions and registration form: http://www.maiwa.com/workshops/pdf/2015Symposium.pdf
Gee’s Bend is an African American majority community that has remained very isolated due in part to its geography as it is surrounded on three sides by the Alabama River.
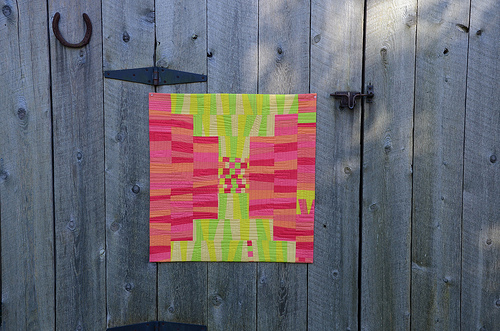
Quilting in Gee’s Bend dates back to the 19th Century. It is speculated that the patterns of the Western and Central Aftrican textiles had a significant influence on the distinctive improvisational and simplistic geometric signature style of the quilts produced by the Gee’s Bend Quilters. Many modern quilters credit the Gee’s Bend quilts as significantly influencing the development of the Modern Quilt Movement.
The following links provide further information on the Quilters of Gee’s Bend.
1. The Gee’s Bend quilters were in Vancouver for the 2005, 2011, and 2013 Maiwa Textile Symposium. This is a blog post written by Krista Hennebery who attended one of the 2011 workshops.
2. Video titled, “the Quilts of Gee’s Bend” by the Souls Grown Deep Foundation.
3. Why Quilts Matter – Sisters in Cloth: The Modern Quilters and the Quilters of Gee’s Bend
4. Blog posts from Kristin Shields about the Quilters of Gee’s Bend.
5. Blog post from Michelle Bilyeu about the Quilters of Gee’s Bend.
6. Deep South Magazine article – The Future of Gee’s Bend.
7. Article by Richard Kalina – Gee’s Bend Modern.
8. Blog post from I’m Feelin’ Crafty regarding the Quilters of Gee’s Bend.