The following was e-mailed to me by my Aunt yesterday on my birthday. This was one of the best presents I received. We have all seen where we can find out what famous things happened in history the day we were born. How often do we hear first hand accounts of what was going on at the time of our birth in the lives of those closest to us. Thank you, Aunt Ardelle for taking the time to send this to me.
Hi Norma:
Just finished reading your most recent blogs.
I just had to write and say a little bit about the day you were born. I remember that day very well. I was attending Western Christian College at North Weyburn. Prior to you being born I was busy embroidering some ‘Sunbonnet Girls’ and then your Grandma put them all together and made a quilt out of them. That quilt likely isn’t around anymore.
I remember your Grandmother, my Mother phoning to tell me that your Mother & Dad had a baby girl. They came to Weyburn to visit your Mom and you in the hospital. They also came out to the College to pick me up so I could go visit.I remember going into the Weyburn Hospital and the nurse asked me if I was old enough to go visiting…you had to be 12 years old. I was then 17 years old. I wasn’t very impressed. At that time people like me couldn’t see your Mother but I got to see you. You were a real gem.
I started baby-sitting for your Mother on Saturdays while she went shopping,. She would come out to the College and get me for the day and then take me back before curfew at night. It helped your Mother and it sure was nice for me not having to stay at the College all day Saturday. We couldn’t only go home once a month but we could go out on day passes.
I remember one of the days when I was babysitting you, you cried and cried. The only time you didn’t cry was when I was holding you. I thought maybe you were a bit spoiled. It turned out that you had Colic.
As you got a little bit bigger and you would come to Carlyle to visit your grandparents (and at the time I was now living back at home). You loved to sit on my pillows and play with my clock radio in the book case at the head of the bed.
When Clark was born you came to Carlyle and I looked after you. You were talking then and I would feed you jelly which you really liked and I would tell you that it was jelly for your belly. I also tried to get you to say that your name was Norma Elizabeth and you would say to me I not lizabet.
Then there were the times at Grandpa and Grandma’s cottage at the lake…you and I would go and pick strawberries along the path to the outside biffy.These are just a few things I can remember about you when you were born and as you grew up. There are likely a lot more but these things come to my mind right now.
Have a great day.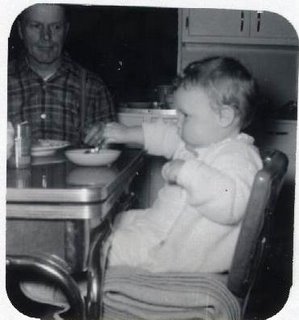
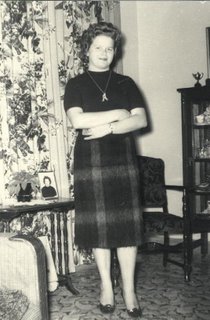
This is a picture of me on one of those visits to my Grandparent’s house. If you look closely, you can see my Grandfather in the background.
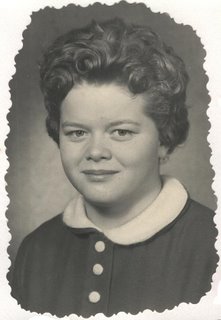
 These are two pictures of my aunt.
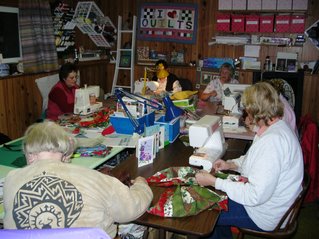
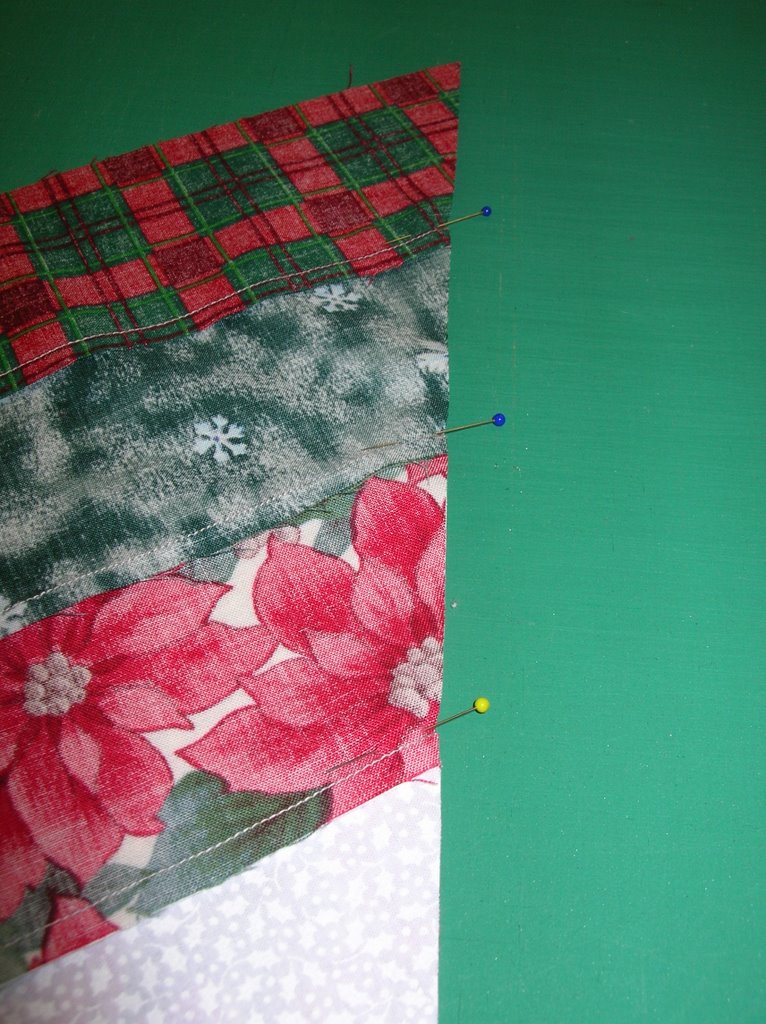
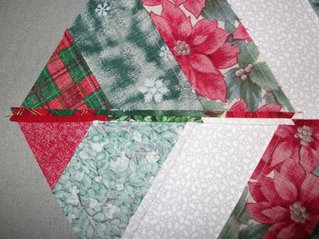
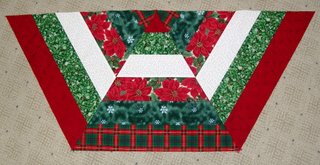
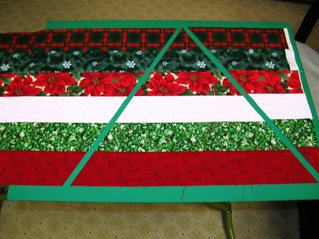
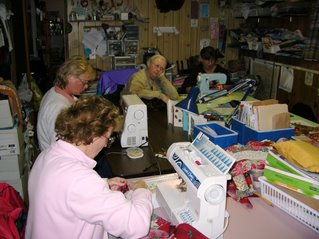 Seven of the Tuesday Night Quilters met at Dot’s house last Tuesday (November 7) and made their versions of the hexagon table topper.
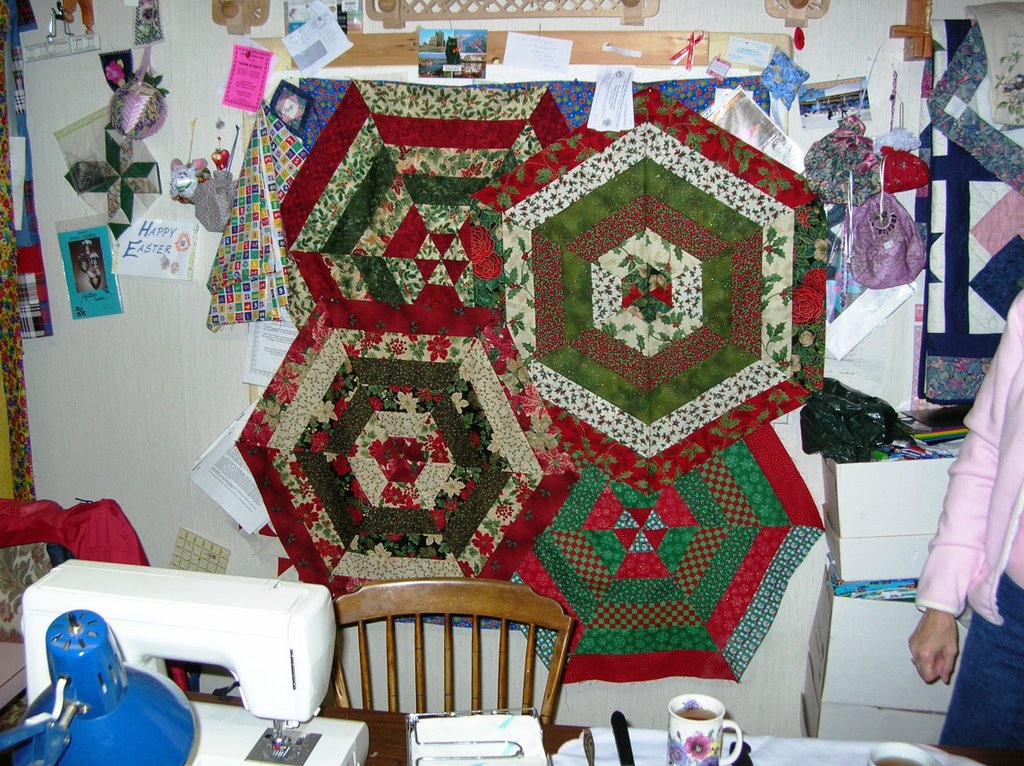

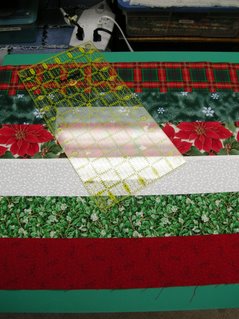
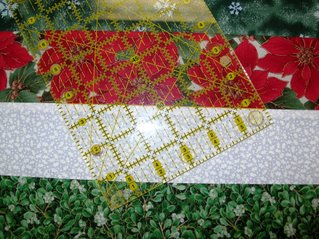
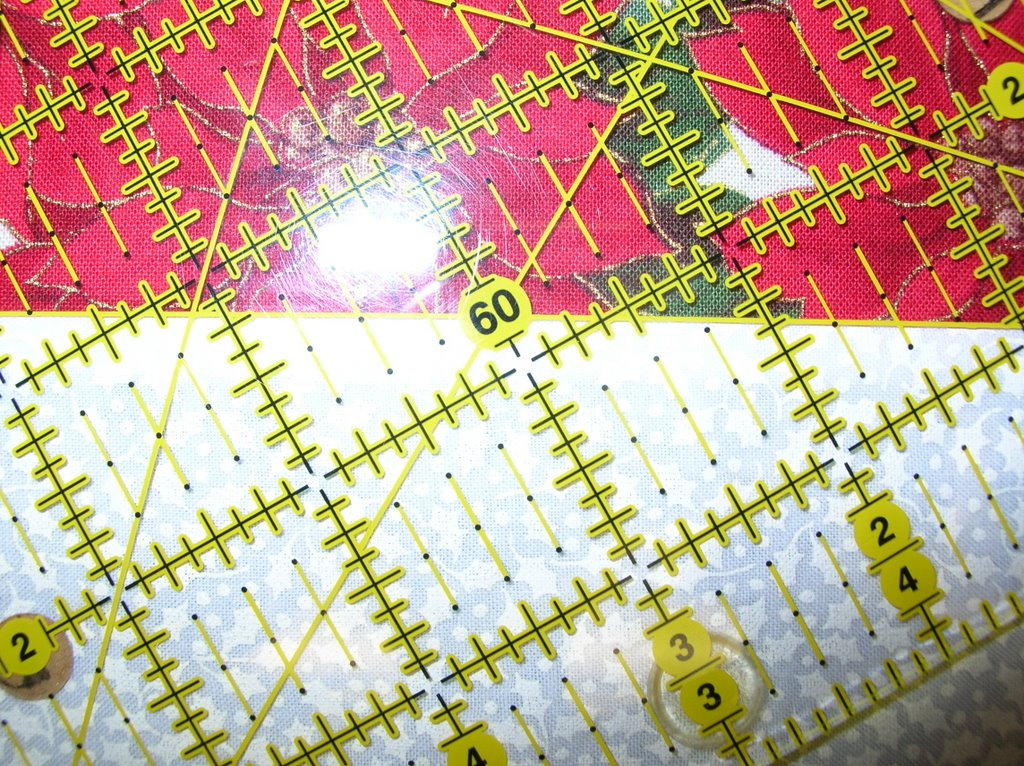
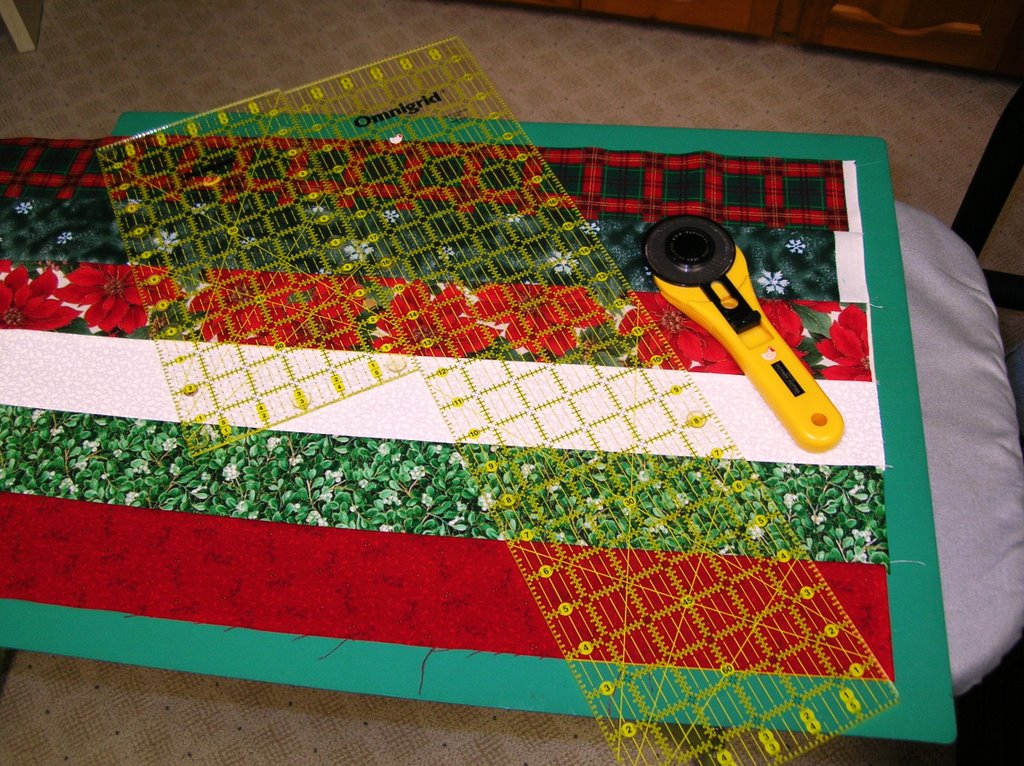


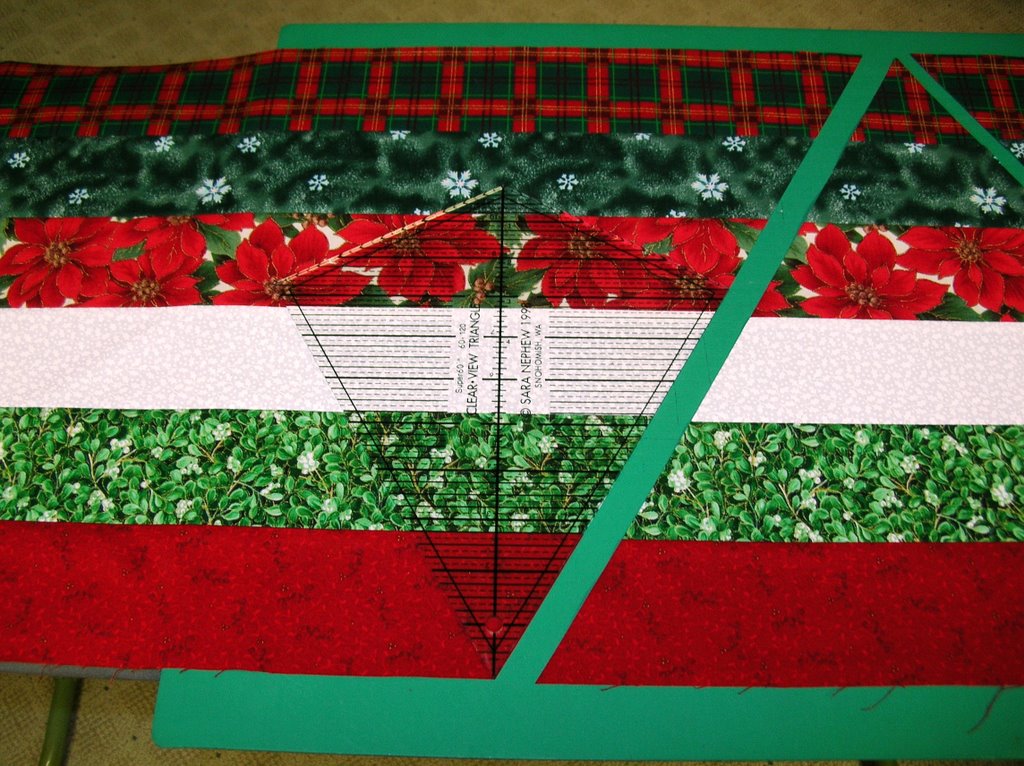
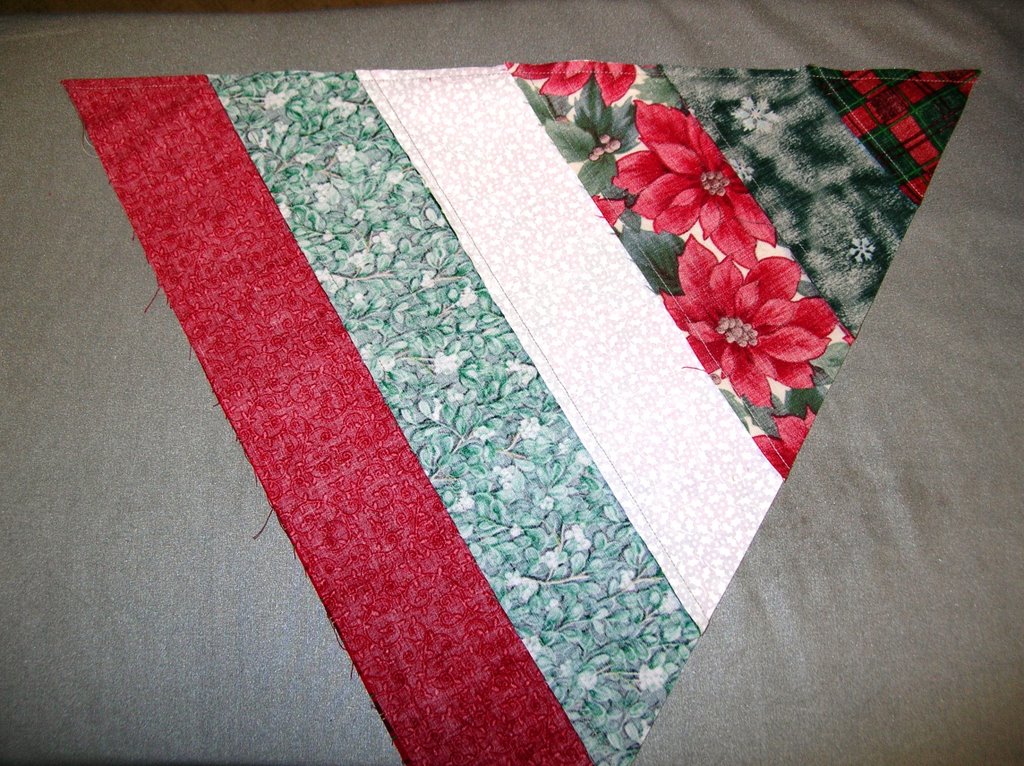
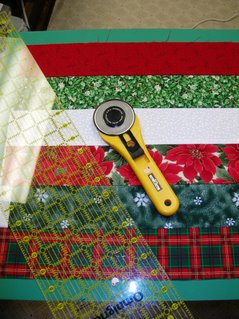
 Continue cutting triangles for the length of your strata. You should get three triangles out of one strata.